
12
Navigation bar: contains the Back, Forward, Up, search, Folders, buttons. and Views
Address bar: shows current folder location. Use the drop down arrow to navigate your
computer's places.
white space: displays contents of the folder (folders and files)
File and Folder Tasks list: a convenient list of tasks
Other Places: convenient list of your computer's places
Details: describes the folder
creating, Renaming, and Deleting Folders
At some point, you may want to create a folder within a folder. Here, practice
creating a Job Search folder in the My Documents folder.
To create a new folder in the My Documents folder:
Open My Documents.
Choose File New Folder.
A new folder icon appears in My Documents, with its
name highlighted. (The default is New Folder.)
Type a new, more descriptive name and crick Enter.
OR
Open My Documents.
Choose the Make a New Folder link from the File and Folder tasks menu
To rename a folder:
Locate your folder. Right-click the folder icon.
Choose Rename. The folder name is highlighted in blue, ready to be retyped.
Type a new name and press Enter.
OR
Open your folder. Click the folder icon
Choose Rename this folder from the File and Folder Tasks menu.
To delete a folder:
Locate your folder. Right-click the folder icon. Choose Delete.
A Confirm Folder Delete dialog box appears asking you if you are sure you want to send
the file to the Recycle Bin.
Choose Yes. The folder is moved to the Recycle Bin.
OR
Open your folder. Click the folder icon.
choose Delete this folder from the Fire and Folder Tasks menu.
1) Operating System

13
The operating system is a special type of program that loads automatically when you start
your computer. The operating system allows you to use the advanced features of a modern
computer without having to learn all the details of how the hardware works. There are a
number of different types of operating system in common use. The IBM PC (Personal
Computer) was introduced way back in 1981 and was originally supplied with an operating
system called DOS (Disk Operating System). This operating system was very basic, and you
had to be a bit of a computer expert just to understand how to use it. It was NOT user-
friendly. Later on, Microsoft introduced Windows and this is the operating system that is
most widely used on PCs today. To complicate matters further, there are a number of
different types of Windows. The first widely used version of Windows was called Windows
3.1. This was more powerful than DOS and far easier to use. It had a Graphical User
Interface (GUI), i.e. you could 'drive' it using a mouse and drop down menus. Later versions
of Windows include Windows 95, Windows NT, Windows 98, Windows 2000, Windows XP
and Windows Vista. Later versions of Microsoft Windows look almost identical to each
other and are all much easier to use than Windows 3.1.
2) Application Program
An application program is the type of program that you use once the operating system has
been loaded. Examples include word-processing programs (for producing letters, memos
etc), spreadsheets (for doing accounts and working with numbers), databases (for
organizing large amounts of information) and graphics programs (for producing pictures,
manuals etc).
What is a Drive?
A drive, or disk drive, is hardware on which you can store files and folders. Disk drives are
assigned a letter.
Drives are used to store data. Almost all computers come with at least two drives: a hard
drive (which is used to store large volumes of data) and a CD drive(which stores smaller
volumes of data that can be easily transported from one computer to another). The hard
drive is typically designated the C:\ drive and the CD drive is typically designated the D:\
drive. If you have an additional floppy drive, it is typically designated the A:\ drive. If your
hard drive is partitioned or if you have additional drives, the letters E:\, F:\, G:\ and so on
are assigned.
Explain cut, copy, and paste.

14
The Cut, Copy, and Paste commands are nearly universal. These three functions are used by
almost every Windows program and perform more or less the same function in each of
them. You can cut, copy, and paste programs, disks, and text, to name just a few things.
Cut: When you cut something, it is deleted from its current location and saved to the
Clipboard. Information saved to the Clipboard stays there until new information is either
cut or copied. Each time you execute Cut or Copy, you replace the old information on the
Clipboard with whatever you just cut or copied. You can paste the same Clipboard
information as often as you like.
Copy: Copy is similar to Cut except the original item is not deleted. When you copy
something, a copy of the item is saved to the Clipboard. Information stored on the
Clipboard stays there until new information is either cut or copied. Each time you execute
Cut or Copy, you replace the old information on the Clipboard with whatever you just cut or
copied. You can paste Clipboard information as often as you like, until you replace it with
something else.
Paste: You can place information on the Clipboard wherever you like. Execute the Paste
command and information you have cut or copied is placed wherever your cursor is
located.
Clipboard: The Clipboard is the storage area for items that have been cut or copied. Each
time you execute Cut or Copy, you replace the old information on the Clipboard with
whatever you just cut or copied. You can paste Clipboard information as often as you like,
until you replace it with something else.
There are three major methods of cutting, copying, and pasting. The three methods are
using the menu, using keyboard shortcuts, and using icons. We will review all of them. In
most programs, they will work exactly as described here.
A) Using the Menu:
Select what you want to cut.
-
1
Cut
2- Click Edit, which is located on the menu bar. A drop-down menu will appear.
3- Click Cut.
Place the cursor at the point where you want to place the information that is
-
1
Paste
currently on the Clipboard.
2- Click Edit. A drop-down menu will appear. 3- Click Paste.
15
Select what you want to copy.
-
1
Copy
2- Click Edit, which is located on the menu bar. A drop-down menu will appear.
3- Click Copy.
B) Using Keyboard Shortcuts:
x.
-
Press Ctrl
-
2
what you want to cut.
Select
-
1
Cut
Place the cursor at the point where you want to place the information that is
-
1
Paste
currently on the Clipboard.
2- Press Ctrl-v.
c.
-
Press Ctrl
-
2
Select what you want to copy.
-
1
Copy
C) Using Right Click:
Click
-
2
down menu will appear.
-
Right click on what you want to cut. A drop
-
1
Cut
Cut.
Place the cursor at the point where you want to place the information that is
-
1
Paste
currently on the Clipboard.
2- Right click. A drop-down menu will appear 3- Click Paste.
Click
-
2
down menu will appear.
-
Right click on what you want to copy. A drop
-
1
Copy
Copy.
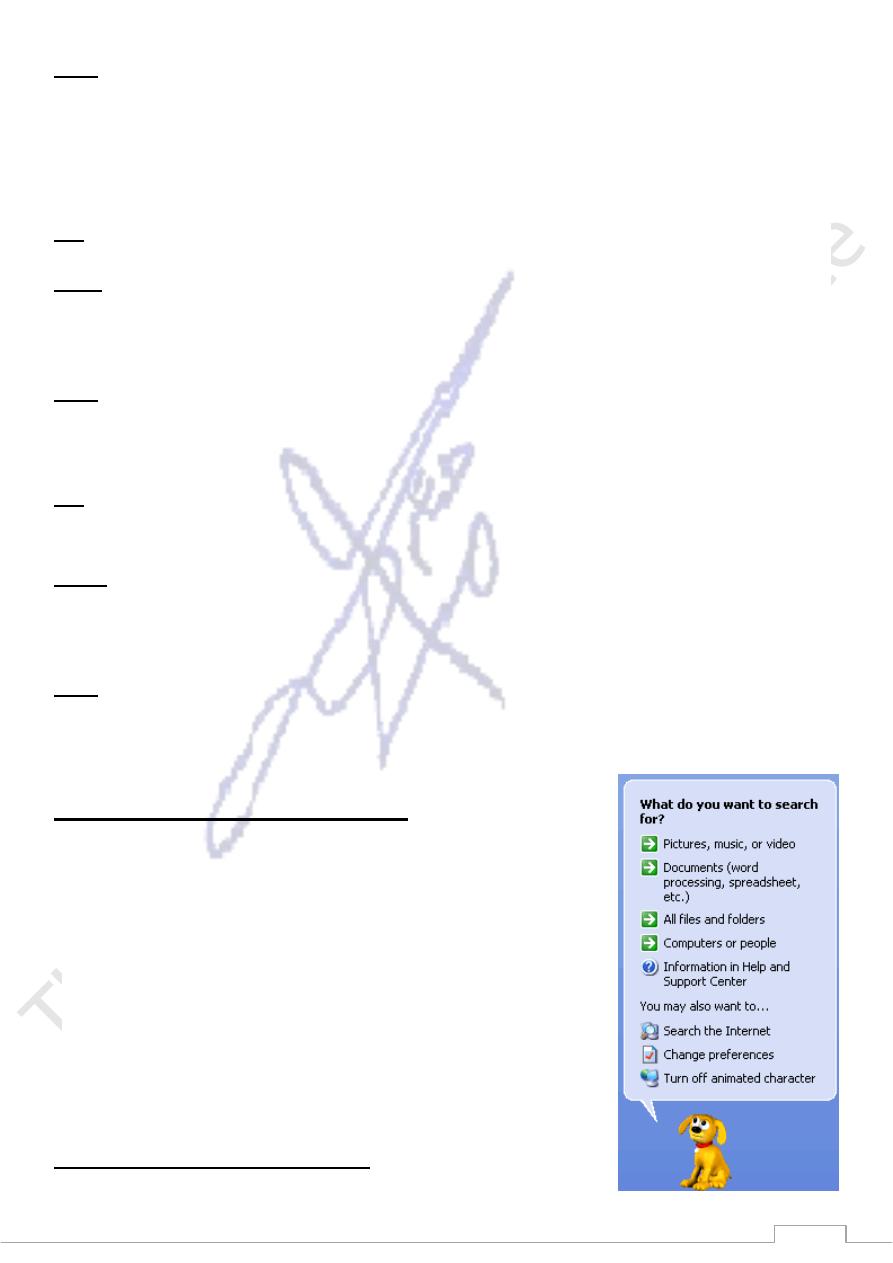
Opening the Search Companion
When you have trouble finding a file or folder on your
computer, search for it using Microsoft XP's Search Companion.
To open the Search Companion:
Open and Start menu and choose Search. OR
Open My Documents and click the Search button. OR
Open My Computer and click the Search button.
The Search Companion opens in the left pane and presents
the following list of options:
Using the Search Companion
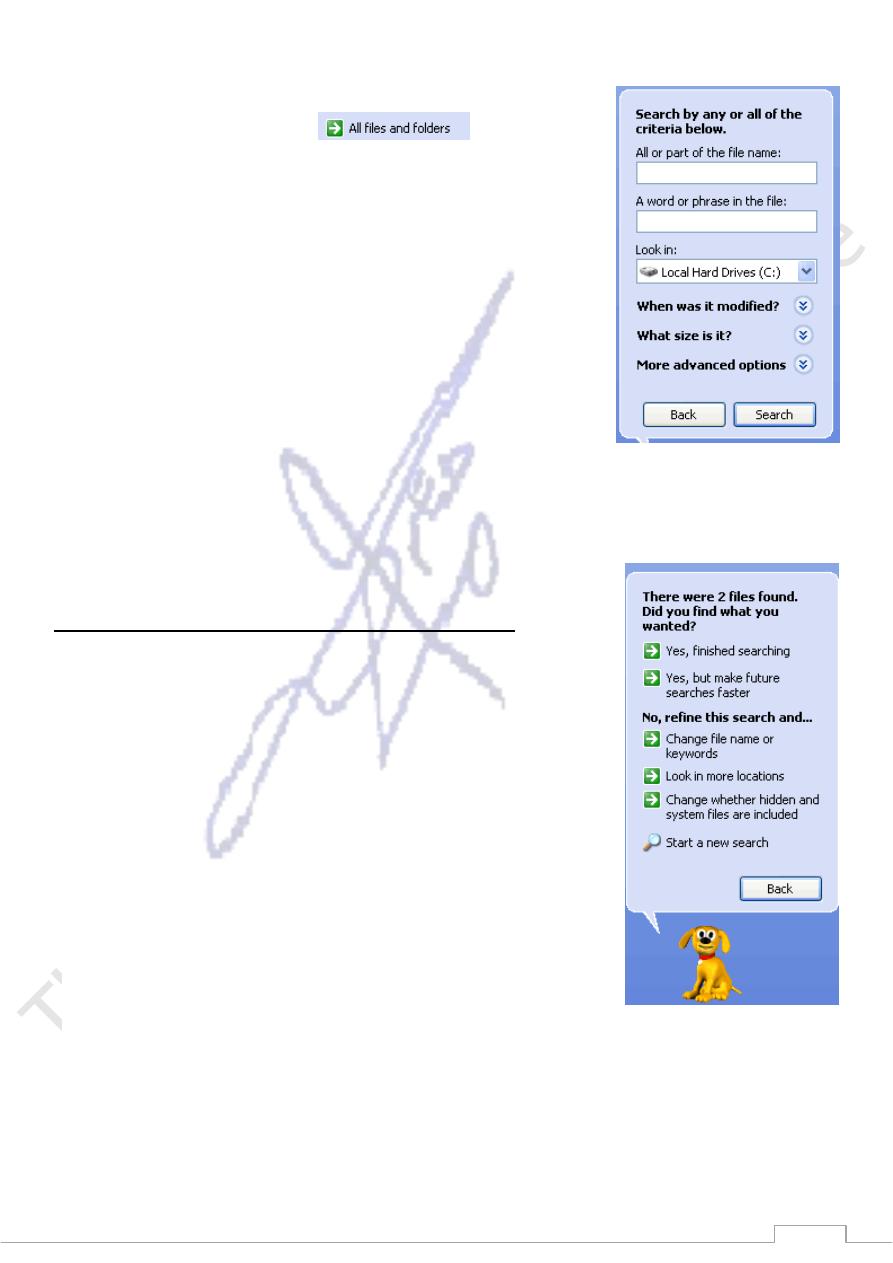
16
Depending on what option you choose, you're presented with various ways to conduct your
search.
Let's say you choose to search
for a particular
file. The Search Companion prompts you with questions to help
you refine your search. It's helpful if you can remember
something about the missing file such as all or part of the
filename, file type, when you last worked with the file, a word
or phrase in the file, or what drive it's on, etc. The more criteria
contained in your search, the more refined the search becomes.
To search using the Search Companion:
Enter as much information as you can remember into the
Search Companion.
Click the drop down arrows to add more criteria.
Use the Back button if necessary.
Click Search.
Using the Search Companion (Continued)
Once you click Search, the Search Companion tells you what
it's searching.
Your search results display in the white space.
The Search Companion tells you when the search is complete
and prompts you with more Search options.
If your search is complete, click Yes, finished searching.
Simply double-click the file to open it.
Finding a file can take seconds, minutes or much, much longer
depending on the type of search and where you look. If you
don't find the file or folder you're
looking for on the first try, type in a different name and/or location.