First stage – College of Medicine – University of Mosul / Nineveh
Word 2013
Assistant Lecturer: Zina Abdul Salam
L
ECTURE
1:
MS
W
ORD
2013
–
U
NSER
I
NTERFACE
Open and Close Word:
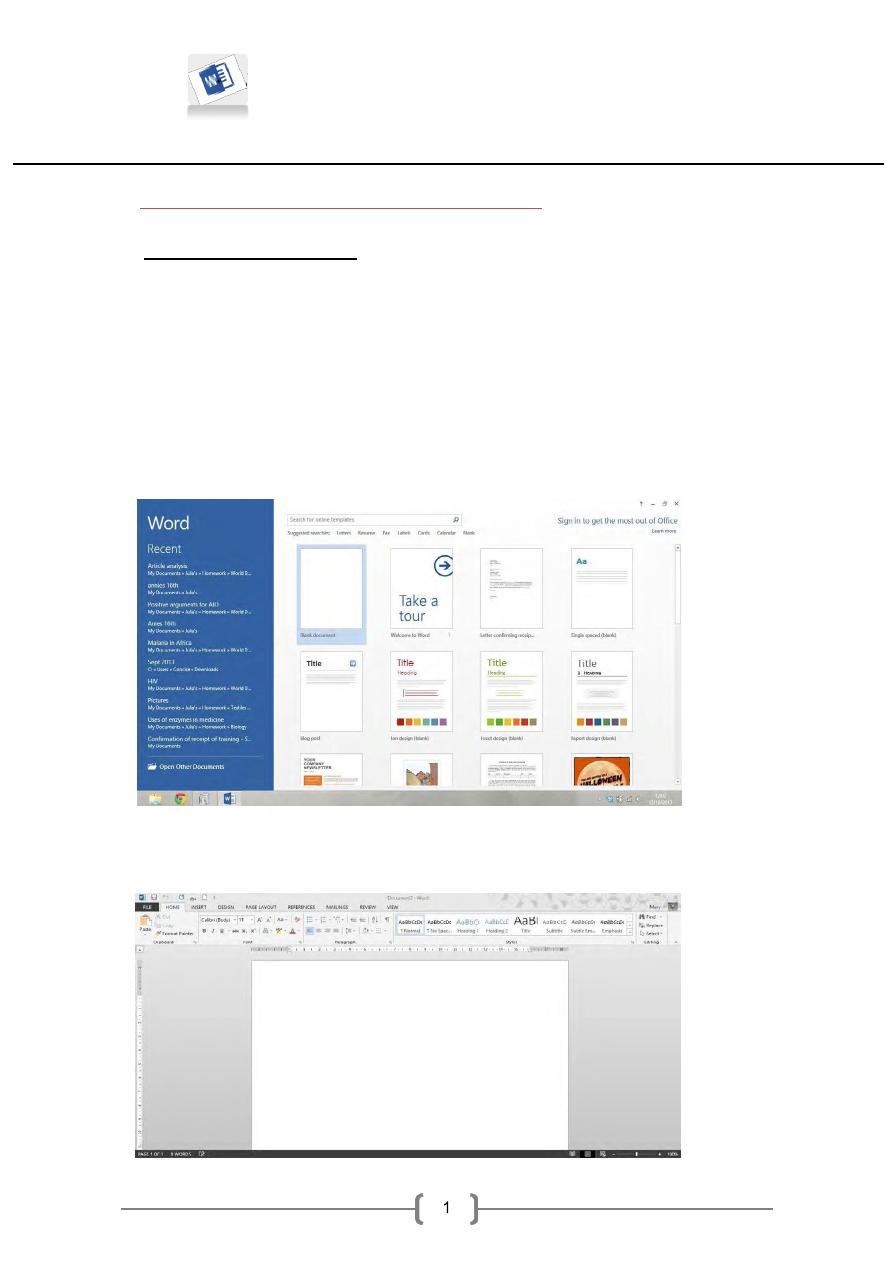
When you start Word 2013 from the desktop icon, the screen will
appear as shown in Figure 1. From this screen, you can decide to
open a document that you have used recently, open a blank
document or use one of the templates available. If you always want to
open a blank document, choose File > Options > General and
uncheck Show the start screen when this application starts
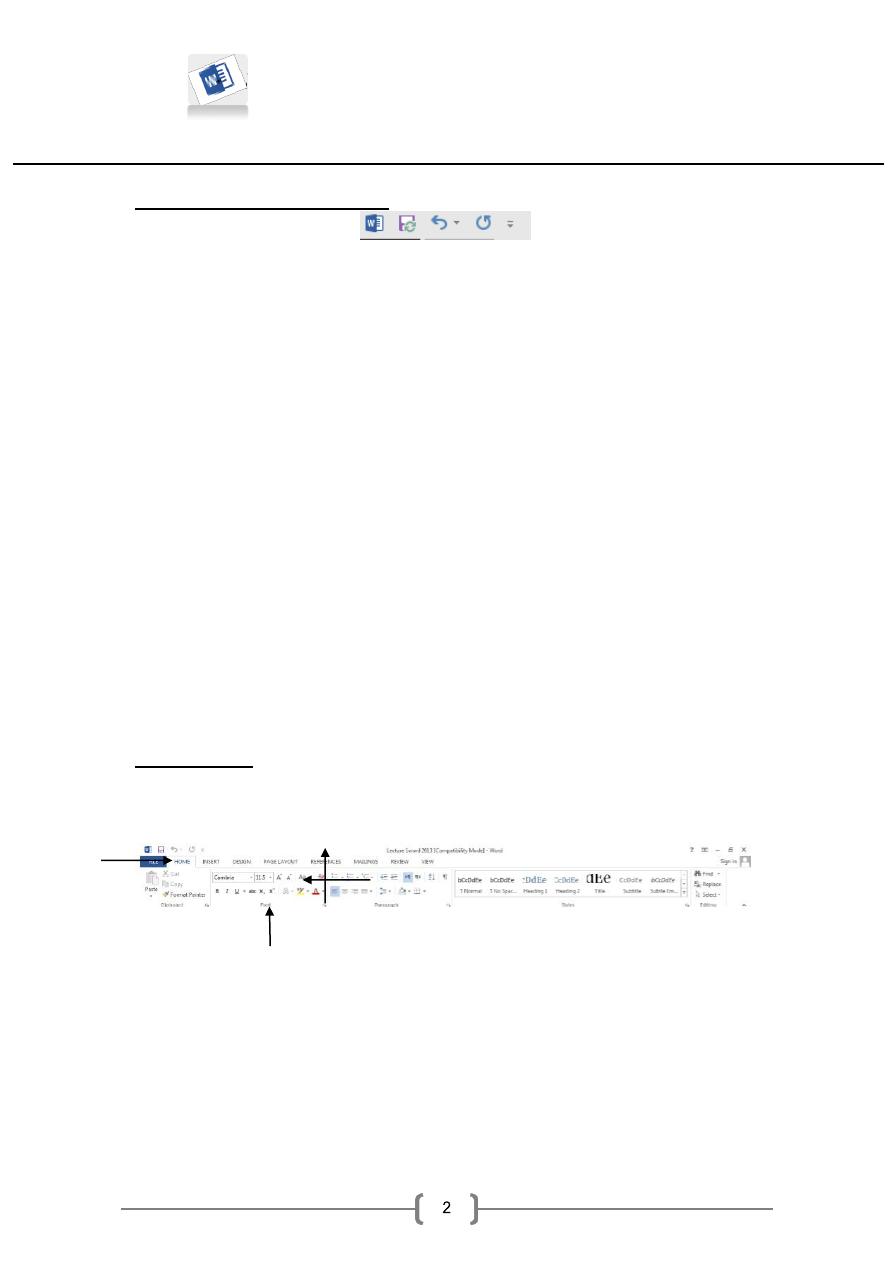
When you open a blank document, your screen will be displayed
similar to Figure below:
First stage – College of Medicine – University of Mosul / Nineveh
Word 2013
Assistant Lecturer: Zina Abdul Salam
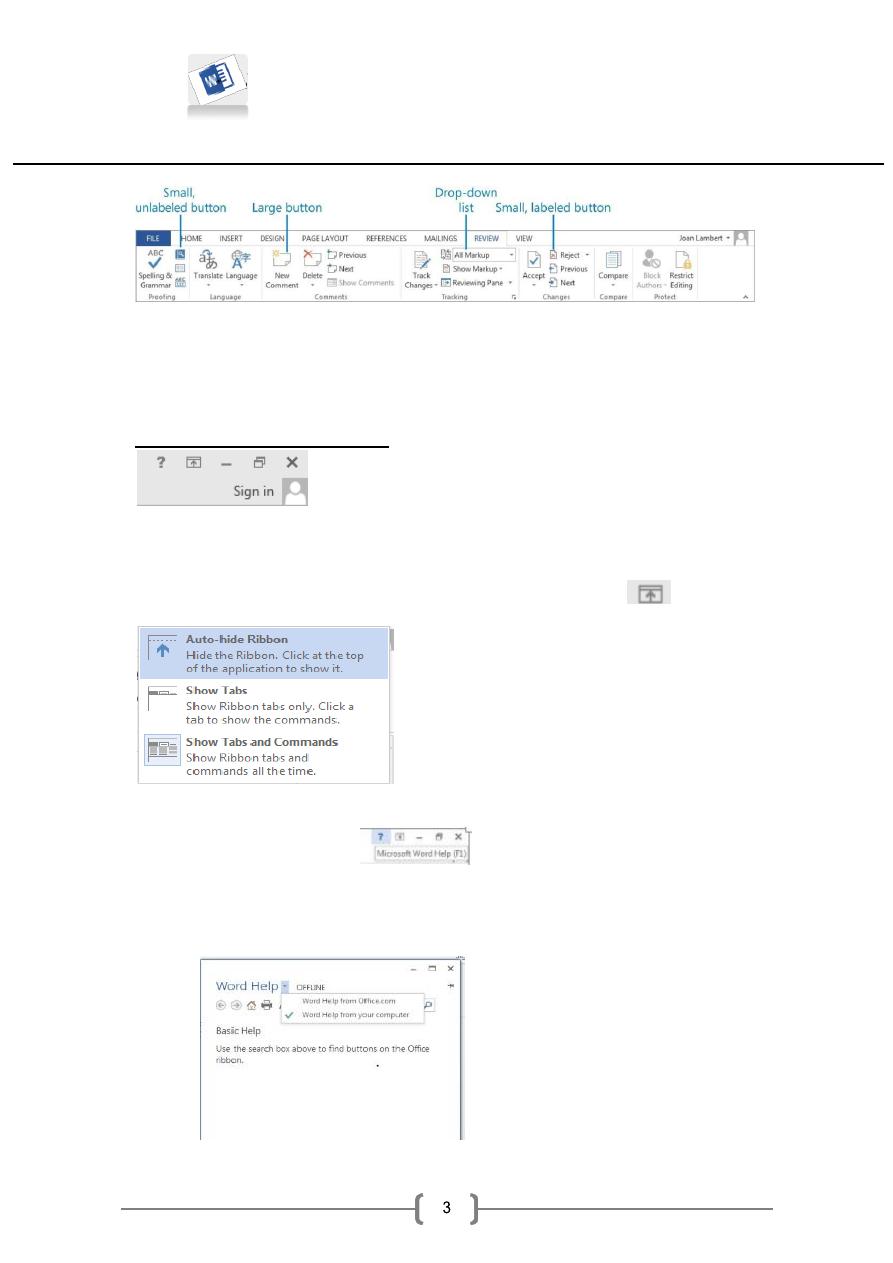
The Quick Access Toolbar:
The Quick Access Toolbar is always visible. It is a way of quickly
accessing commonly used commands without having to go to a
particular tab. When you start Word you are given a standard set
of commands but you can change what appears on the Quick
Access Toolbar by adding commands to it.
Customizing the Quick Access toolbar
You can also customize the Quick Access Toolbar by adding
frequently used commands, such as New or Open, or by
adding commands directly from the ribbon. Here are two
ways you can add additional commands:
*Click the arrow at the end of the Quick Access Toolbar
and then select a command from the Customize Quick Access
Toolbar list.
*Right-click a command on the ribbon and then click Add to
Quick Access Toolbar.
*To remove a command from the Quick Access Toolbar,
right-click the command and then click Remove From Quick
Access Toolbar.
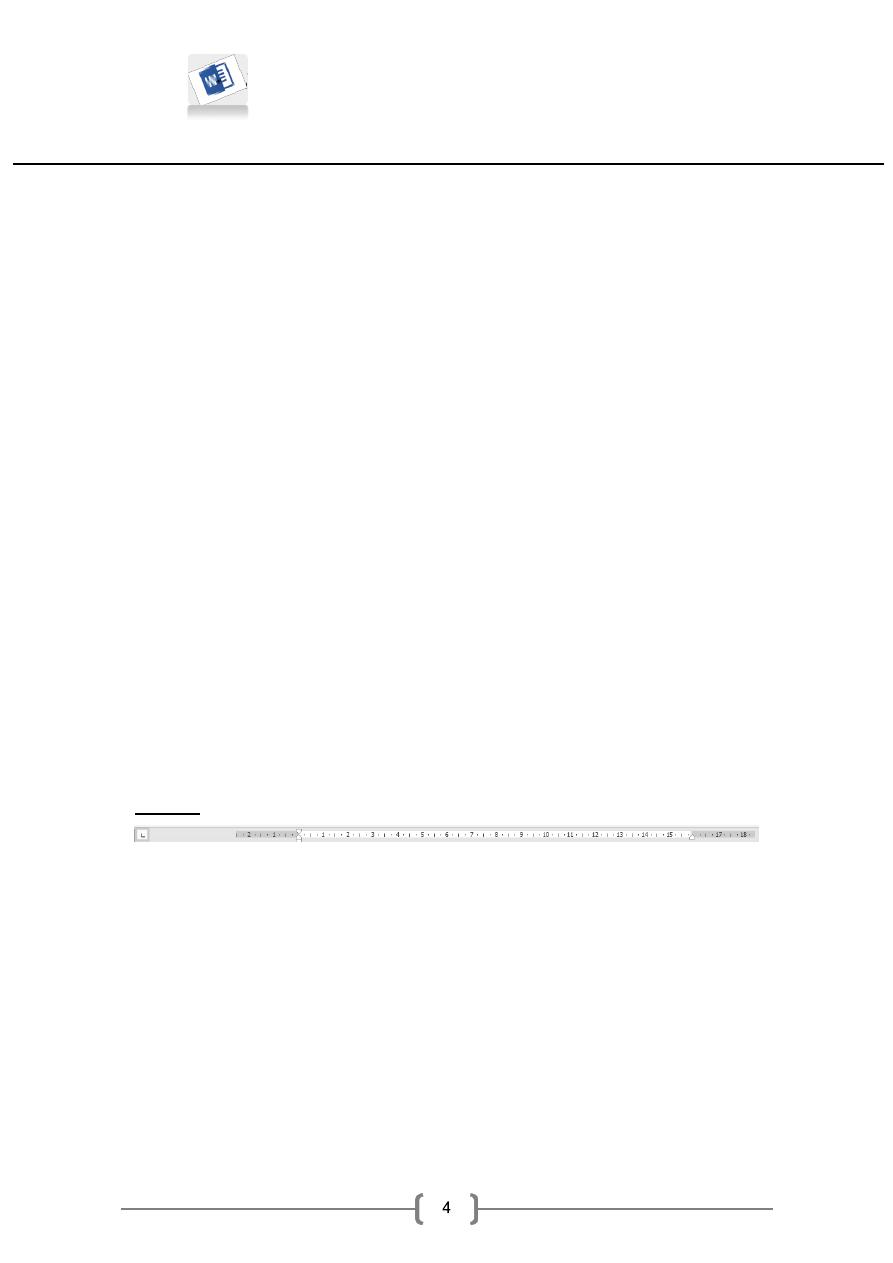
The Ribbon:
The ribbon is made up of tabs, groups and commands. Click on any
tab to see the commands for that tab.
Tabs
Dialog box launcher
Font Group
As with all Office 2013 programs, the goal of the ribbon is to make
working with document content as intuitive as possible. The ribbon is
dynamic, meaning that as its width changes, its buttons adapt to the
available space. As a result, a button might be large or small, it might
or might not have a label, or it might even change to an entry in a list.
Buttons
First stage – College of Medicine – University of Mosul / Nineveh
Word 2013
Assistant Lecturer: Zina Abdul Salam
Dialog box launcher Appears in the lower-right corner of a group
when additional options for the related set of commands are
available. Clicking the dialog box launcher opens a dialog box or pane.
Minimize, Maximize, Help:
On the right hand side of the screen you will find the standard
minimize, maximize, close buttons together with Help .and we can
hide the Ribbon by click on ribbon display options
Whenever you have a question about Word 2013, your first recourse
is the Word Help system
. This system is a combination
of articles, videos, and training tools and information available from
the Office website for reference when you are online, and basic
information stored on your computer for reference when you are
offline.
First stage – College of Medicine – University of Mosul / Nineveh
Word 2013
Assistant Lecturer: Zina Abdul Salam
To switch between online and offline reference content, click the
arrow to the right of Word Help and then click Word Help From
Office.com or Word Help From Your Computer. You can print the
information shown in the Help window by clicking the Print button
on the toolbar. You can change the font size of the topic by clicking
the Use Large Text button on the toolbar to the left of the Search Help
box.
You can find Help resources in the following ways:
1-To find out about an item on the screen, you can display a
ScreenTip. For example, to display a ScreenTip for a button, point to
the button without clicking it. The ScreenTip gives the button’s
name, the associated keyboard shortcut if there is one, and unless
you specify otherwise, a description of what the button does when
you click it. Some ScreenTips also include enhanced information such
as instructions and links to related Help topics.
2-In the Word program window, you can click the Microsoft
Word Help button (the question mark) near the right end of the
title bar to display the Word Help window.
3-In a dialog box, you can click the Help button (also a
question mark) near the right end of the dialog box title bar to open
the Word Help window and display any available topics related to the
functions of that dialog box.
Ruler:
The ruler is found below the Ribbon .You can use the ruler to
change the format of your document like set tab stops, move table
borders, and line up objects in the document, also you can measure stuff .
If your ruler is not visible, follow the steps listed here:
1- Click the View tab to choose it.
2-Click the check box next to Ruler in the Show/Hide group. The ruler
appears below the Ribbon.
First stage – College of Medicine – University of Mosul / Nineveh
Word 2013
Assistant Lecturer: Zina Abdul Salam
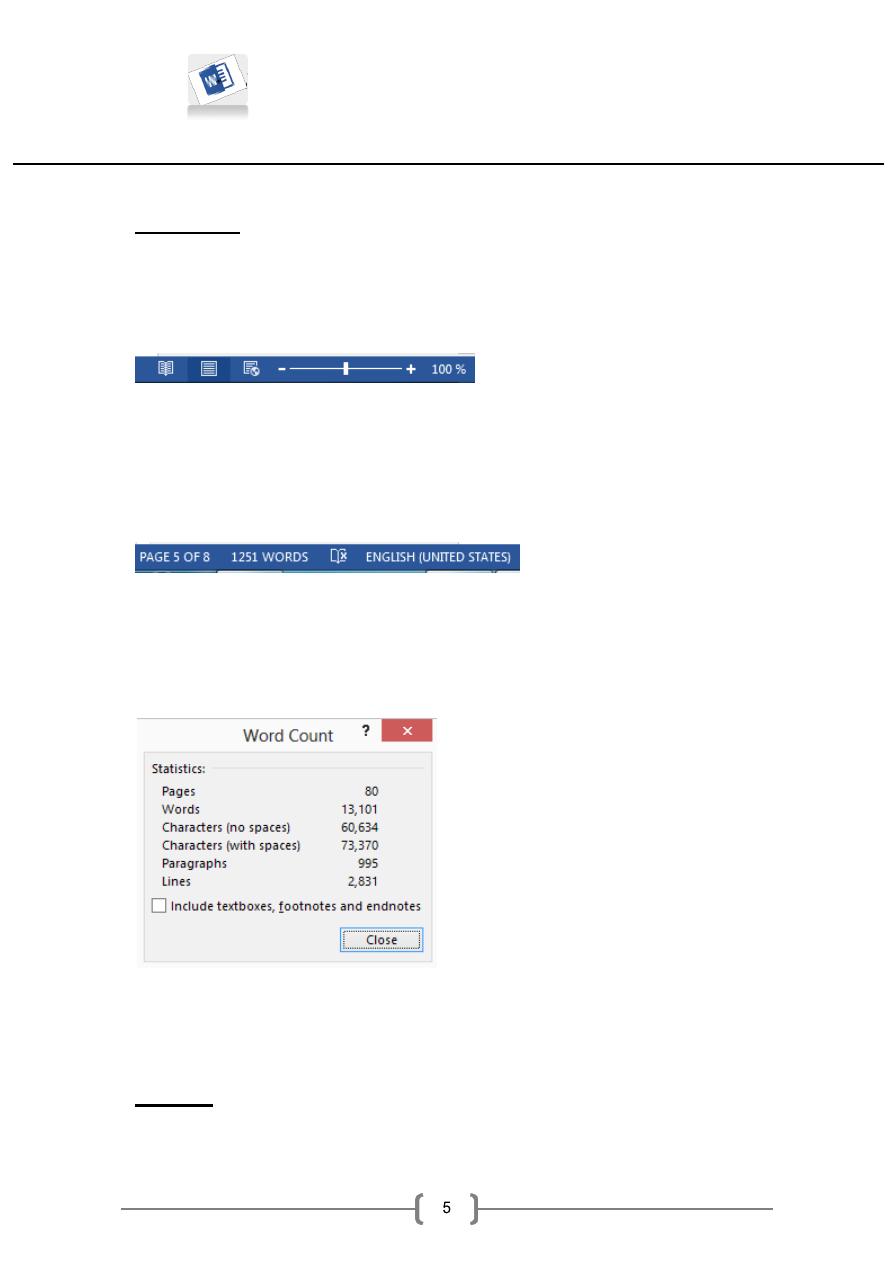
Status Bar:
At the bottom of the window, the status bar has two sets of
commands:
On the right hand side:
The slide on the right allows you to zoom in and out of the document.
The three views on the left will show different versions of the
document.
On the left hand side:
The number of
pages in the document is displayed together with a word count.
Clicking the word count will display the number of characters as
shown as in the following figure.
The button on the right has a cross if there are spelling or
grammatical errors within the document. If the document is correct,
the button is shown with a tick.
File tab:
First stage – College of Medicine – University of Mosul / Nineveh
Word 2013
Assistant Lecturer: Zina Abdul Salam
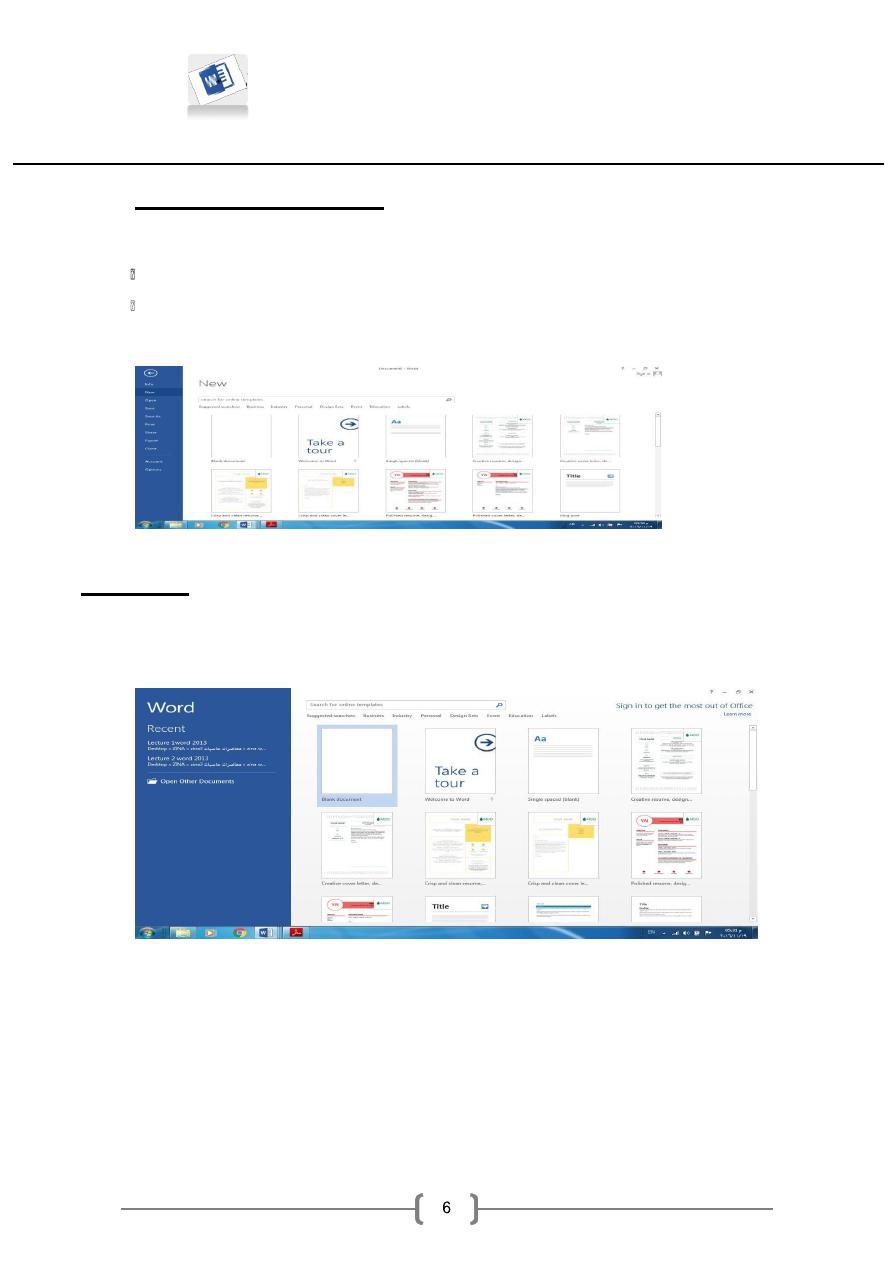
Creating a New Document
To Create a New Blank Document:
Click the file tab.
Select New. The New Document dialog box appears
.
Select blank document.
Open a File
1. Open Word 2013.
2.
Open From recent document or choose open other document
OR Click on file tab.
Click Open. And choose computer.

First stage – College of Medicine – University of Mosul / Nineveh
Word 2013
Assistant Lecturer: Zina Abdul Salam
3. Keyboard shortcut to display the Open dialog box, press CTRL+O.
4. In the Look in list or Navigation pane, click the folder, drive,
removable media (such as flash drive, CD, or DVD), or Internet
location that contains the file that you want to open.
Note By default, the files that you see in the Open dialog box are only
those files that are created by the program that you are using. For
example, if you are using Microsoft Office Excel, you do not see files
that are created by using Microsoft Office Word unless you click All
Files in the Files of type box.
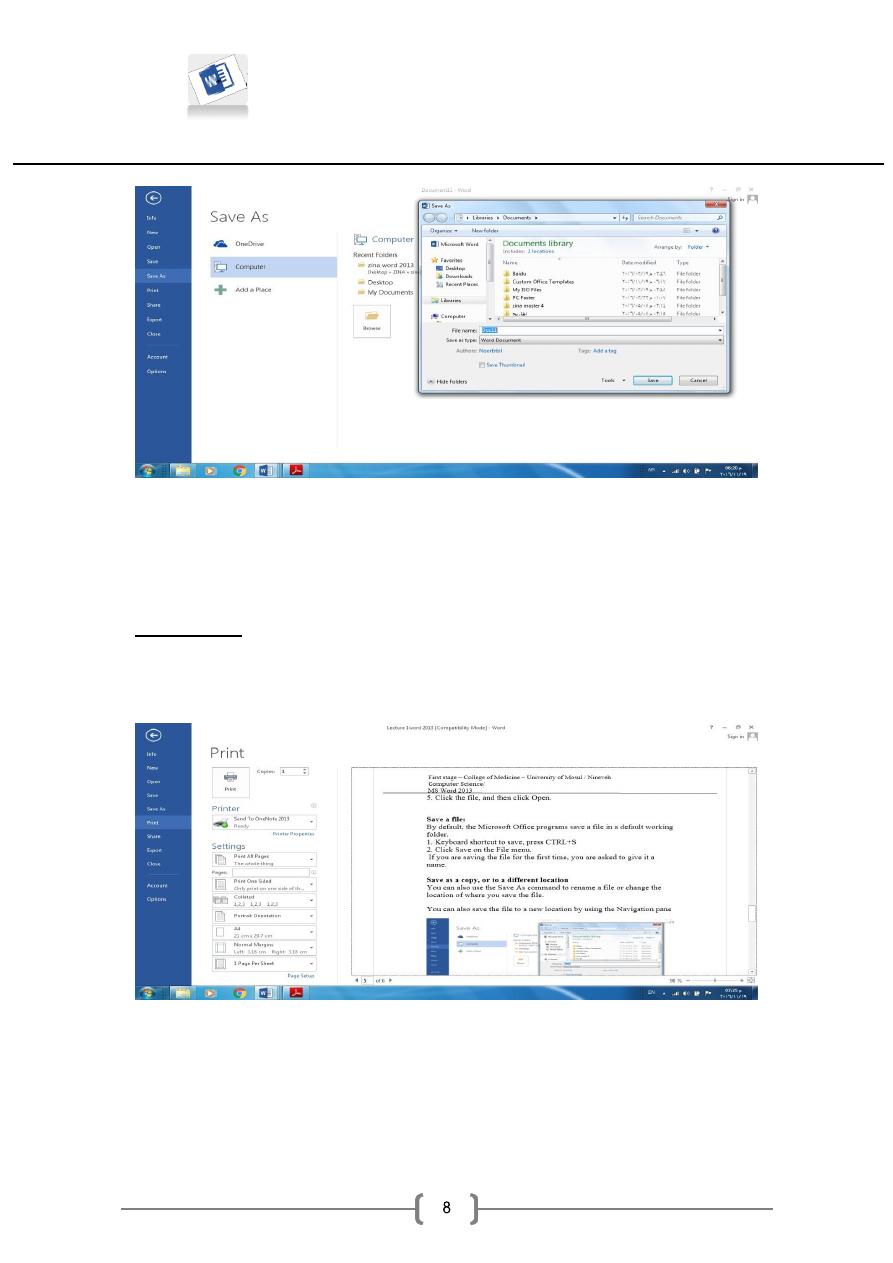
Save a file:
By default, the Microsoft Office programs save a file in a default
working folder.
1. Keyboard shortcut to save, press CTRL+S
2. Click Save on the File menu.
If you are saving the file for the first time, you are asked to give it a
name.
Save as a copy, or to a different location
You can also use the Save As command to rename a file or change the
location of where you save the file.
You can also save the file to a new location by using the Navigation
pane
First stage – College of Medicine – University of Mosul / Nineveh
Word 2013
Assistant Lecturer: Zina Abdul Salam
1. To choose a folder or type a path to the folder, use the Address bar.
2. To quickly see locations you use a lot, use the Navigation pane.
3. To see more file types, click the arrow.
Print a file:
1. Print on the File menu.
2. Keyboard shortcut to display the Print dialog box is CTRL+P
, click a printer you have installed and want to use
The following settings in the Print dialog box:
-
Click the options that you want, such as the number of
pages or which
pages you want to print,

First stage – College of Medicine – University of Mosul / Nineveh
Word 2013
Assistant Lecturer: Zina Abdul Salam
-Number of copies that you want to print.
-print on one side of the page or both side
-collated or uncollated
-portrait orientation or landscape orientation
-more paper size
-custom margins
-scale to paper size
Upload by: Fahad A.