Lecture 2
2016 -2017
Maha alani
1
Insert Picture to the slide
1. Click on [Picture] in the Insert tab on Image Group then select the
picture from your computer.
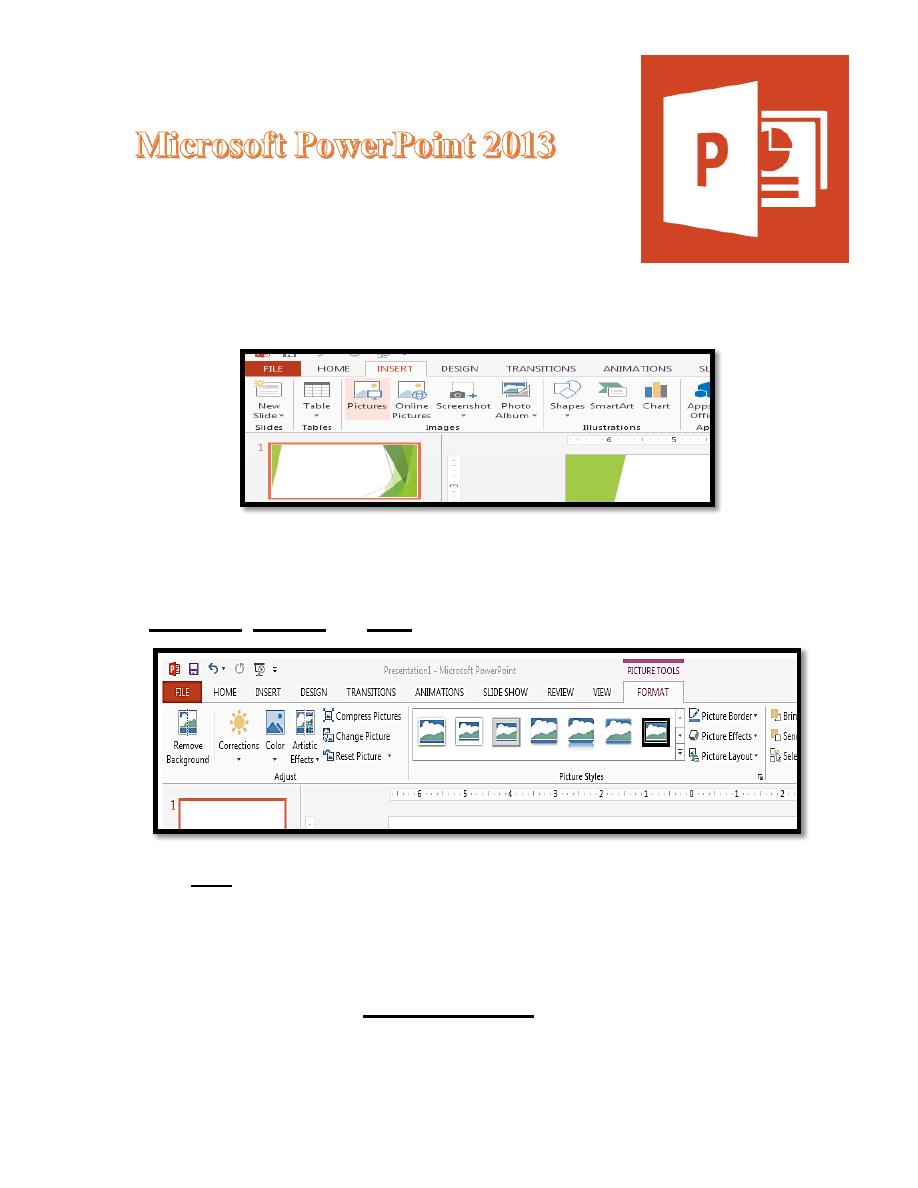
2. Double click on the picture you want, to add it to your slide and an
extra Picture Tools Format tab is added to the Ribbon:
The buttons on this tab allow you to change things like the picture's
brightness, contrast and color (in the Adjust group).
The crop tool (in the Size group) lets you cut off unwanted areas by
trimming down the edges of the picture. You can experiment with these
options if you like. Clicking on the slide, away from the picture, changes
back to the Home tab. When you click on the picture again, the Picture Tools
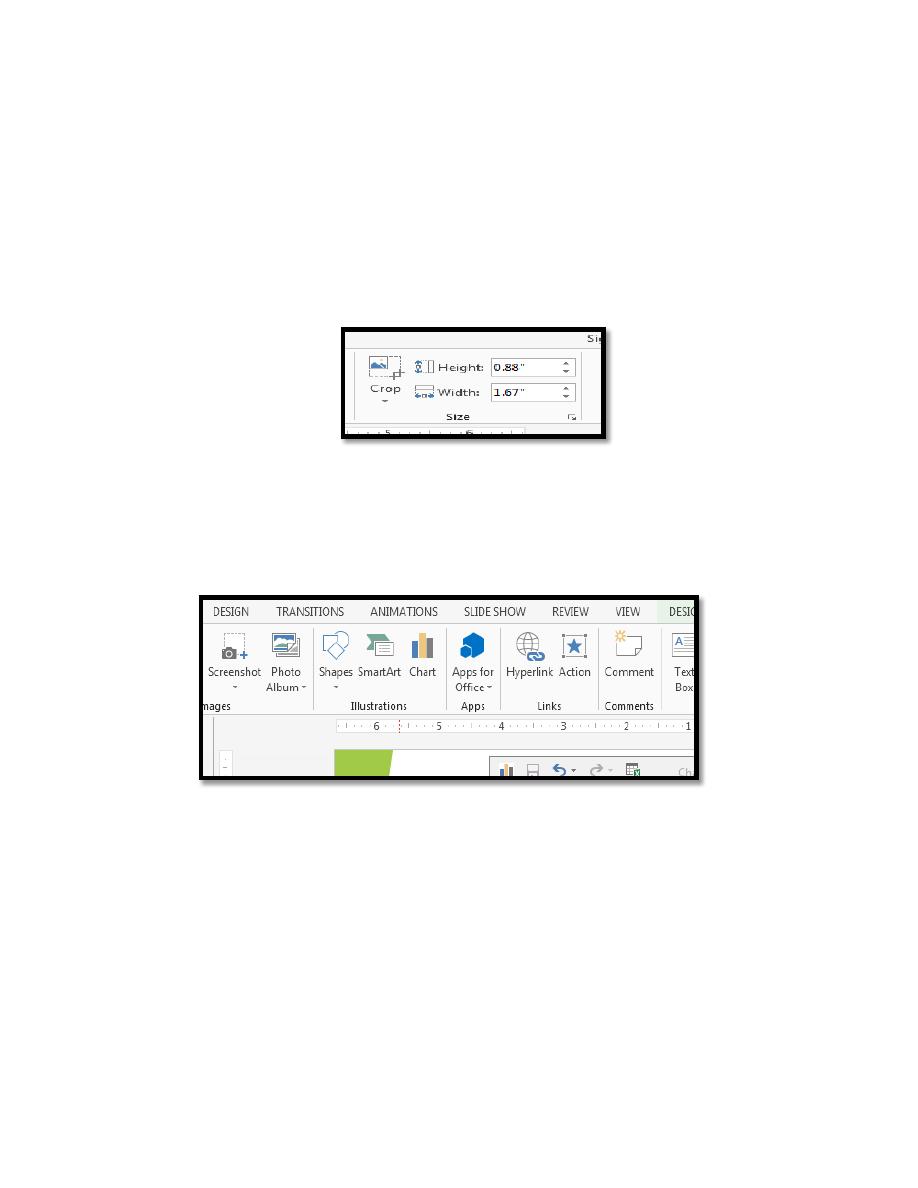
Format tab reappears. With the picture selected, you can easily change its
size, position or rotate it. To change the size:
Lecture 2
2016 -2017
Maha alani
2
Point the cursor to one of the white circles or squares (border handles)
around the picture then hold down the mouse button and drag the
handle out (to make it bigger) or in (to make it smaller)
To reposition the image, point inside the picture placeholder then hold
down the mouse button and drag it to the required position
To rotate the picture move the pointer over the circle (top center) then
hold down the mouse button and move the mouse in a circular motion
Insert Chart to the slide
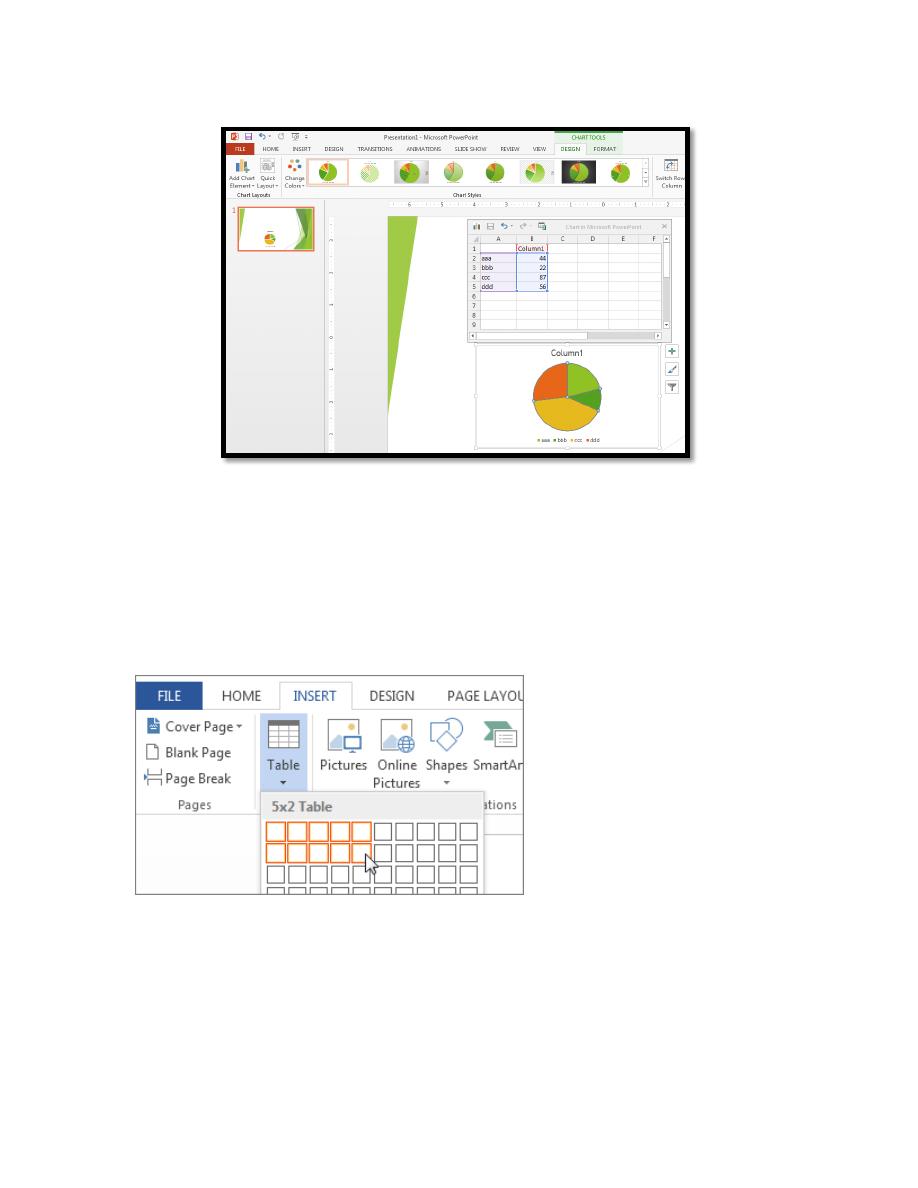
1. Click on Insert tab in Illustrations Group click on chart, select the
chart type from the chart menu .
2. The original data in the chart was changed through the table that
appears, and the [Quick Layout] button on the CHART TOOLS
DESIGN tab was used to get percentages
Lecture 2
2016 -2017
Maha alani
3
3. A Chart layouts group is used to produce an organization chart. You
can add a chart elements and change the chart layout.
Insert Table to the slide
To quickly insert a basic table, click Insert > Table and move the cursor
over the grid until you highlight the number of columns and rows you want.
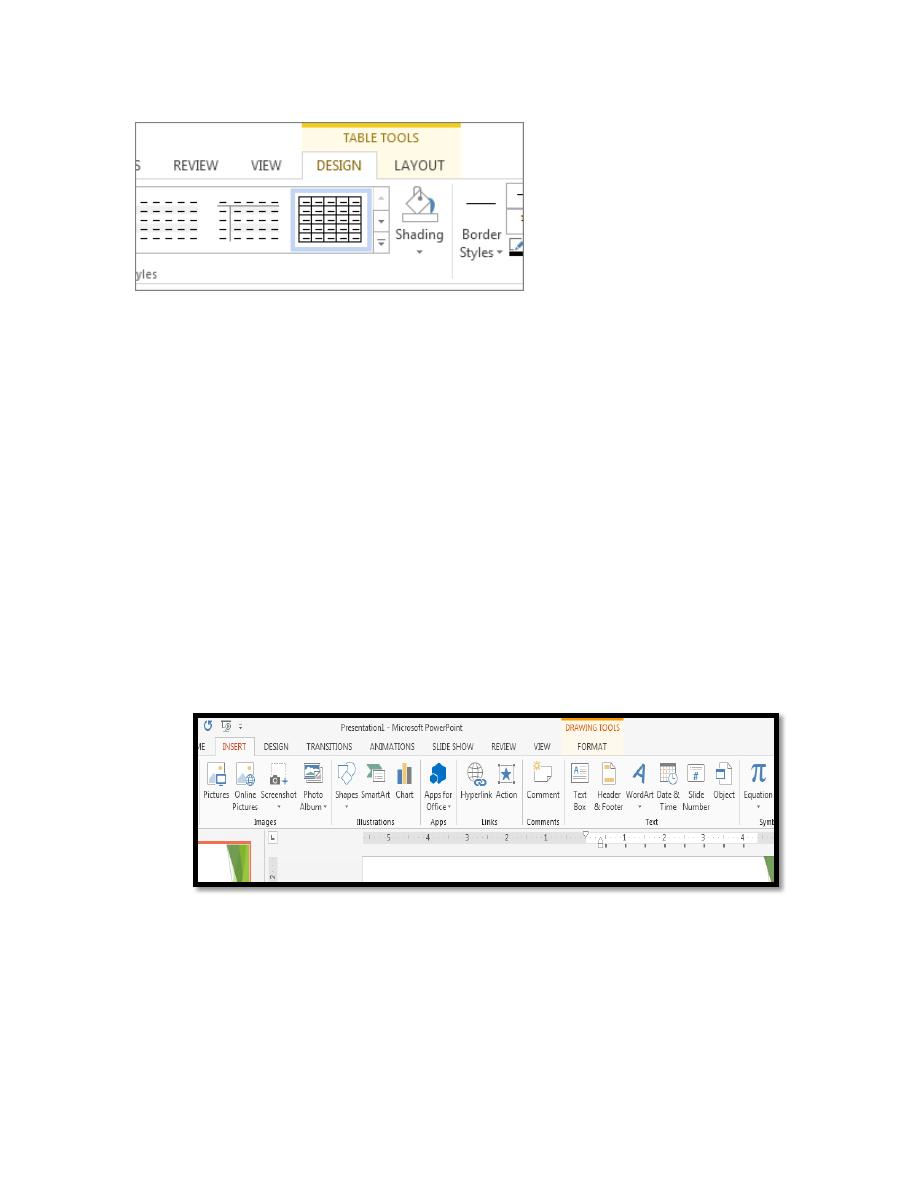
Click and the table appears in the document. If you need to make djustments,
you can add table rows and columns, delete table rows and columns, or
merge table cells into one cell. When you click in the table, the Table Tools
appear.
Lecture 2
2016 -2017
Maha alani
4
Use Table Tools to choose different colors, table styles, add a border to a
table or remove borders from a table. You can even insert a formula to
provide the sum for a column or row of numbers in a table.
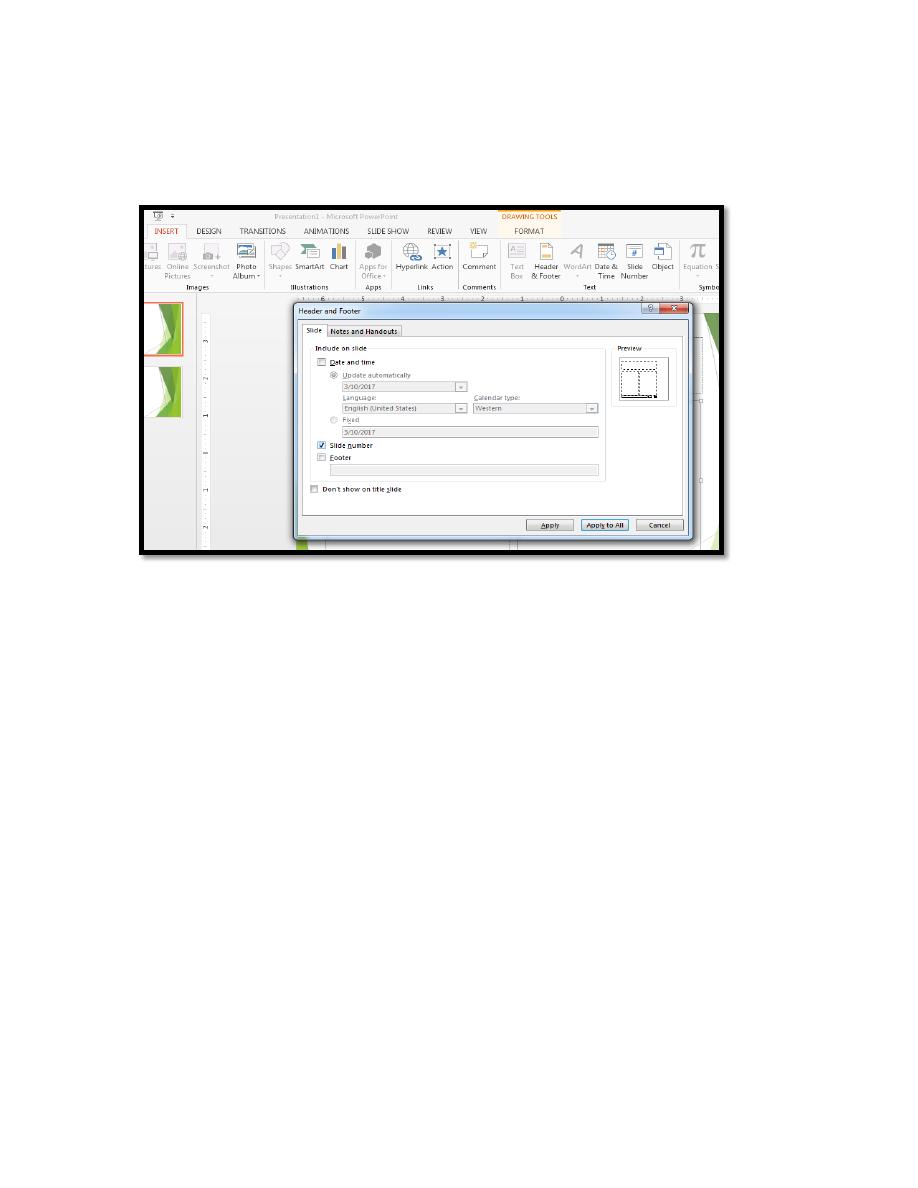
Adding a Header/Footer, Date or Slide Number
You can add the following further information to the top/bottom of each slide:
The header/footer is often used to show your name, the presentation title
or copyright information
The date can show either the date the presentation was last saved or the
current date
The slide number to add information at the top/bottom of your slides:
1. Move to the INSERT tab on the Ribbon then, in the Text group, click on
[Header & Footer]
2. Turn on the Date and time option - Update automatically will refresh the
date to show today’s date whenever you open the presentation and also allows
you to choose from a range of display formats
3. To add slide numbers, turn on Slide number
4. To add footer text, turn on Footer and type your text (e.g. PPT Lecture)
Lecture 2
2016 -2017
Maha alani
5
5. To add this information to all of the slides, click on [Apply to All] you
should find that all of your slides, apart from the first Title Slide, now have
some information at the top or bottom.
If you want to remove this information from certain slides:
Select these slides (use to select more than 1 slide)
Move to the INSERT tab then click on [Header & Footer] in the Text
group.
Clear the check boxes for information you don't want shown then click
on [Apply] If you want to change the look of your information at the
top/bottom of all the slides, e.g. font or color, or you want to move it to
a different position on the slide, then you have to make the changes on
the Slide Master.
Adding Web and Email Links to the Slide
You can easily set up a web or email link on a slide that will open up
the web or email when clicked on during the presentation.
If you add a web address to a slide it is hyperlinked automatically. As the
following:
Lecture 2
2016 -2017
Maha alani
6
1. Move to the slide where you want the link to appear - e.g. the 2nd slide
entitled Introduction
2. Drag through the text to be used for the hyperlink - e.g. lectures
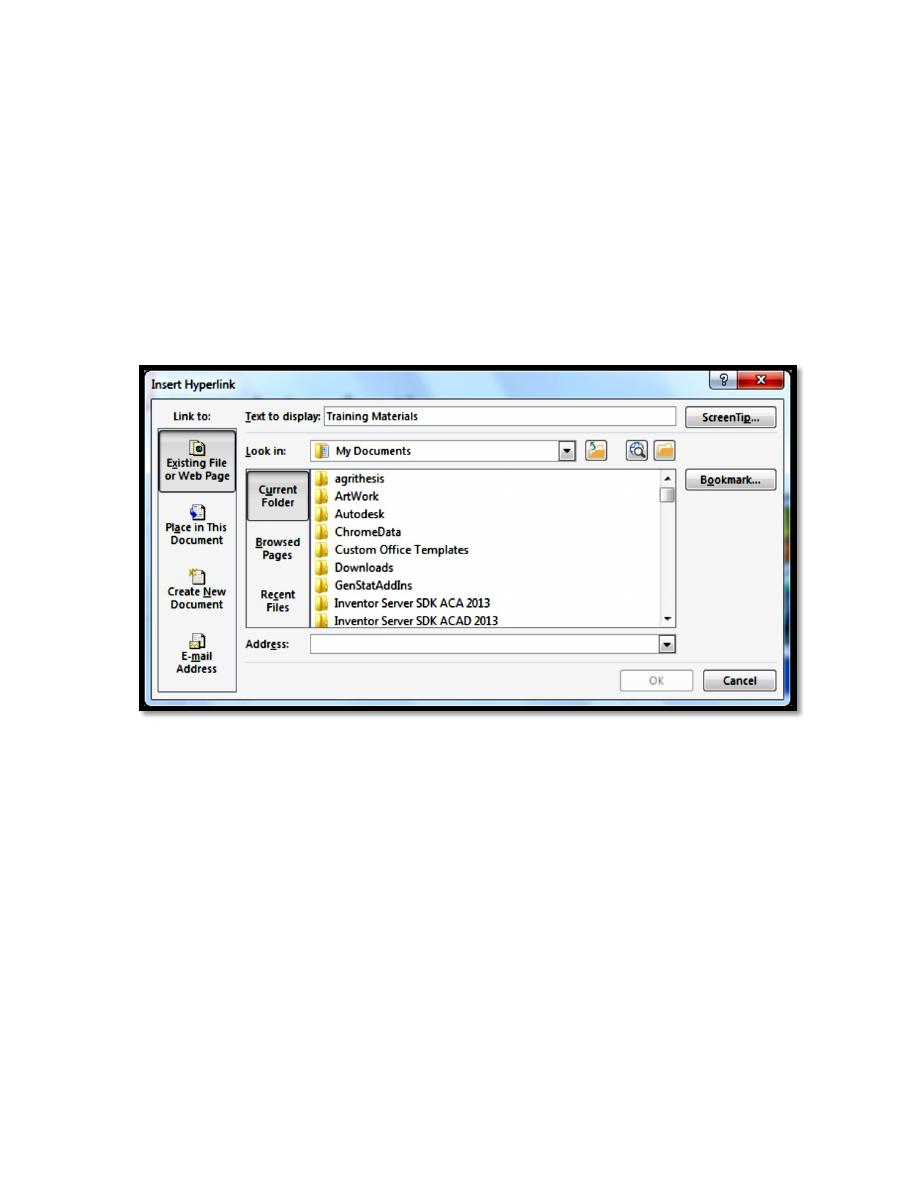
3. Move to the INSERT tab and click on the [Hyperlink] icon in the Links
group (or press
<Ctrl k>
) - an Insert Hyperlink window similar to that below
appears:
4. In the Address text box, type in the following web address (or a different
one if using your own data),
Note: you can also insert an address from previously Browsed Pages or use
[Browse the Web] to pick it up. An email link can be setup similarly. If you
type it in as text on a slide then it is hyperlinked automatically. To add a link
to existing text or a picture, click on [E-mail Address] in the Insert Hyperlink
window, type in the Address in the E-mail address: box and then click on
[OK].
5. Click on the [Slide Show] button on the Status Bar to run the presentation
from the current slide
6. When the web link appears, click on it to test it out (the web page should
appear in Internet Explorer)
Lecture 2
2016 -2017
Maha alani
7
7. [Close] or [Minimize] the Internet Explorer window to return to your
PowerPoint slideshow
8. Finish running your show (or press
<Esc>
to end it immediately) then
press
<Ctrl s>
to [Save] it.
Add audio to your PowerPoint presentation
You can add audio, such as music, narration, to your PowerPoint
presentation. To record and hear any audio, your computer must be equipped
with a sound card, microphone, and speakers.
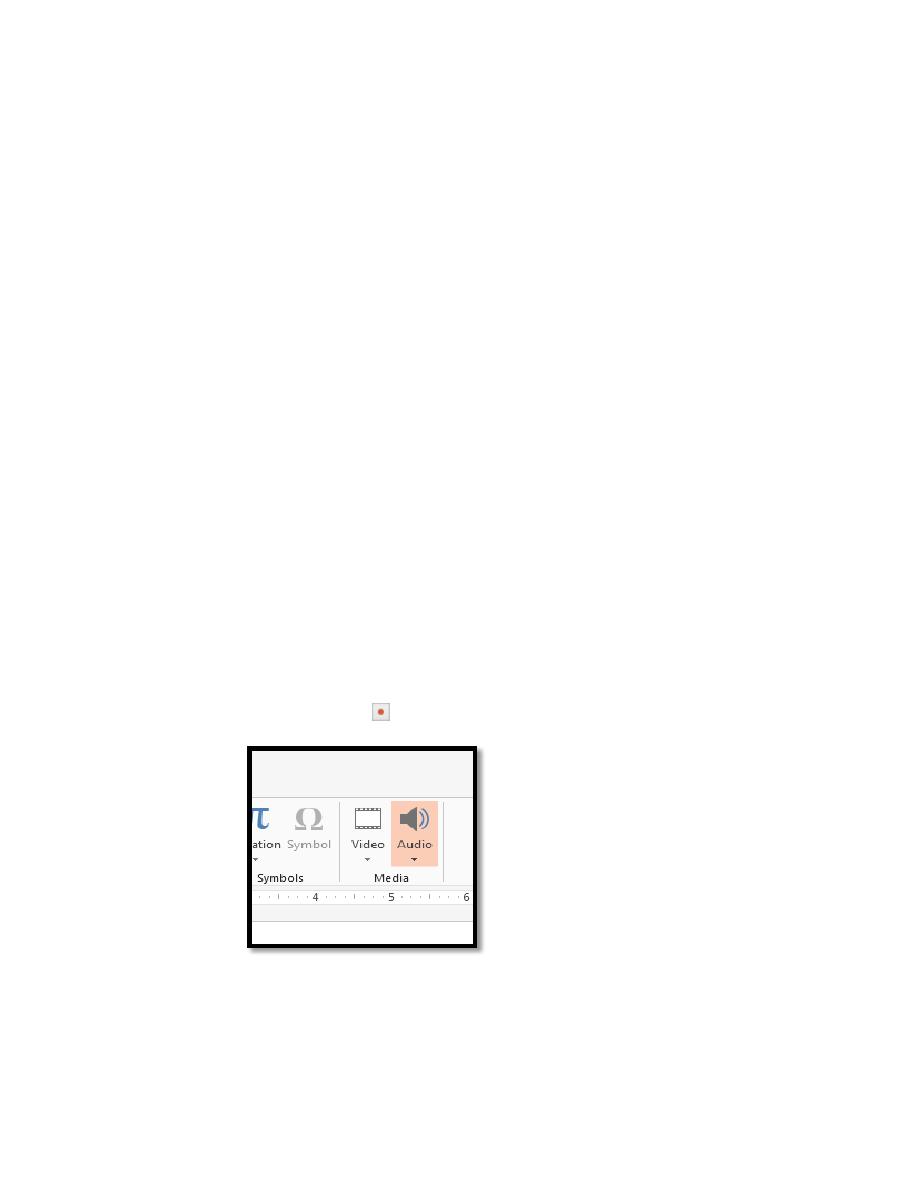
In Normal view, click the slide that you want to add a sound to.
1. On the Insert tab, in the Media group, click the arrow under Audio.
2. Do one of the following:
o
To add a sound from your computer or a network share, click
Audio on My PC, locate and select the audio clip that you
want, and then click Insert.
o
To record and add your own audio, click Record Audio (in
PowerPoint 2013), and in the Record Sound box, click the
Record button to begin speaking or playing your own audio.
The audio icon and controls appear on the slide.
Lecture 2
2016 -2017
Maha alani
8
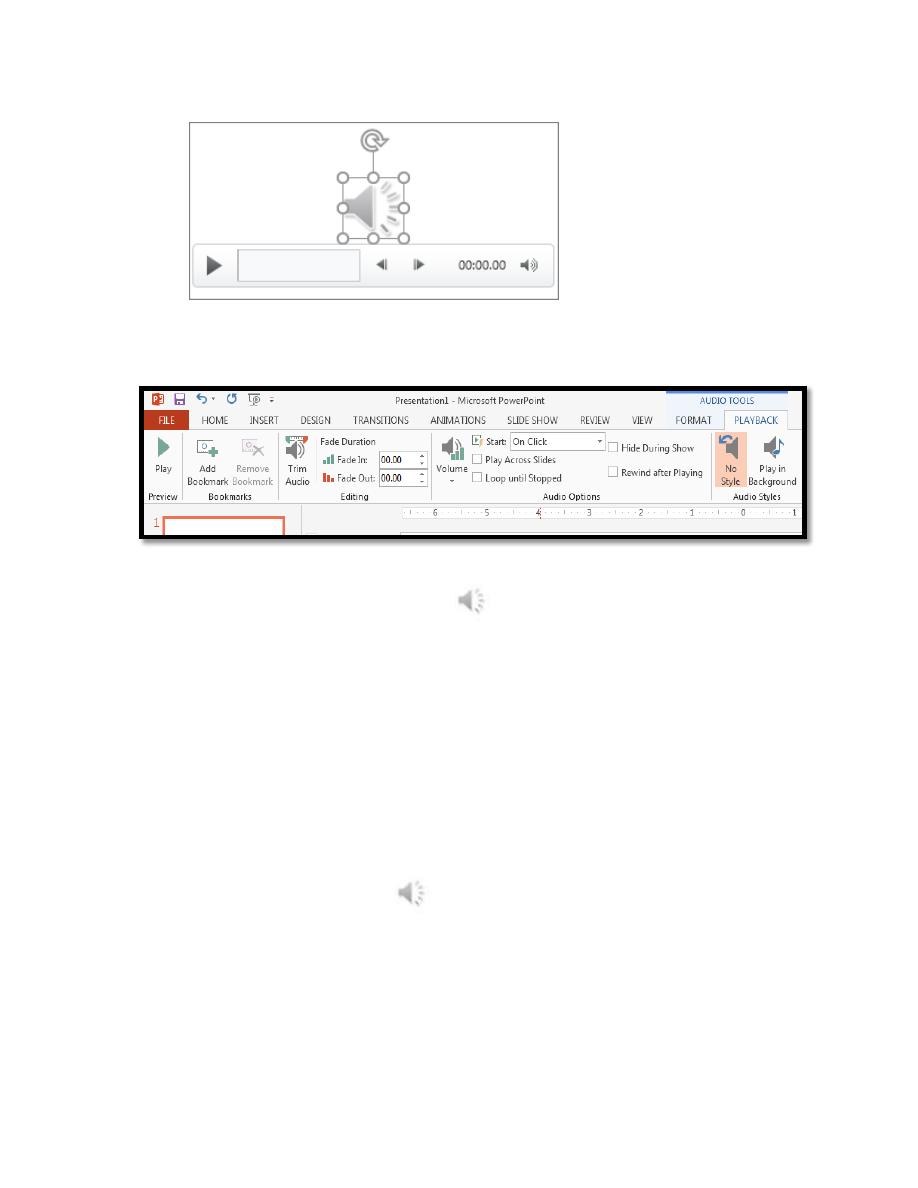
3. In Normal view or Slide Show view, click the icon and click Play to
play the music or other sound.
On the slide, select the audio clip icon
.
1. Under Audio Tools, on the Playback tab, in the Audio Options
group, do one of the following:
o
To start the audio clip automatically when you show the slide,
in the Start list, click Automatically.
o
To manually start the audio clip when you click it on the slide,
in the Start list, do the following.
(PowerPoint 2013) Select On Click.
1. Click the audio clip icon
.
2. Under Audio Tools, on the Playback tab, in the Audio Options
group, select the Hide During Show check box.