Lecture 3
2016 -2017
Maha alani
1
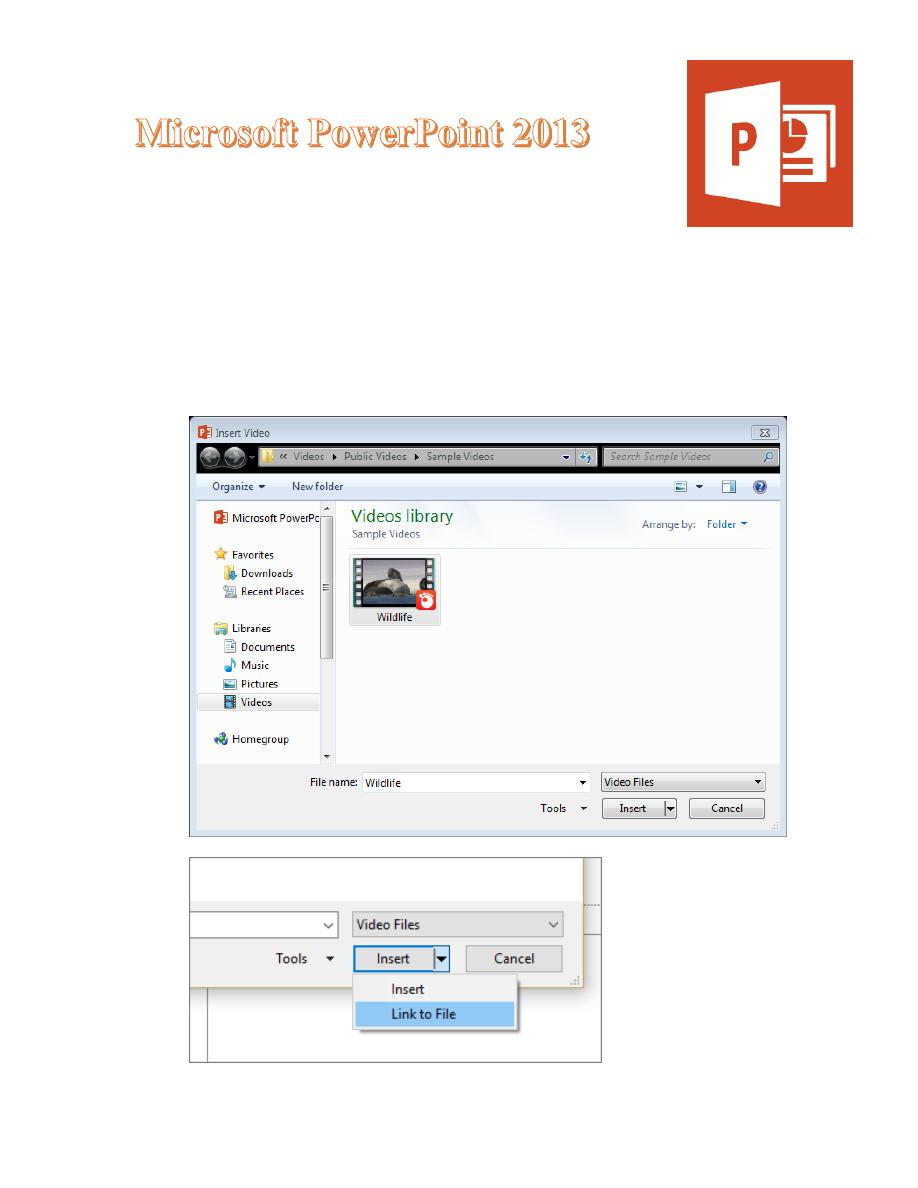
Add video to your PowerPoint presentation stored
on your PC
1. In Normal view, click the slide where you want the link to the video
to be in.
2. On the Insert tab, click the arrow under Video, and then click Video
on my PC.
3. In the Insert Video box, click the file that you want to link to, click
the down arrow next to the Insert button, and then click Link to File.
Lecture 3
2016 -2017
Maha alani
2
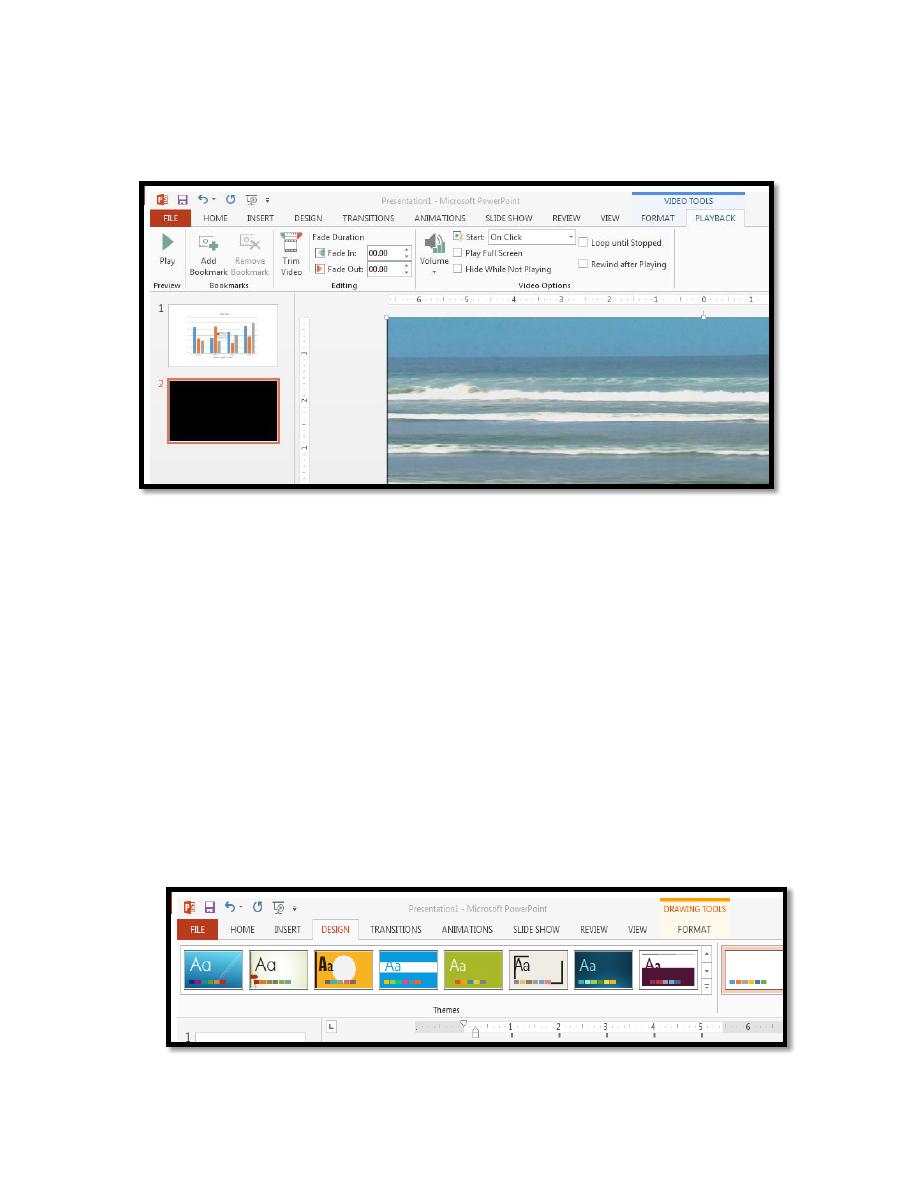
Note: In addition to inserting or linking to a video on your PC, in
PowerPoint 2013, you can insert or link to a video on YouTube.
4. A vedio tools tab appear at the ribbon .
Changing the Theme
Themes, like slide masters, should always be used when developing
more advanced presentations. Within a theme, you can change the
colors, fonts and effects that are used.
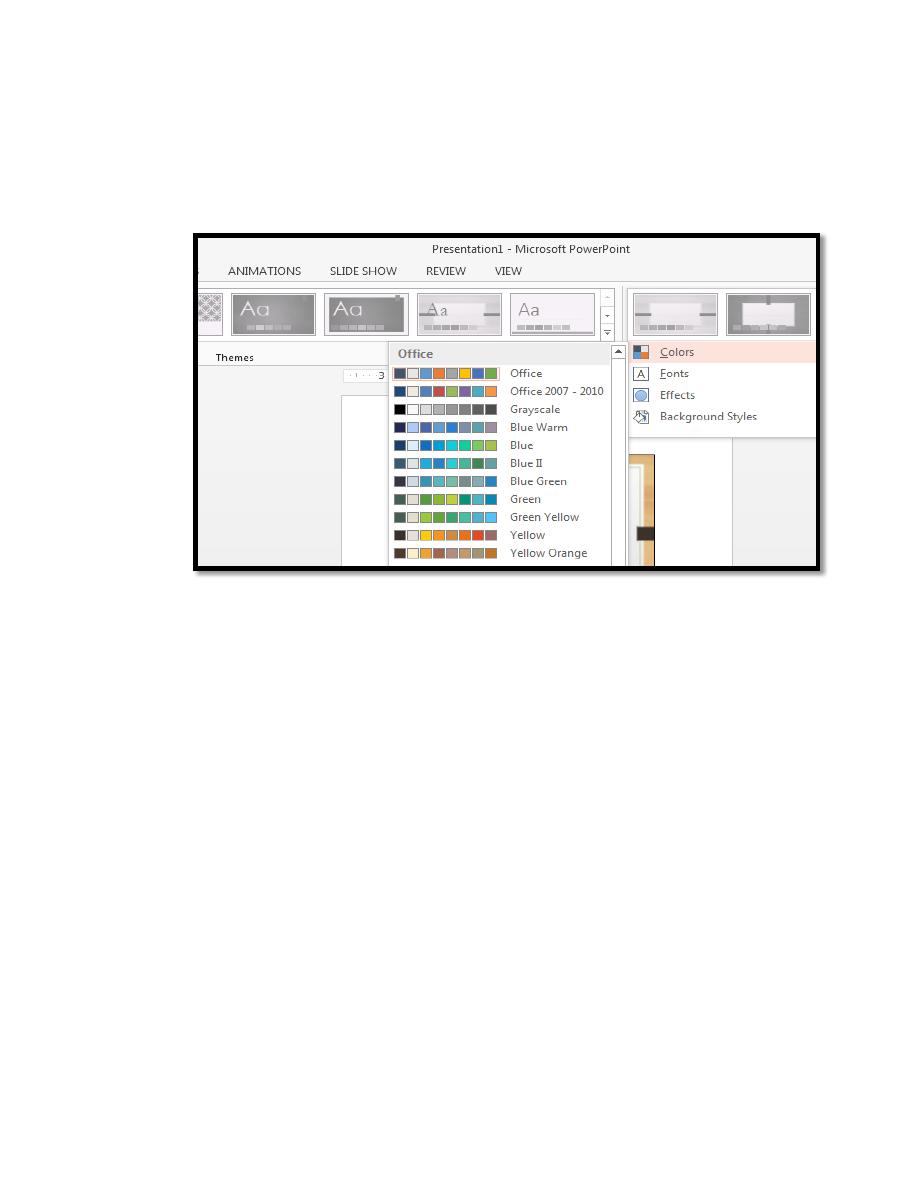
Each color theme is a palette of 8 colors which are used for
particular elements in your presentation - e.g. the background, text and
hyperlinks. Rather than change a color for particular elements on each
slide or on the Master Slides, you should reset it in the color theme - it
is then applied to all your slides and Masters automatically.
You will find that different themes have different pre-defined color
themes:
Lecture 3
2016 -2017
Maha alani
3
1. Move to the DESIGN tab – the ribbon changes to show a number of
different themes.
2. To the right of the themes is the Variants group – move the mouse
over the various color themes to see a preview of them.
Animating your Presentation
Presentations are greatly improved by adding animation. PowerPoint
gives you a wide selection of built-in animations, both when moving between
one slide and the next and within each slide. Slide Transitions Instead of
simply moving abruptly from one slide to another during a presentation,
Slide Transitions
Allow slides to dissolve into each other, using a variety of different
special effects. These can make your on-screen presentation look even better
and more professional:
1. Check you are in Normal view and that the first slide is selected
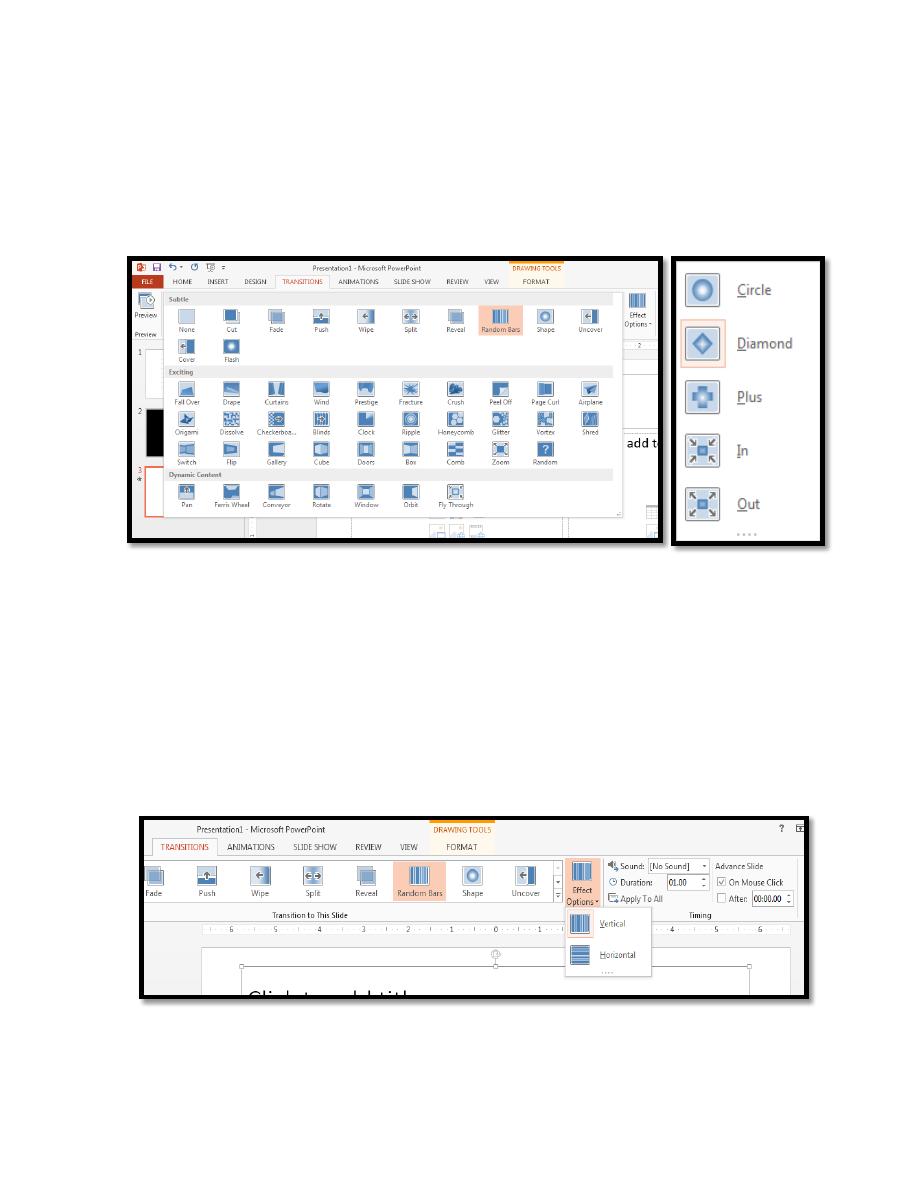
2. Move to the TRANSITIONS tab to see the following ribbon:
Dominating the ribbon is the Transition to This Slide group. As you click on
an icon, you’ll see the transition effect on the slide (there is also a More arrow
that will show you all the different transition effects in one window). The
Lecture 3
2016 -2017
Maha alani
4
[Effect Options] button lets you change the direction of the effect. Timing
(the group to the right) lets you change the speed of the transition effects.
3. Choose one of the transition effects for the first slide (the [More] button
shows all the effects) Note that a small star symbol appears to
the left of the first slide miniature - this indicates that a transition has been
setup on this slide.
4. Click on [Effect Options] and change the direction of the effect
5. Increase the Duration: of the transition to slow it down and see the effect
more clearly. You can also set up a Sound.
Lecture 3
2016 -2017
Maha alani
5
6. Under Advance Slide, set the next slide to appear after: a set number of
seconds
7. Move to the next slide and repeat steps 3 to 6, choosing different effects
8. Finally save your presentation then run it to see the effects.
9. Click on [Apply to All]
Animation Schemes
PowerPoint allows information on your slides to appear one item at a time.
This stops your audience from reading ahead of you, making them
concentrate on each point individually.
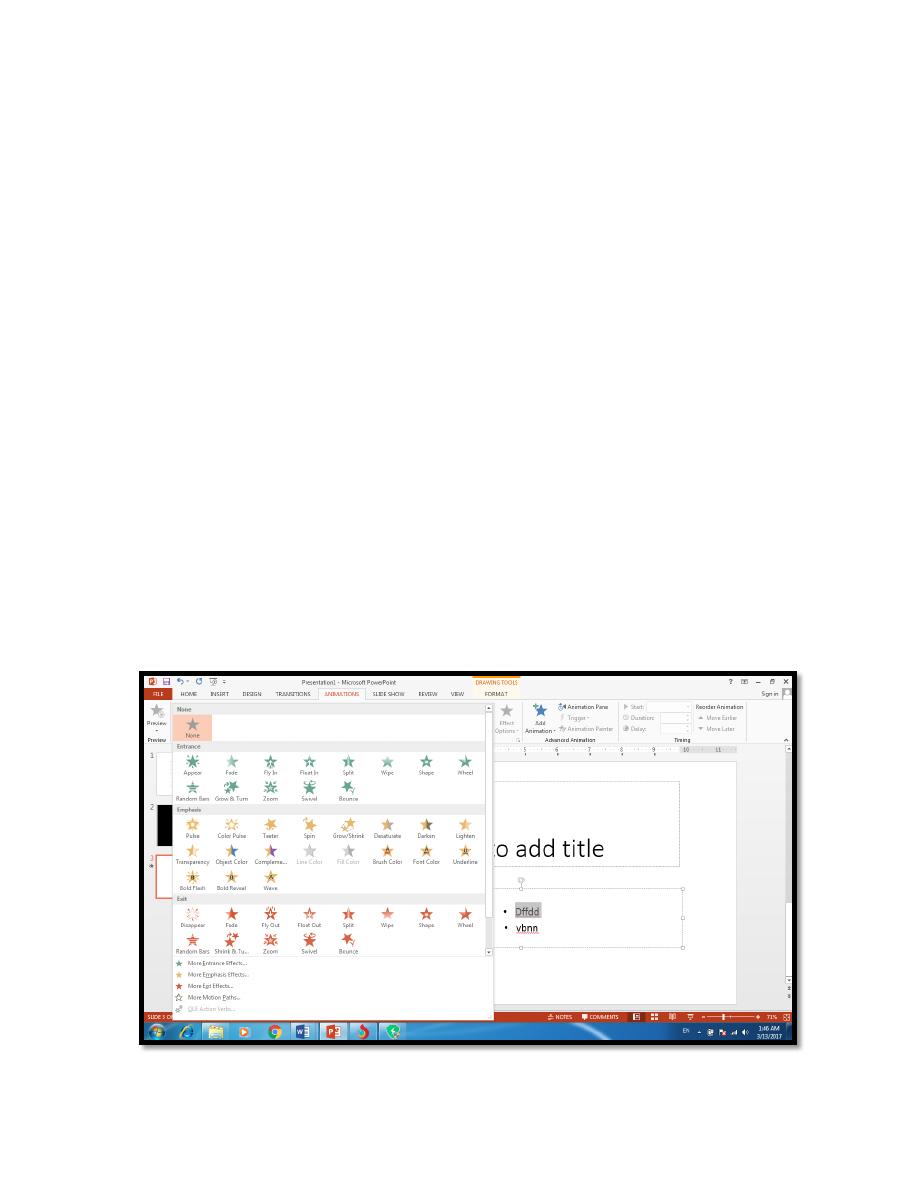
1. Move to the ANIMATIONS tab then click on a slide with a bulleted list
on it (e.g. slide 2)
2. Click on the bullet points then move the mouse over the Animations icons
and watch the effects
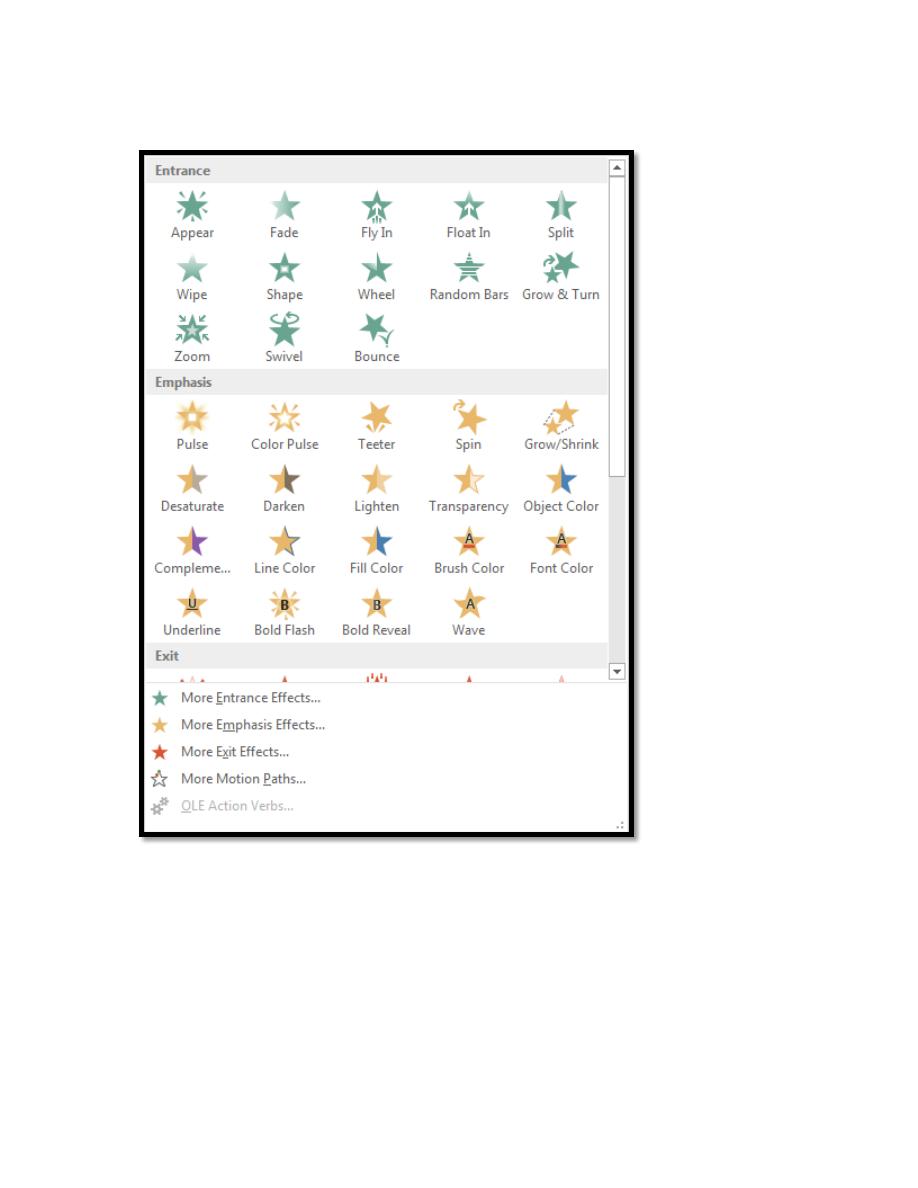
3. Click on the [More] button at the foot of the Animations scroll bar to see
more animations:
Lecture 3
2016 -2017
Maha alani
6
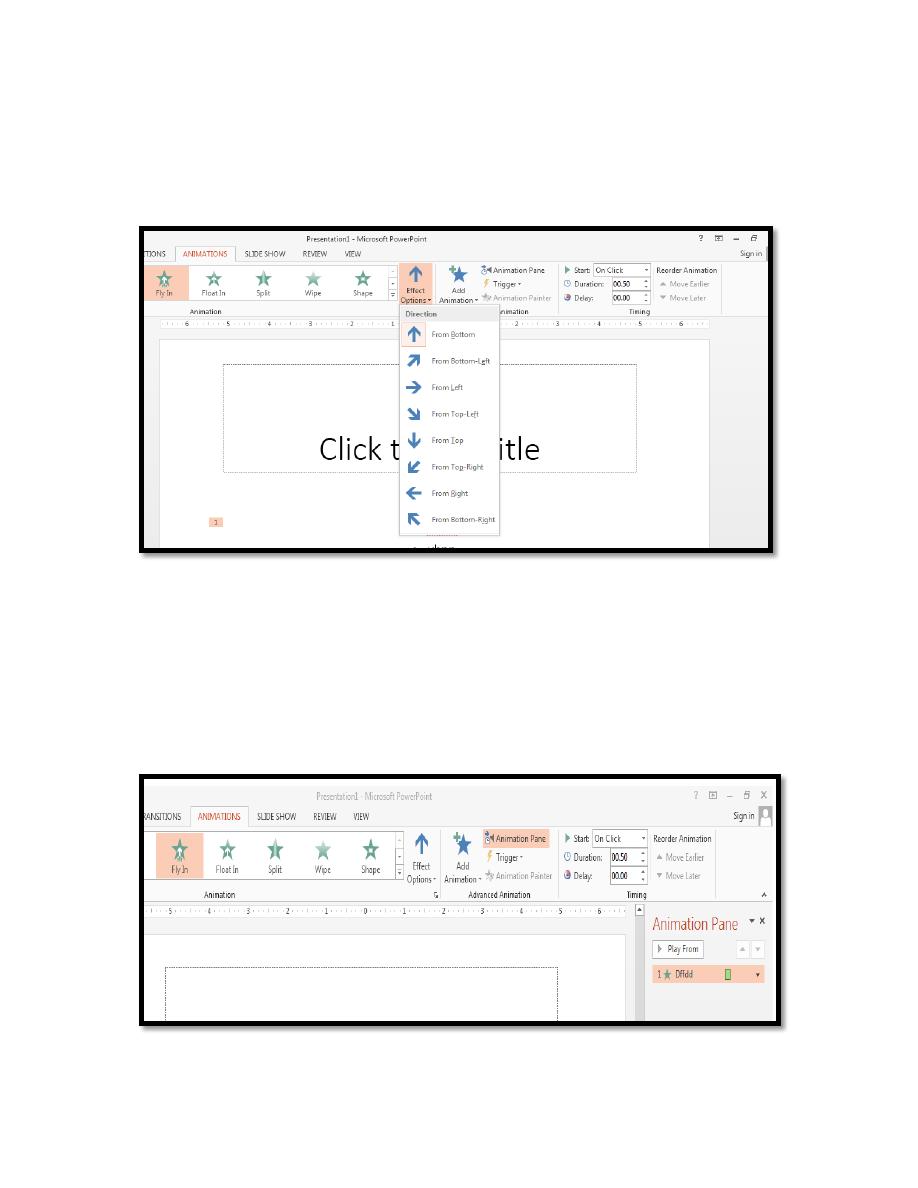
4. From the list of animations choose one of them, e.g. Fade
5. Click on [Effect Options] (if active) and see what is available
6. Repeat steps 3 to 5 for another slide with bullet points, choosing a
different animation
7. Click on the slide title on one of the slides that you’ve already animated
8. Next, click on the [Animation Pane] button in the Advanced Animation
group to display the task pane Currently, the title (and picture) isn’t
animated. To add animation:
Lecture 3
2016 -2017
Maha alani
7
9. Click on the [Add Animation] button and choose an Entrance animation
10. Click the <▲> button (or on [Move Earlier] in the Timing group) to
animate it before the list
11. Select the title again and this time [Add Animation] choosing an
Emphasis animation
12. Repeat step 10 to move it to second in the list
13. Click the [Play From] or [Preview] button to view your changes

Lecture 3
2016 -2017
Maha alani
8
14. Next, try animating the picture, displaying it after the title animations
15. Finally, save your presentation (press <Ctrl s>) then run it from the first
slide (press <F5>)