1
First stage
حاسبات
Lec-2
16/12/2015
د.مها العاني
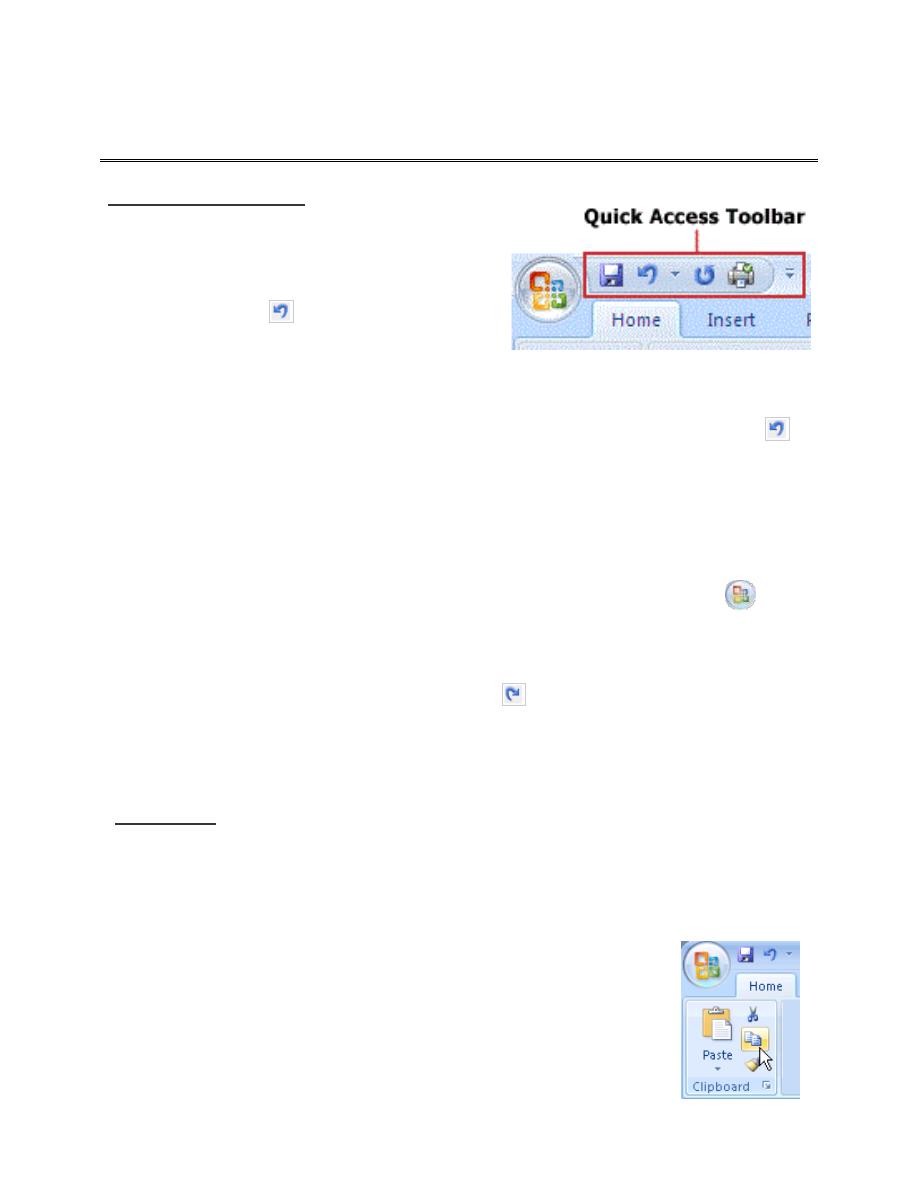
Quick Access Toolbar
To
undo
an action, do one or more of the
following:
Click Undo
on the Quick Access
Toolbar.
Keyboard shortcut Press CTRL+Z. to undo your last action.
To undo several actions at the same time, click the arrow next to Undo
,
select the actions in the list that you want to undo, and then click the list.
All of the actions that you selected are undone or reversed.
Note
Some actions can't be undone, such as clicking any Office Button
command or saving a file. If you can't undo an action, the Undo command
changes to Can't Undo.
To
redo
an action that you undid, click Redo
on the Quick Access Toolbar.
Keyboard shortcut Press CTRL+Y or F3. For the F3 function key to redo
your last action.
Copy items
When you copy multiple items to the Office Clipboard, the last item that you
copy is always copied to the system Clipboard.
Word
1. Open the file that you want to copy items from.
2. Select the first item that you want to copy.
3. On the Home tab, in the Clipboard group, click Copy.
Keyboard shortcut to copy an item, press CTRL+C.

2
4. Continue copying items from the same or other files until you have collected
all of the items that you want. The Office Clipboard can hold up to 24 items.
If you copy a twenty-fifth item, the first item on the Office Clipboard is
deleted.
Paste items
You can paste items from the Office Clipboard individually or all at the same time.
Click where you want the items to be
pasted. You can paste collected items into
any Office program.
When you use the Paste command, the
Paste button, or the keyboard shortcut
CTRL+V, you paste the contents of the
system Clipboard.
Move items or Cut
Select the text that you want to move and then
press Cut command from clipboard or CTRL+X
to move the text.
Click where you want to paste the text, and then
press CTRL+V.
Use the Format Painter
Use the Format Painter on the Home tab to quickly copy formatting from one thing
in a document to another. Select the thing you like the look of, click Format
Painter, and then click the thing you want to change to look
the same.
1. Select the text or graphic that has the formatting that
you want to copy.
2. On the Home tab, click Format Painter.
3
Note The pointer changes to a paintbrush icon. Double-click Format
Painter if you want to change the format of multiple selections in your
document.
3. Select the text or graphic that you want to format.
4. To stop formatting, press ESC.
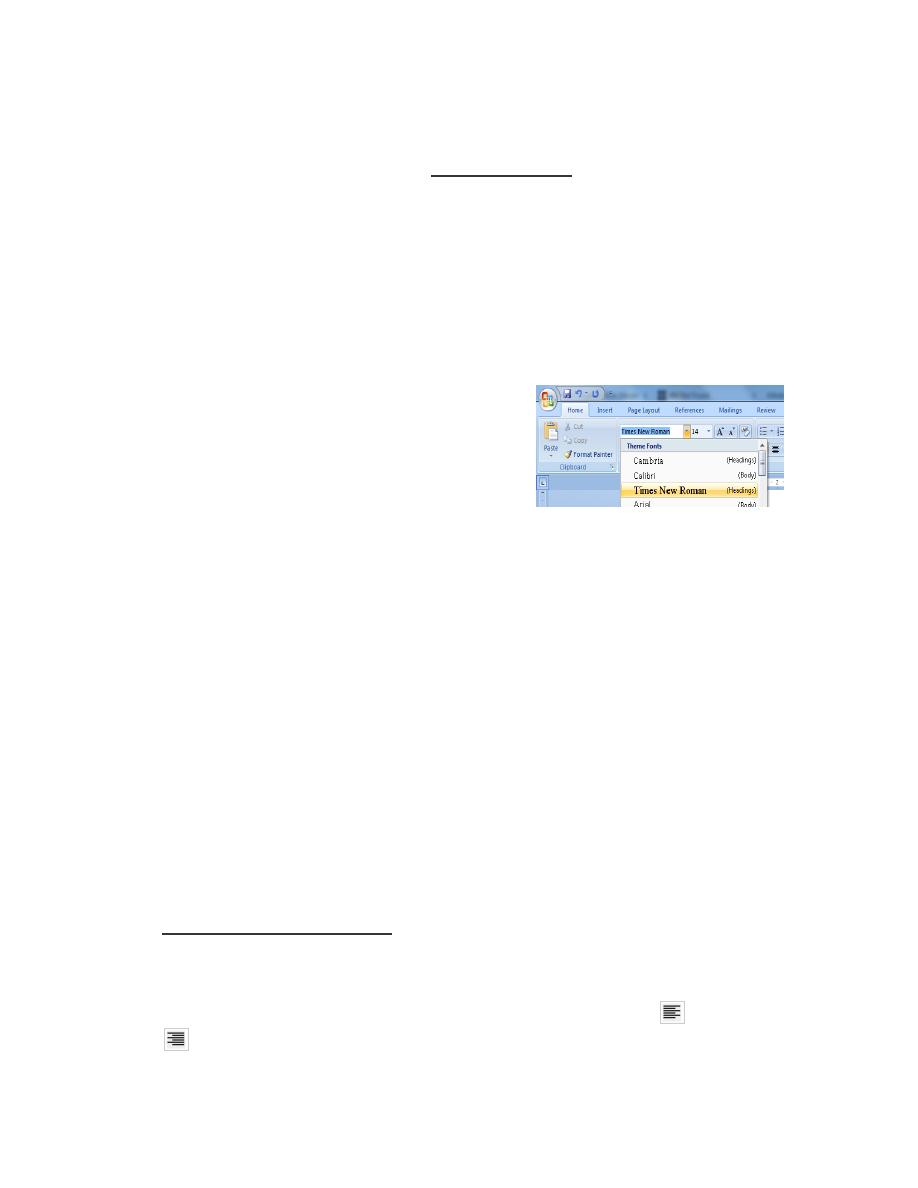
Preview formats, fonts, and styles before you apply them
You can see how formatting options such
as fonts and Quick Styles will look
Select the text that you want to format.
On the Home tab, in the Font group:
Click the Font box down-arrow, and then move the pointer over the fonts.
Click the Font Size box down arrow, and then move the pointer over the font
sizes.
Click the Text Highlight Color button down-arrow, then move the pointer
over the highlight or fill colors.
Click the Font Color button down-arrow, then move the pointer over the font
colors.
To apply the previewed formatting, click the selected font name, font size, or
color.
To cancel live previewing without applying any changes, press ESC.
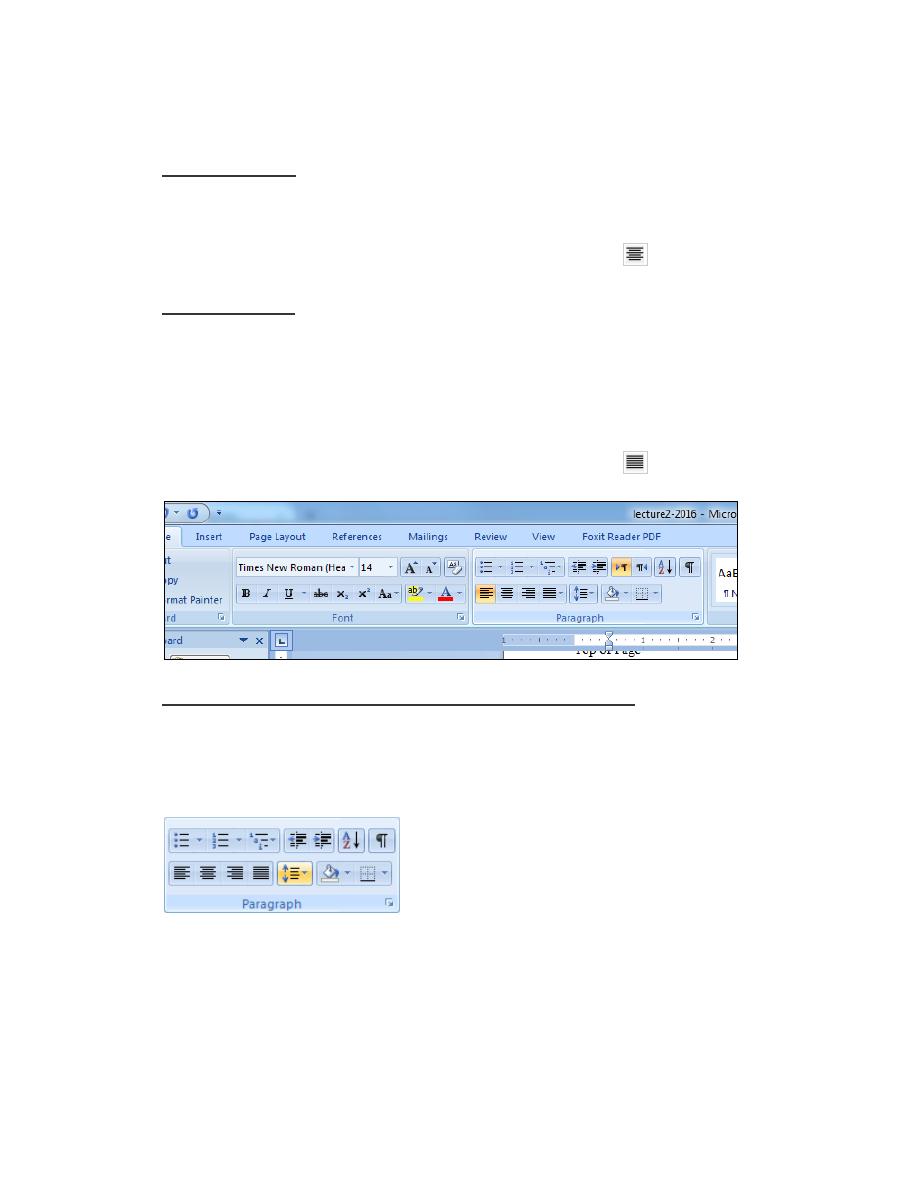
Align the text left or right
Select the text that you want to align.
On the Home tab, in the Paragraph group, click Align Left
or Align Right
.
4
Center the text
Select the text that you want to center.
On the Home tab, in the Paragraph group, click Center
.
Justify the text
You can justify the text, which might make the last line of text in a
paragraph considerably shorter than the other lines.
Select the text you want to justify.
On the Home tab, in the Paragraph group, click Justify
.
Change the line spacing in a portion of the document
Select the paragraphs for which you want to change the line spacing.
On the Home tab, in the Paragraph group, click Line Spacing.
Do one of the following:
Click the number of line spaces that you want.

5
For example, click 2.0, to double-space the selected paragraph. Click 1.0 to
single-space with the spacing that is used in earlier versions of Word. Click
1.15 to single-space with the spacing that is used in Word
2007.
Find and replace text
You can automatically replace a word or phrase with
another — for example, you can replace Acme with Apex.
The replacement text uses the same capitalization as the text that it
replaces unless you select the Match case check box. For example, if you
search for AKA and replace it with Also known as, the result is ALSO
KNOWN AS.
If the Match case check box is selected, Office Word 2007 searches only for
words that match the case of the word or phrase that you typed in the Find
what box. For example, if you search for AKA, the result includes AKA but
not aka.
On the Home tab, in the Editing group, click the Replace tab.
In the Find what box, type the text that you want to search for.
In the Replace with box, type the replacement text.
Do one of the following:
To find the next occurrence of the text, click Find Next.
To replace an occurrence of the text, click Replace. After you click Replace,
Office Word 2007 moves to the next occurrence of the text.
To replace all occurrences of the text, click Replace All.
Note To cancel a replacement in progress, press ESC.
Select text in the body of a document
Note To select an entire document, do one of the following:
On the Home tab, in the Editing group, click Select,
6
And then click Select All. Or Ctrl + A from the keyboard
To select
Do this
Any amount
of text
Click where you want to begin the selection, hold down
the left mouse button, and then drag the pointer over the
text that you want to select.
A word
Double-click anywhere in the word.
A line of text
Move the pointer to the left of the line until it changes
to a right-pointing arrow, and then click.
A sentence
Hold down CTRL, and then click anywhere in the
sentence.
Multiple
paragraphs
Move the pointer to the left of the first paragraph until it
changes to a right-pointing arrow and then press and
hold down the left mouse button while you drag the
pointer up or down.
A large
block of text
Click at the start of the selection, scroll to the end of the
selection, and then hold down SHIFT while you click
where you want the selection to end.
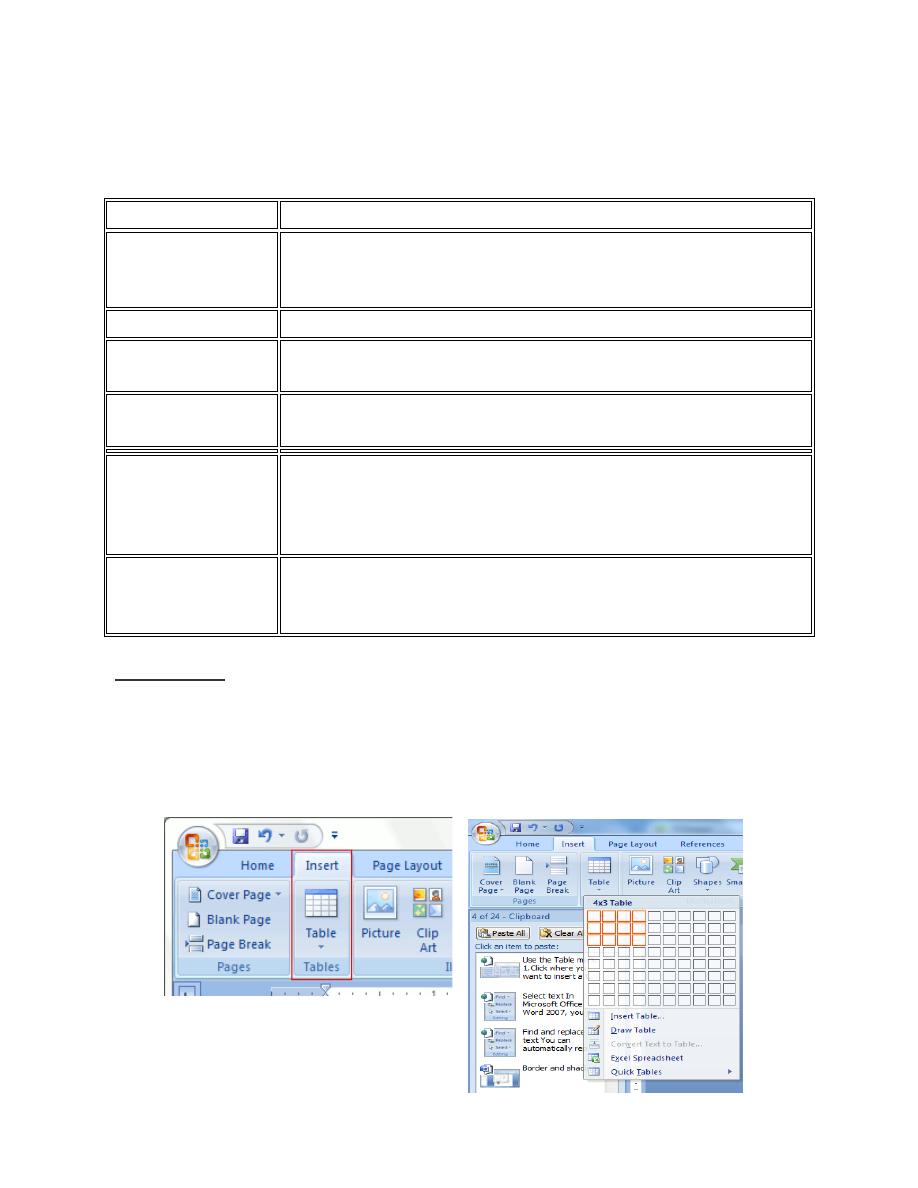
Insert Table
Click where you want to insert a table.
On the Insert tab, in the Tables group, click Table, and then, under Insert
Table, drag to select the number of rows and columns that you want.

7
Add a row above or below
1. Click in a cell above or below where you want to add a row.
2. Under Table Tools, on the Layout tab, do one of the following:
To add a row above the cell, click Insert Above in the Rows and
Columns group.
To add a row below the cell, click Insert Below in the Rows and
Columns group.
Add a column to the left or right
1. Click in a cell to the left or right of where you want to add a column.
2. Under Table Tools, on the Layout
Delete a row from the table
1. Select the row that you want to delete by clicking its left edge.
2. Under Table Tools, click the Layout tab.
3. In the Rows & Columns group, click Delete, and then click Delete Rows.
Delete a column from the table

8
1. Select the column that you want to delete by clicking its top gridline or top
border.
2. Under Table Tools, click the Layout tab.
3. In the Rows & Columns group, click Delete, and then click Delete
Columns.
Merge cells in the table
You can combine two or more table cells located in the same row or column
into a single cell. For example, you can merge several cells horizontally to
create a table heading that spans several columns.
1. Select the cells that you want to merge by clicking the left edge of a cell and
then dragging across the other cells that you want.
2. Under Table Tools, on the Layout tab, in the Merge group, click Merge
Cells.
Split cells in the table
Click in a cell, or select
multiple cells that you want
to split. .
1. Under Table Tools, on the Layout tab, in the Merge group, click Split
Cells.
2. Enter the number of columns or rows that you want to split the
selected cells into.