
Try in and esthetic
problem in crown and
bridge
Dr.Emad Farhan Alkhalidi
MSc, phD conservative dentistry

• When the laboratory procedures have
been completed the restoration is ready to
be evaluated in the patient’s mouth before
final finishing and cementation.
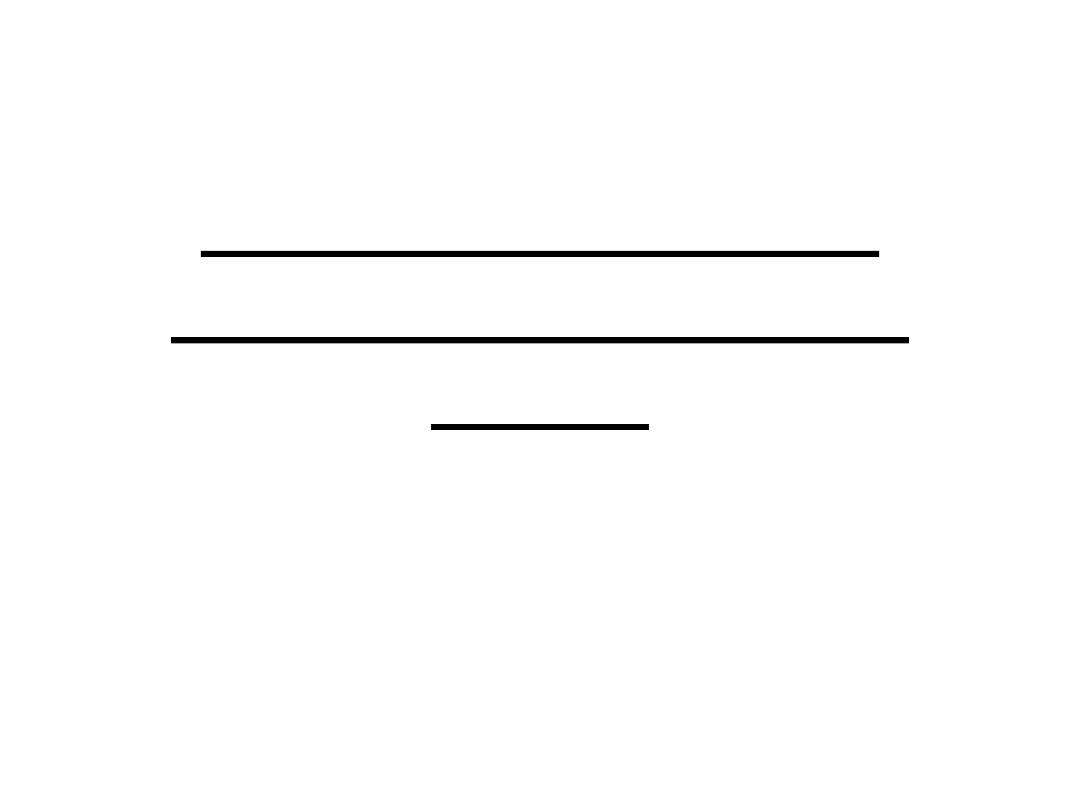
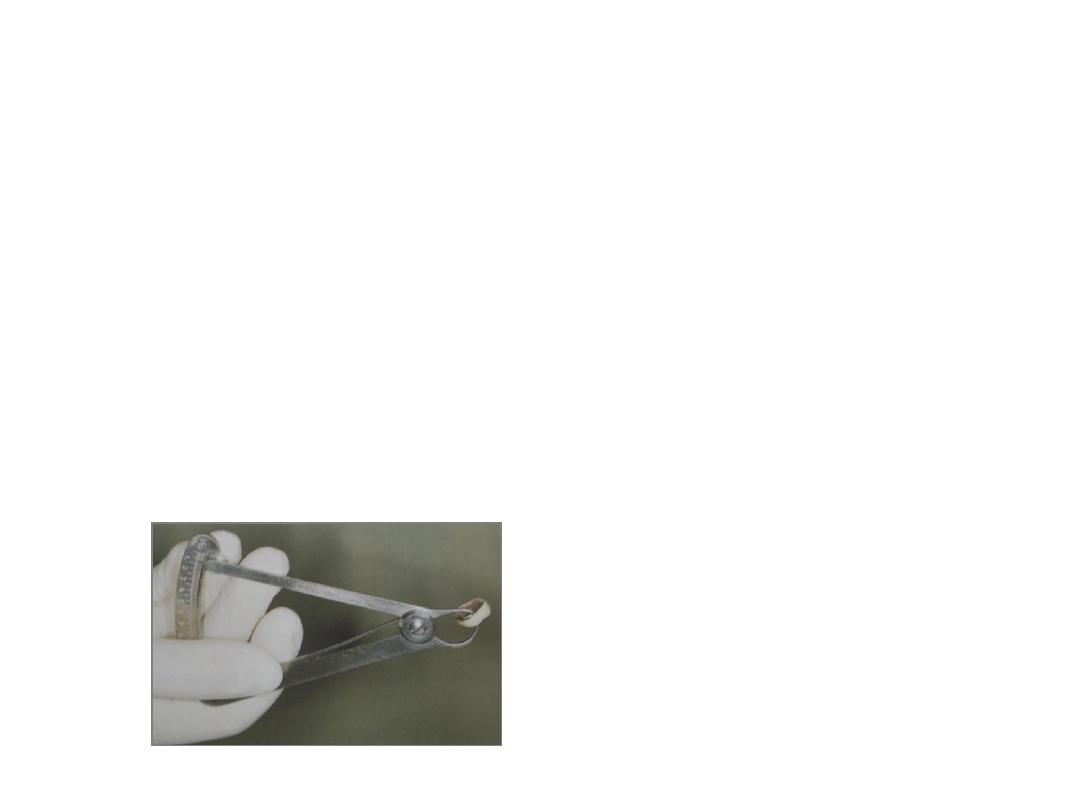
• Remove the interim restoration firstly by
gently positioning hemostats or a
Backhaus towel clamp on the buccal and
lingual surfaces and rocking it gently in a
buccolingual direction to break the seal of
the interim luting agent. Then clean the
prepared tooth /teeth with warmed water
from remnant cement.

Try in procedure:
The recommended sequence for try in of
crown or bridge is as follows:
1. Proximal contacts.
2. Marginal integrity.
3. Stability.
4. Occlusion.
5. Characterization and glazing.

1-proximal contact:
The proximal contact of a restoration should be neither too tight
nor too light.
If they are too tight they will interfere with correct seating of the
restoration, produce discomfort and make it difficult for the
patient to floss.
A proximal contact that is too light will allow impaction of
strands of food, which is deleterious to the gingiva and annoying
to the patient.
The restoration is placed on the tooth and seated with finger
pressure, occlusal pressure should not be used because forcing
the restoration onto the tooth at this time may make it extremely
difficult to remove.
• A crown should be able to remove if it is grasped with a
dry gauze sponge and rocked slightly.
• For gold restoration the tight contact point leave a satin
finish on a gold restoration which becomes apparent
because there will be a shiny burnished area where the
tight contact occurred. A blue or cratex wheel is used to
remove the shiny mark, and then the casting is tried back
on the tooth. This is repeated until floss can pass through
with the same amount of resistance offered by the other
contacts.

• If both proximal contacts feel too tight, the
tighter contact should be adjusted first.
Some times this will relieve the pressure
on the second contact, precluding the
need for its adjustment.

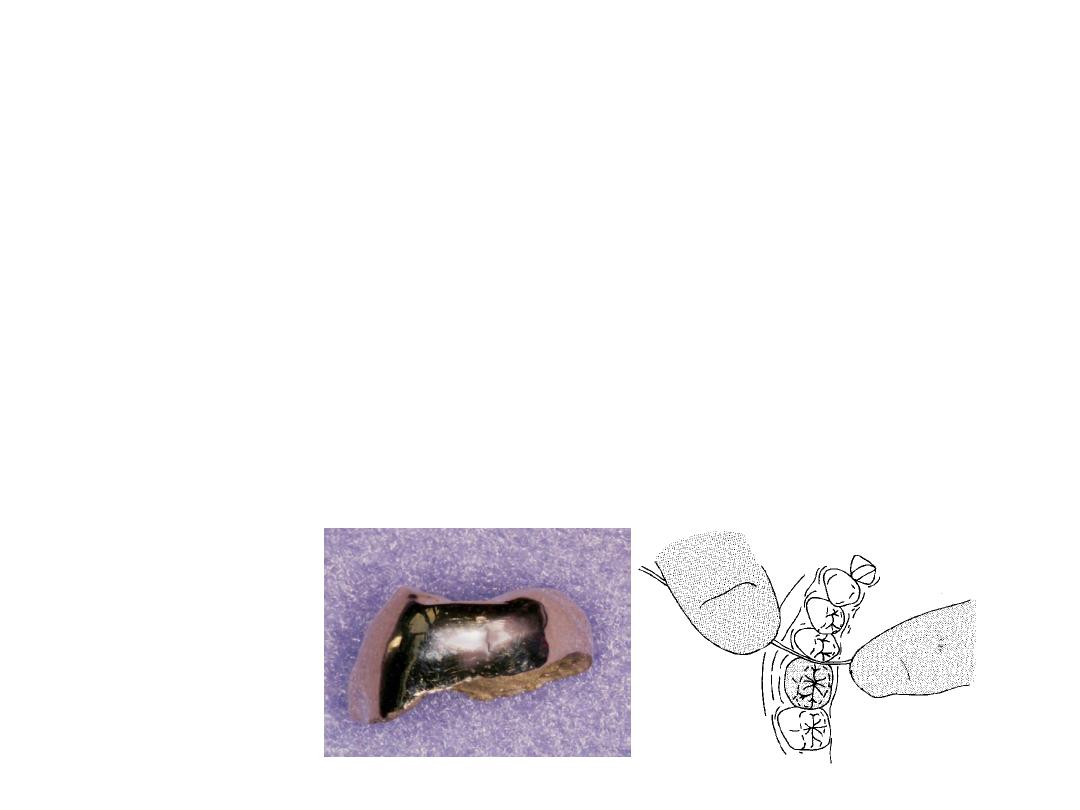
A tight proximal contact will not produce a visible
burnished area on base metal or porcelain (all ceramic
or metal ceramic restoration), so that a thin coating of a
pressure indicator such as occlude (pascal) can be
applied to these materials before seating to reveal the
exact location of the contact, red pencil or thin marking
tape also can be applied.

To avoid fracture of (all ceramic or metal ceramic restoration)
only gentle forces should be used for inserting and testing the
restoration.
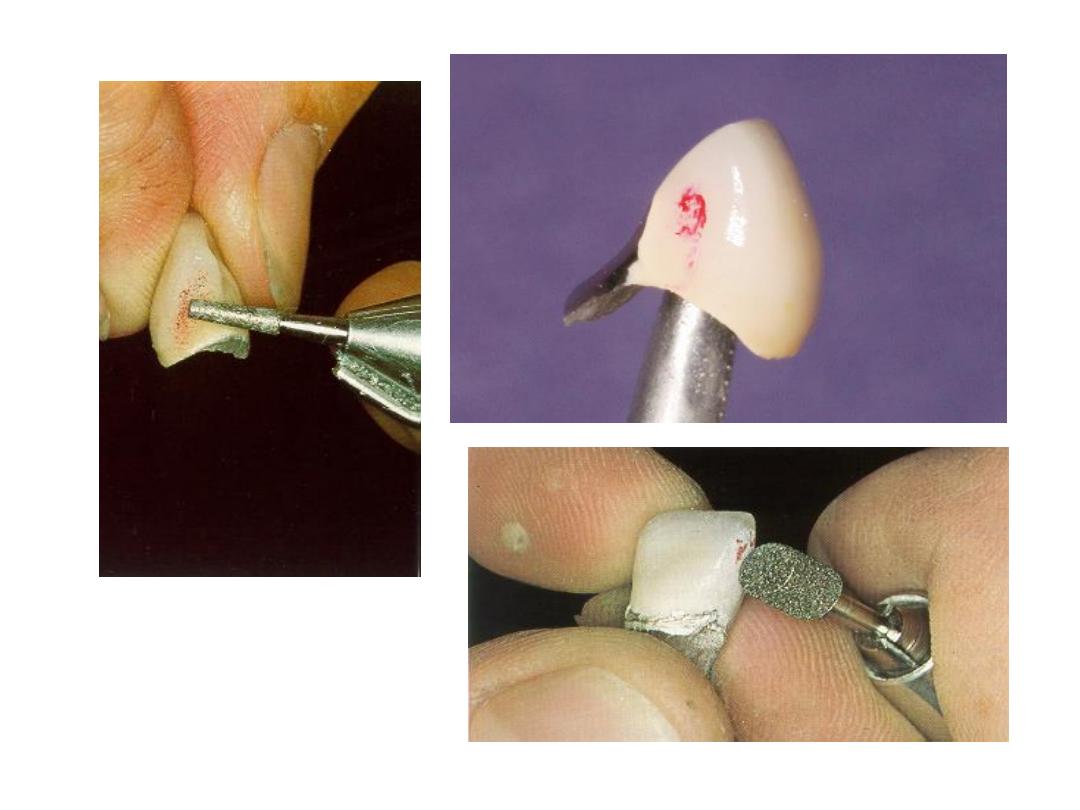
A tight proximal contact in unglazed porcelain is easily adjusted
with a cylindrical stone.
While tight proximal contact of base metal is adjusted using blue
wheel.

2- marginal adaptation
The completed restoration should go into place
without binding of its internal aspect against the
occlusal surface or the axial walls of the tooth
preparation; in other words, the best adaptation
should be at the margins. There should be no
noticeable difference between the fit of a
restoration on the die and that in the mouth.

After the proximal contacts have been corrected the
restoration is seated and the margins are examined
closely. An acceptable margin is not overextended,
under extended, too thick, or open.
A margin is generally considered to be open if the
gap is greater than 50
µm
which means the tip of a
sharp explorer can be inserted between the
restoration and tooth.
A restoration that rocks perceptibly on the tooth can
not have closed margins on both sides at once.

Subgingival marginal discrepancies are the
most difficult to detect and the most
detrimental to gingival health.
The most common cause of poorly adapted
margins is failure of the restoration to seat
completely.
If the proximal contacts are not too tight and
the margins are still short or open, there
may be some minute under cut, unseen
defect, or distortion preventing seating.

There are a number of materials that can be used
for locating internal discrepancies like disclosing
wax or aerosol indicator (occlude, pascal) these
materials indicates not only points of
interference but also the thickness and
configuration of the future cement film,
Relief of impinging area with bur usually allow
the restoration to seat.

• elastomeric paste its material similar to a
silicone impression material and is obtained
as a two-paste system. Its viscosity is
similar to that of the final luting agents, and
so it can be used not only to identify
unwanted internal contacts but also to
assess adequate marginal fit.

• The degree of clinically acceptable marginal
opening is hard to define.
• Obviously, to limit dissolution of the luting agent,
the thickness of the cement film at the margins
should be kept minimal. Through careful technique,
a marginal gap width of less than 30
µm can be
obtained consistently.
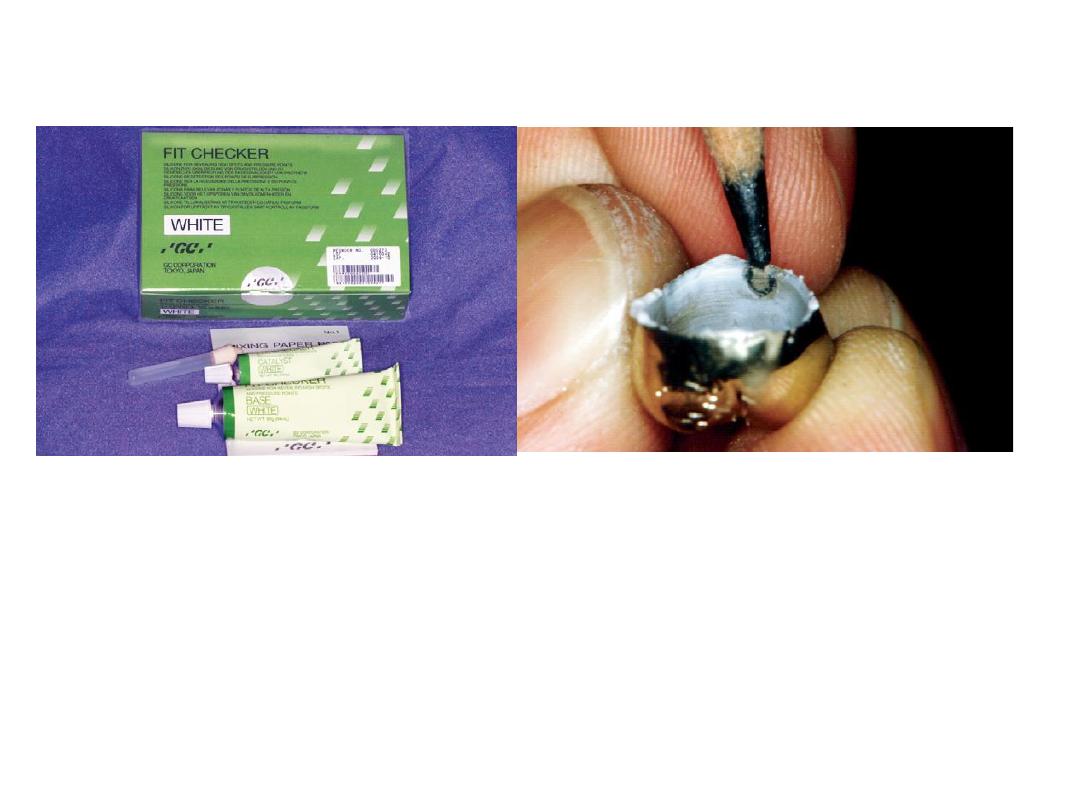
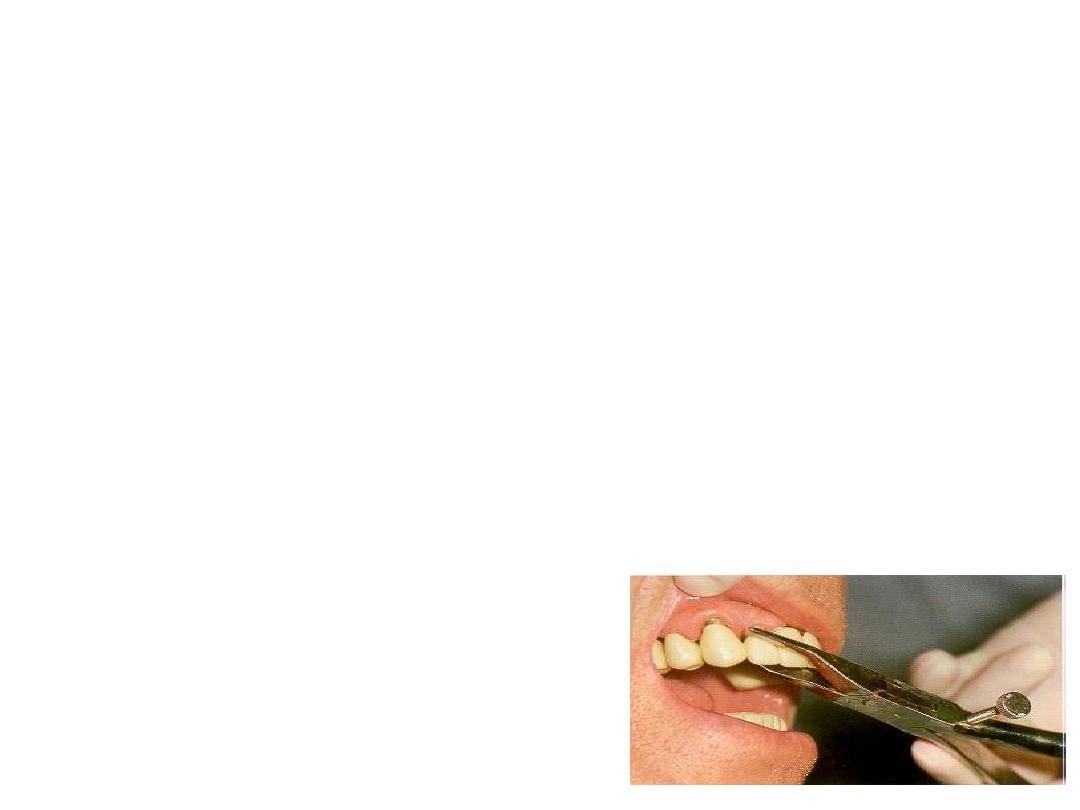
Elastomeric detection paste,
recommended for evaluating the
internal surface of a restoration
The interference is seen as a
perforation in the film of silicone material.

3- Stability
The restoration should then be assessed for
stability on the prepared tooth. It should not rock or
rotate when force is applied. Any degree of
instability is likely to cause failure during function.
If instability is caused by a small positive nodule,
this can usually be corrected; however, if it is
caused by distortion, a new casting is necessary.

4- occlusal adjustment
After the restoration has been seated and
the margin integrity and stability are
acceptable, the occlusal contact with the
opposing teeth is carefully checked.
Any undesirable eccentric contact as well as
centric interference must be identified and
removed.

Only restorations in supra occlusion can be adjusted. For
those that are out of occlusion, there is no satisfactory
solution other than remaking (if in metal) or adding
porcelain and re firing (if a metal ceramic restoration).
To provide a basis for comparison the patient is instructed
to close into the customary position of maximal
intercuspation with the restoration removed. The position of
the teeth and the completeness of closure and contact are
noted.
A pair of teeth near the prepared tooth where the patient
can hold a strip of 13
µm shim stock is located.
The restoration is inserted and it is determined whether the
patient can still hold the shim between the same pair of
nearby teeth, if not the crown is high in the intercuspal
position.

Seat the restoration, have the patient close, and
reassess the contacts. The new restoration should
hold the shim stock and yet not alter the existing
tooth relationships. If a discrepancy is detected, a
decision must be made whether this can be
adjusted intraorally or whether a remount
procedure is necessary.
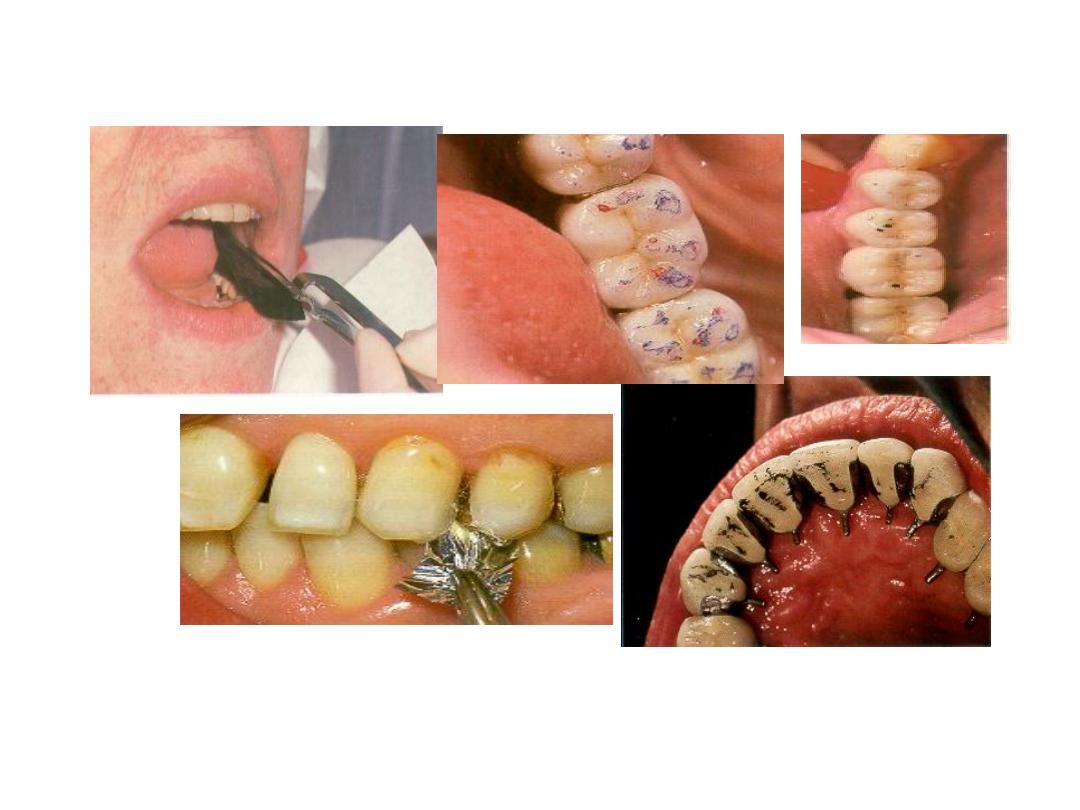
Mark any interferences that are detected.
Have the patient close on articulating ribbon
or tape.
Adjust the marked interferences with the
diamond rotary instrument or white stone,
always checking the thickness of the casting
with calipers before an adjustment is made.

Be careful not to misinterpret occlusal
markings. Note that a true interocclusal contact
leaves a mark with a clean center (like a bull’s-
eye), but a false contact leaves a smudge.
Marking ribbon or tape is useful for helping
determine the location of an interference.
Shim stock, however, is a more reliable
indicator than ribbon or tape for confirming the
presence or absence of an occlusal contact
and should be used to evaluate the result when
the end point is reached.

Use two colors of ribbon for the different types
of movement. Excursive movements and
interferences are first marked in one color
(e.g., green or blue ).
Then a different color (e.g., red) is inserted for
centric contacts. Any excursive interferences
(i.e., green marks not covered by red) are
adjusted with the diamond or white stone.

Characterization and glazing.
Contours
Improper contours may impair gingival health and detract
from a natural appearance. They must be corrected before
cementation, excessive convexity near the gingival margin
promotes accumulation of plaue.
Surfaces directly occlusal to furcations are usually concave,
and the concavity should extend occlusally on the axial
surface of the restoration to improve access for a tooth
brush.

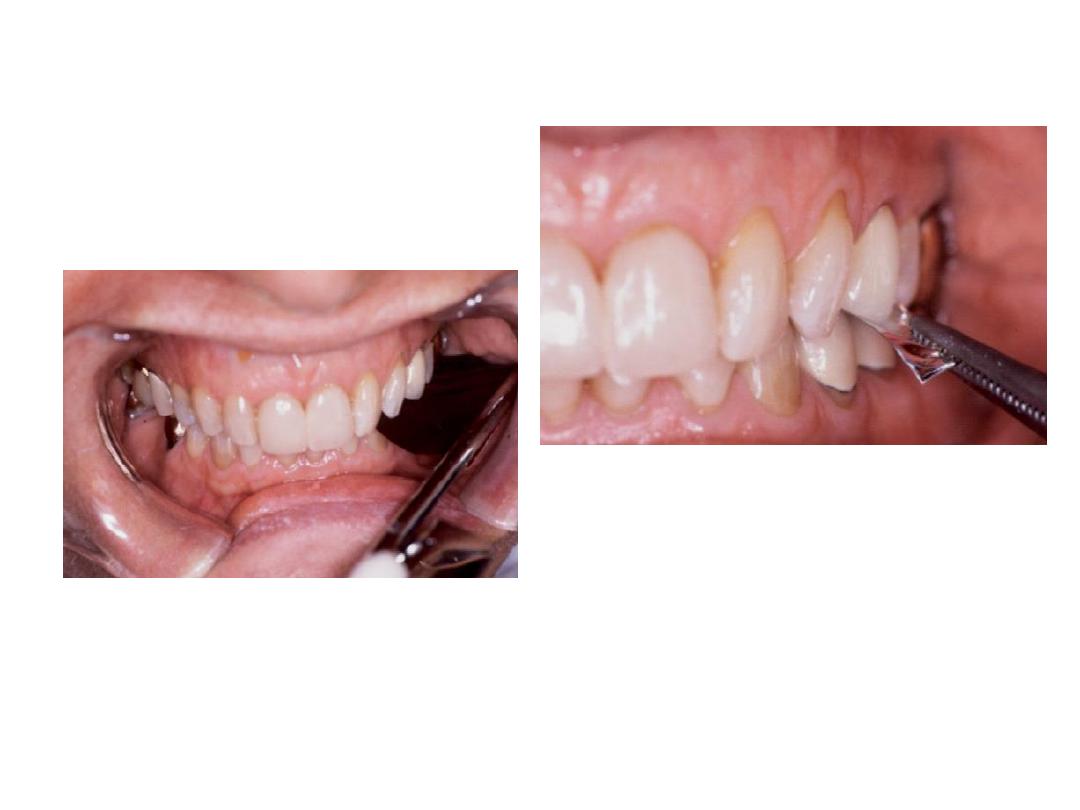
Esthetic
The restoration should be viewed from a
conversational distance to determined if its
contours harmonize with the rest of the patient's
dentition.
The patient should be allowed to look in a mirror
so that any objections to the appearance can be
dealt with before the restoration is cemented.

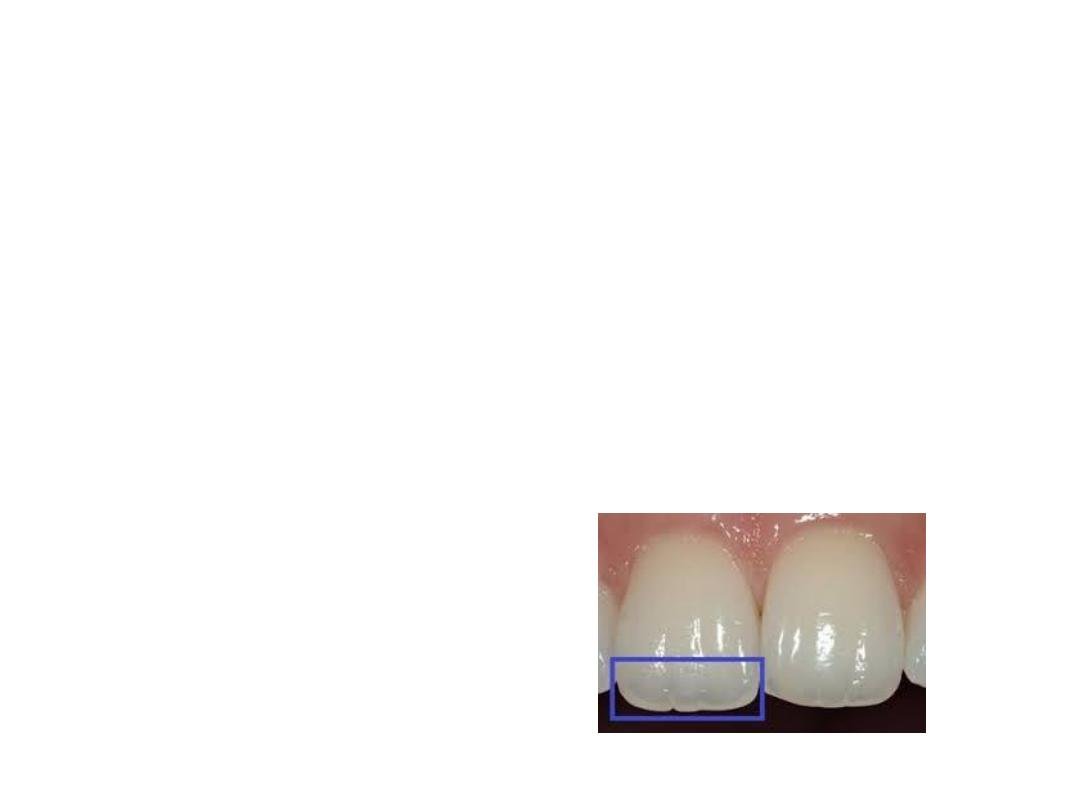
Surface texture characterization
When the contour of the restoration has been
finalized, the next goal is to duplicate the surface
detail of the patient’s natural teeth.
Dry the teeth, and examine their surfaces
carefully. Perikymata and defects can be simulated
by grinding the porcelain with a diamond stone of
appropriate texture. (Be careful not to
overemphasize such details.) Flat or concave
areas reflect light in a characteristic manner,
producing highlights.

Special illusions
Form and position are the most important factors in
achieving an attractive result. However, restoring the
original form may not always be possible. Loss of
supporting tissue, the size of a pontic space, or a poor
occlusal position may impede the attempt.
An FDP pontic may be very long because of
loss of supporting bone. Simulating a root
surface can partially improve the appearance.
The root extension is contoured for length and
width, and then an orange-brown mixture is
placed over the extension. Pink stain can be
used to simulate gingival tissue, but results are
better with pink body porcelain.
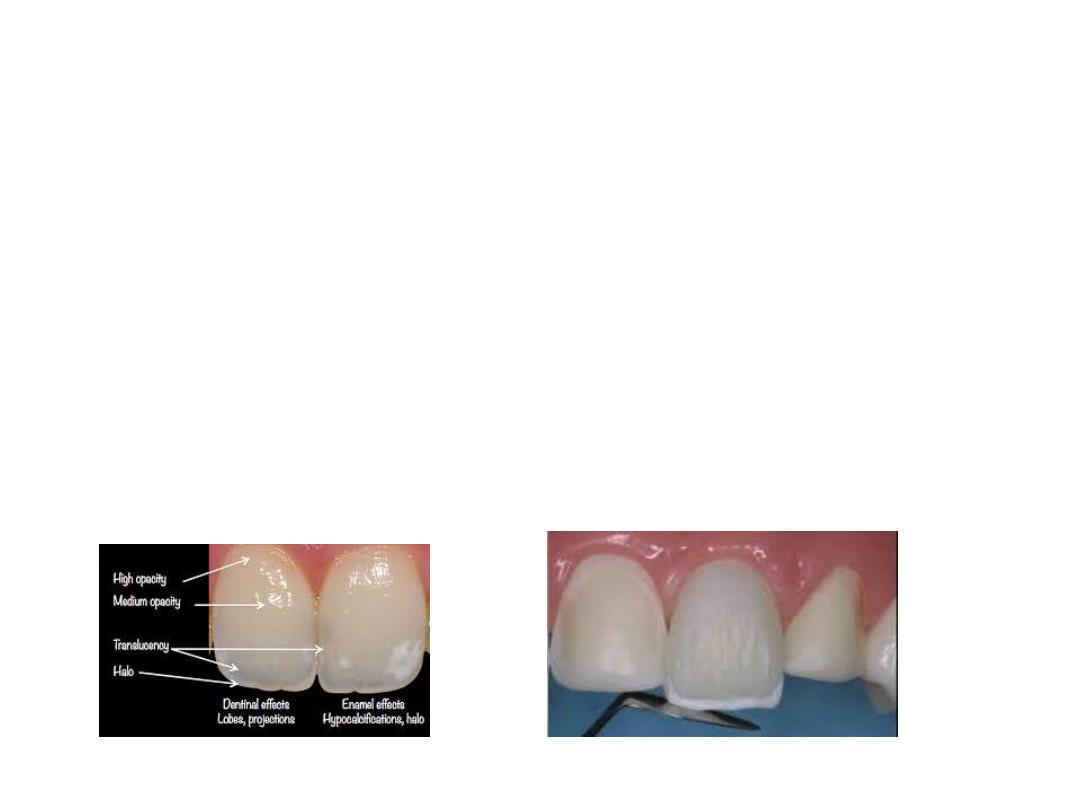
Translucency
Translucency can be mimicked with violet stain,
although the results are usually disappointing in
comparison with those achieved with correct
application of the incisal porcelain. For optimum
results, both labial and lingual surfaces should be
coated. Decreasing the translucency is
accomplished by adding the dominant hue over
the labiolingual surface.
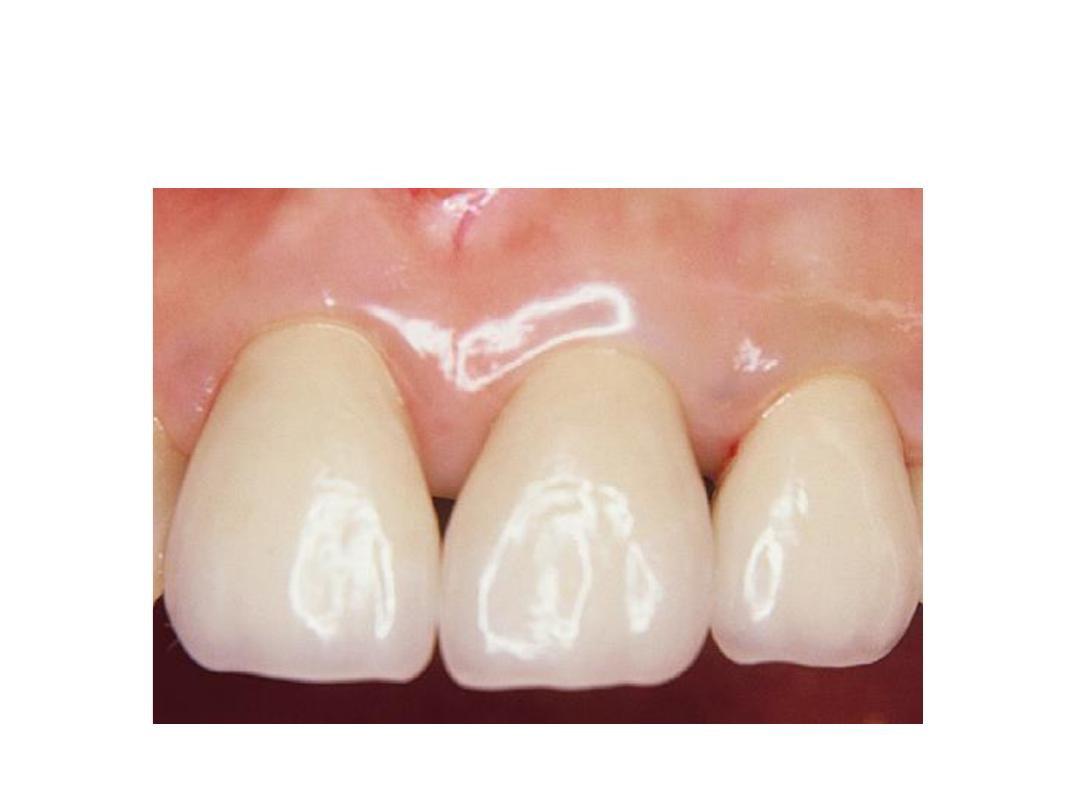
Incisal halo
Translucent incisal edges are more common on the
incisors of younger patients. Often, although the
incisal area is translucent, the edge is totally opaque.
This may be difficult to reproduce internally.
A mixture of white and yellow stains in the ratio of
4 : 1 is placed in the linguoincisal area, with an
extension just onto the labial area, to produce the
halo effect.

Stained crack line Cracked enamel stains quickly
on natural teeth. An orange-brown mixture applied
in as thin a line as possible will effectively simulate
a crack.