First stage – College of Medicine – University of Mosul
Computer-Lecture 7 / 2015-2016
maha al ani
1
Microsoft Excel 2007
A spreadsheet (worksheet): a piece of paper in
which data can be manipulated by the computer
stored in rows and columns.
A workbook (Excel file) has multiple sheets. You
will sometimes hear it called a “spreadsheet”.
In Default, each
workbook has 3 “sheets” associated with it. You can rename these
sheets to something more fitting to your purpose.
You can add sheets
if you’d like to.
Your workbook is the ENTIRE file and the file name should reflect the
function the file serves.
Ex: Friends_Address.xlsx
o Each sheet may have multiple pages.
o Record and organize information in a row (record)-and-column
(field) format.
o Make calculations and simple statistical analyses across a row
or a column.
o Create charts based on the data displayed in a spreadsheet
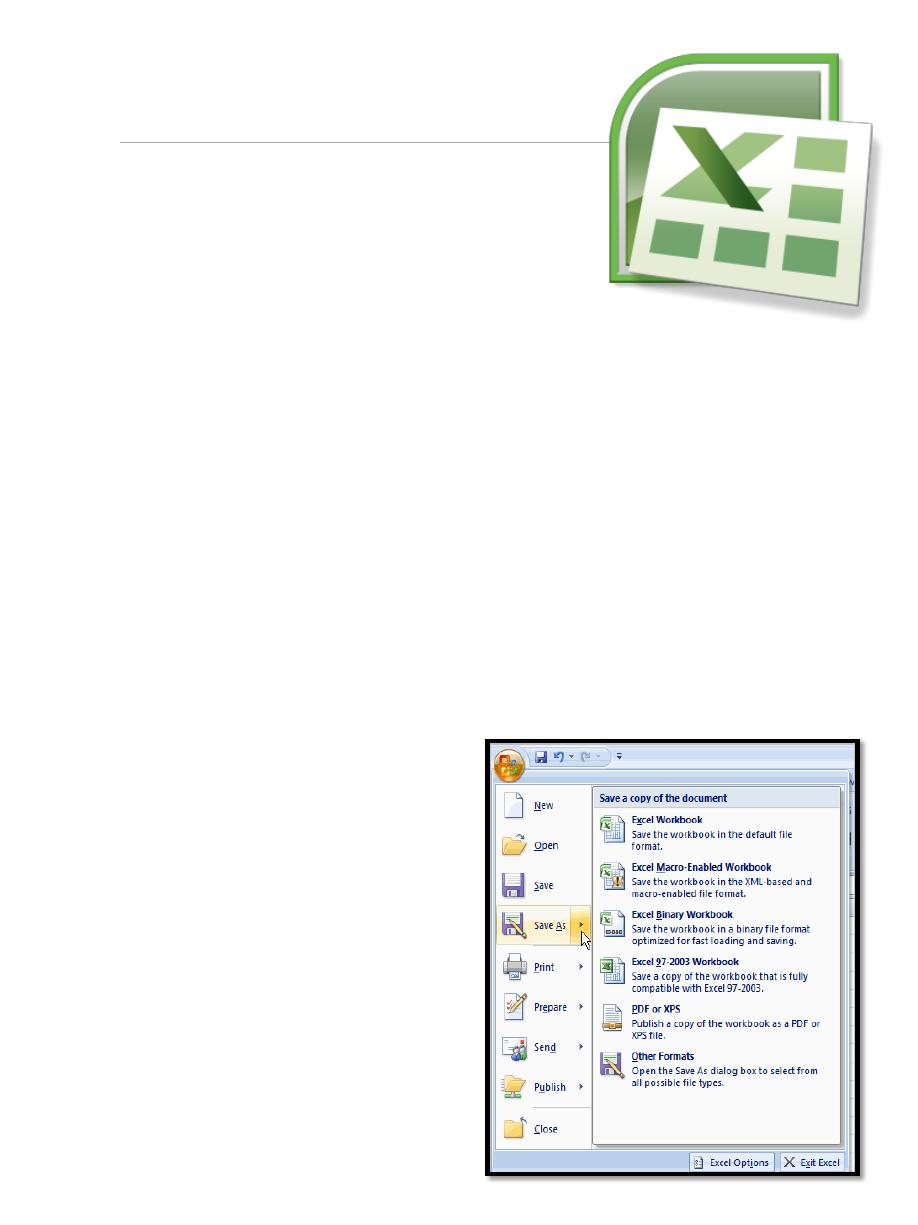
1. The Microsoft Office Button
The Microsoft Office Button appears
at the top of the Excel window.
When you left-click the button,
a menu appears. From this menu
you can create a new spreadsheet,
open existing files, save files in
a variety of ways, and print.
You can also add security features,
send, publish, and close files.
First stage – College of Medicine – University of Mosul
Computer-Lecture 7 / 2015-2016
maha al ani
2
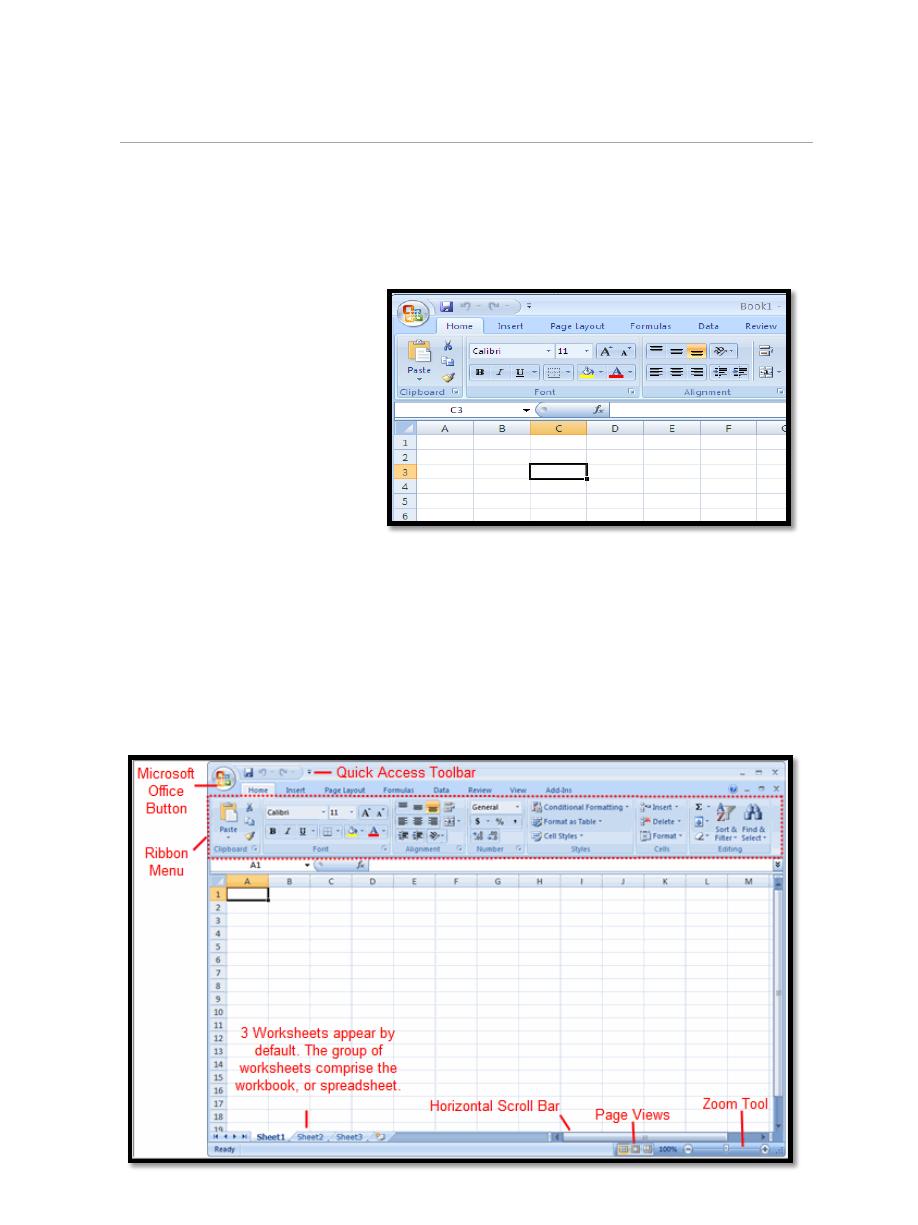
2. Exploring and Setting Up Your Excel Environment
The workbook is comprised of:
Rows (labeled numerically)
Columns (labeled alphabetically)
Cells
A cell is labeled with both a numerical and alphabetical value.
Naming convention: C3
Tab Key: navigate cells.
3.
S
tarting a Workbook
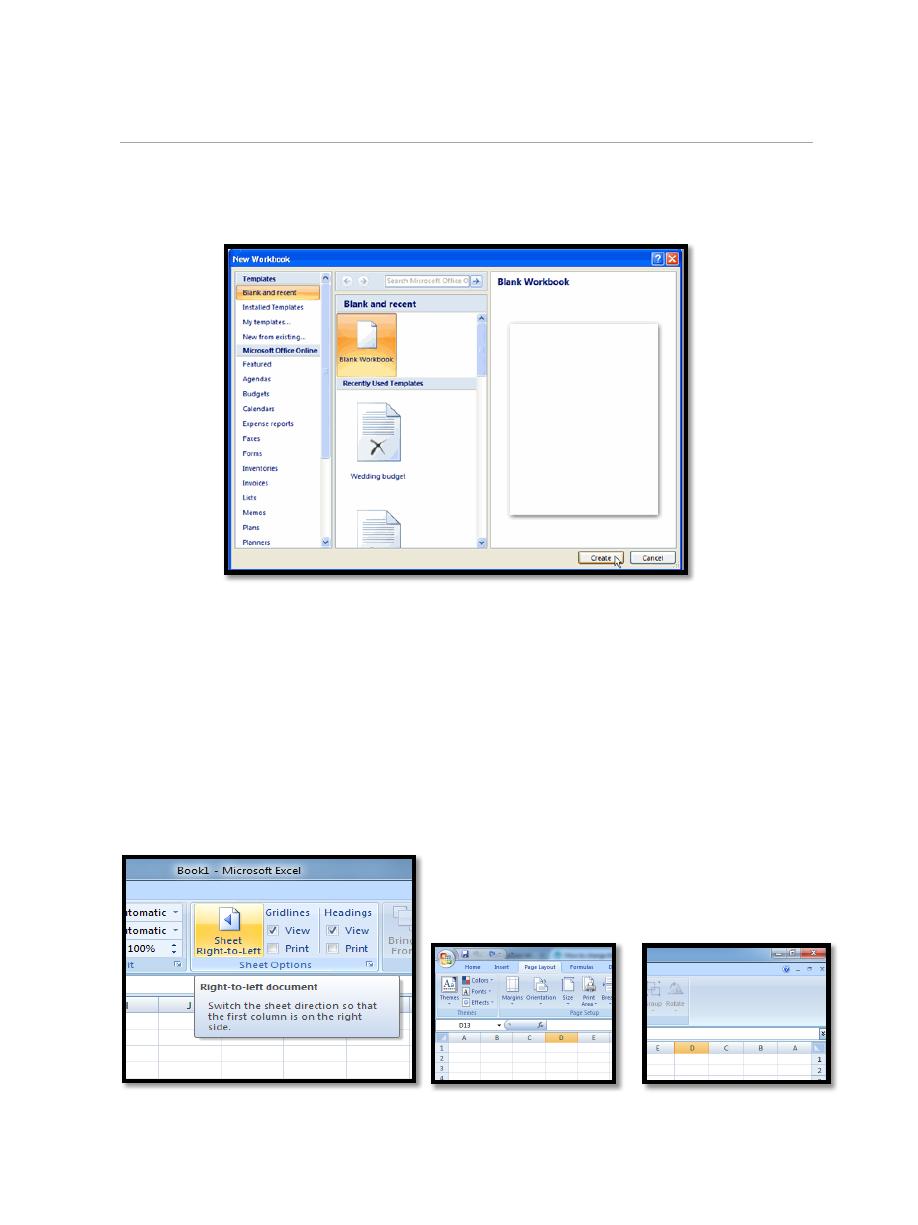
3.1. To create new workbook:
a. Left-click the Microsoft Office Button.
First stage – College of Medicine – University of Mosul
Computer-Lecture 7 / 2015-2016
maha al ani
3
b. Select New. The New Workbook dialog box opens and Blank
Workbook is highlighted by default.
c. Click Create.
A new, blank workbook appears in the window.
When you first open Excel, the software opens to a new, blank workbook.
To change the direction of worksheet:
Normally, the worksheet direction is Left-to-Right in Excel, but in order
to satisfy certain language writing habits from right to left, Excel can
switch direction of the worksheet which place the row and column
heading on right as following screenshots shown.
First stage – College of Medicine – University of Mosul
Computer-Lecture 7 / 2015-2016
maha al ani
4
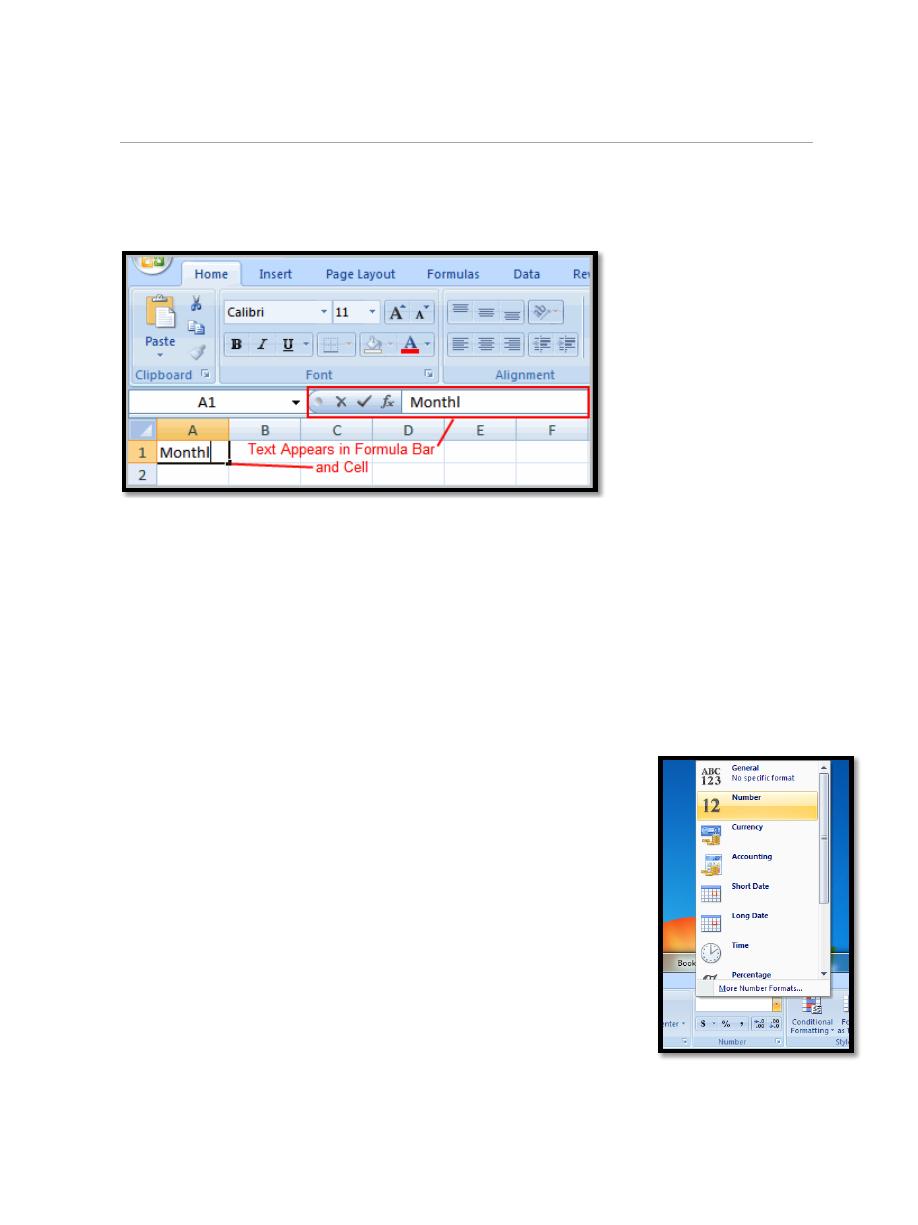
3.2. To Insert Text:
a. Left-click a cell to select it. Each rectangle in the worksheet is called a
cell. As you select a cell, the cell address appears in the Name Box.
b. Enter text into the cell using your keyboard. The text appears in the cell
and in the formula bar.
Types of Data:
You can enter numerical or text data in a cell.
Enter numbers in cells. You may need to change the cell format to
numbers. Highlight number cells in the practice file, go to Home
tab and select Number Format. Select Number and click on OK.
If you see ######, you need to expand your column so the data fits.
Double click on the line between the two column headings to
Auto-fit.
Drag the border between two columns.
Change numbers to Currency with $ sign. Highlight all
number cells and click on $ icon.
To enter fractions, leave a space between the whole
number and the fraction. For example, 1 1/8.
To enter a fraction only, enter a zero first. For example,
0 1/4. If you enter 1/4 without the zero, Excel will
interpret the number as a date, January 4.
c. To move HORIZONTALLY across cells, hit TAB.
d. To move VERTICALLY, hit ENTER.
First stage – College of Medicine – University of Mosul
Computer-Lecture 7 / 2015-2016
maha al ani
5
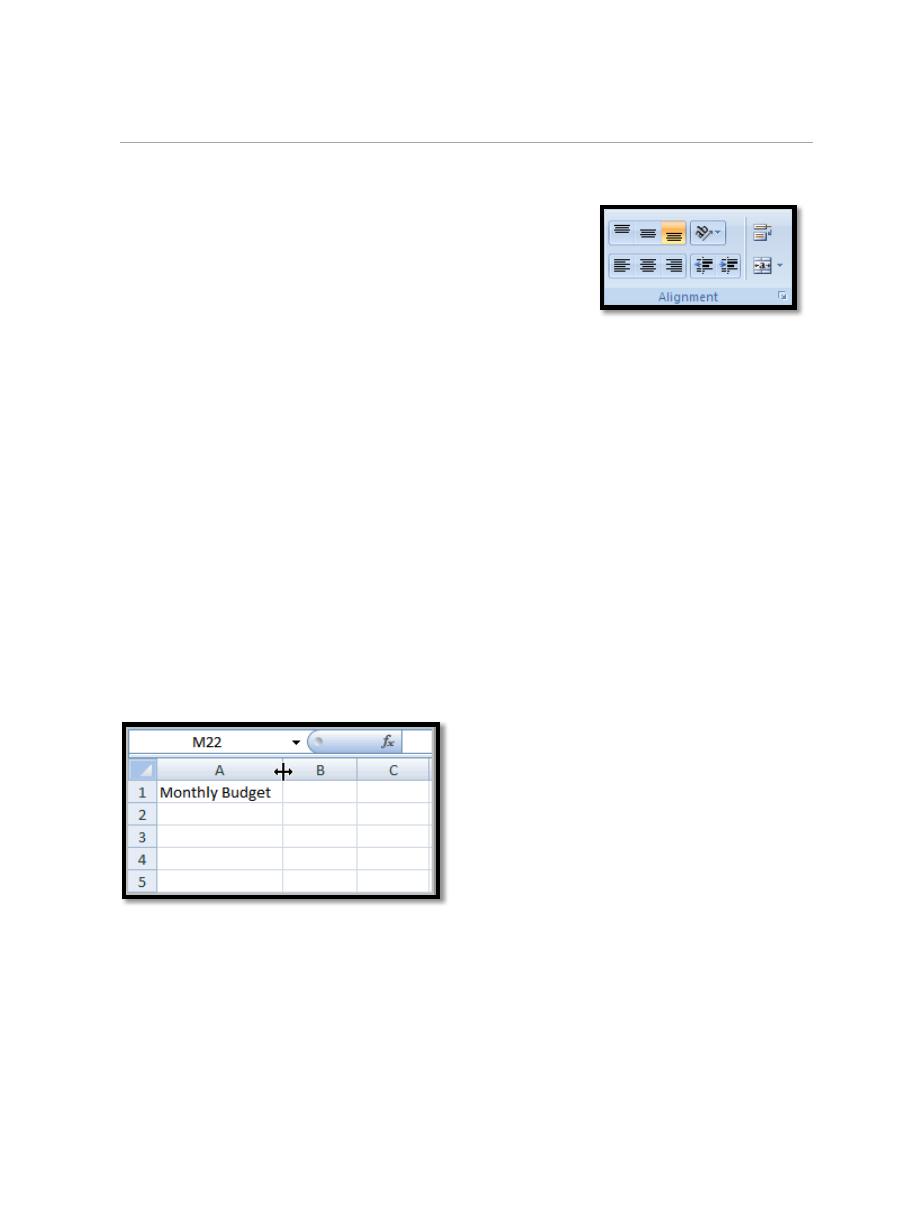
Wrap text in a cell
o Click the cell in which you want to wrap the text.
o On the Home tab, in the Alignment group, click
Wrap Text.
3.3. To Edit or Delete Text:
a. Select the cell.
b. Press the backspace key on the keyboard to delete text and make a
correction.
c. Press the Delete key to delete the entire contents of a cell.
3.4. To Save the Workbook:
a. Left-click the Microsoft Office Button.
b. Select Save or Save As. Choose Save if you'd like to save the file for
the first time or Choose Save As if you'd like to save the file as a different
name
4. Modifying Columns, Rows and Cells
4.1. To Modify Column Width:
a. Position the cursor over the column line in the column heading and a
double arrow will appear.
b. Left-click the mouse and drag the cursor to the right to increase the
column width or to the left to decrease the column width.
c. Release the mouse button.
OR
a. Left-click the column heading of a column you'd like to modify. The
entire column will appear highlighted.
First stage – College of Medicine – University of Mosul
Computer-Lecture 7 / 2015-2016
maha al ani
6
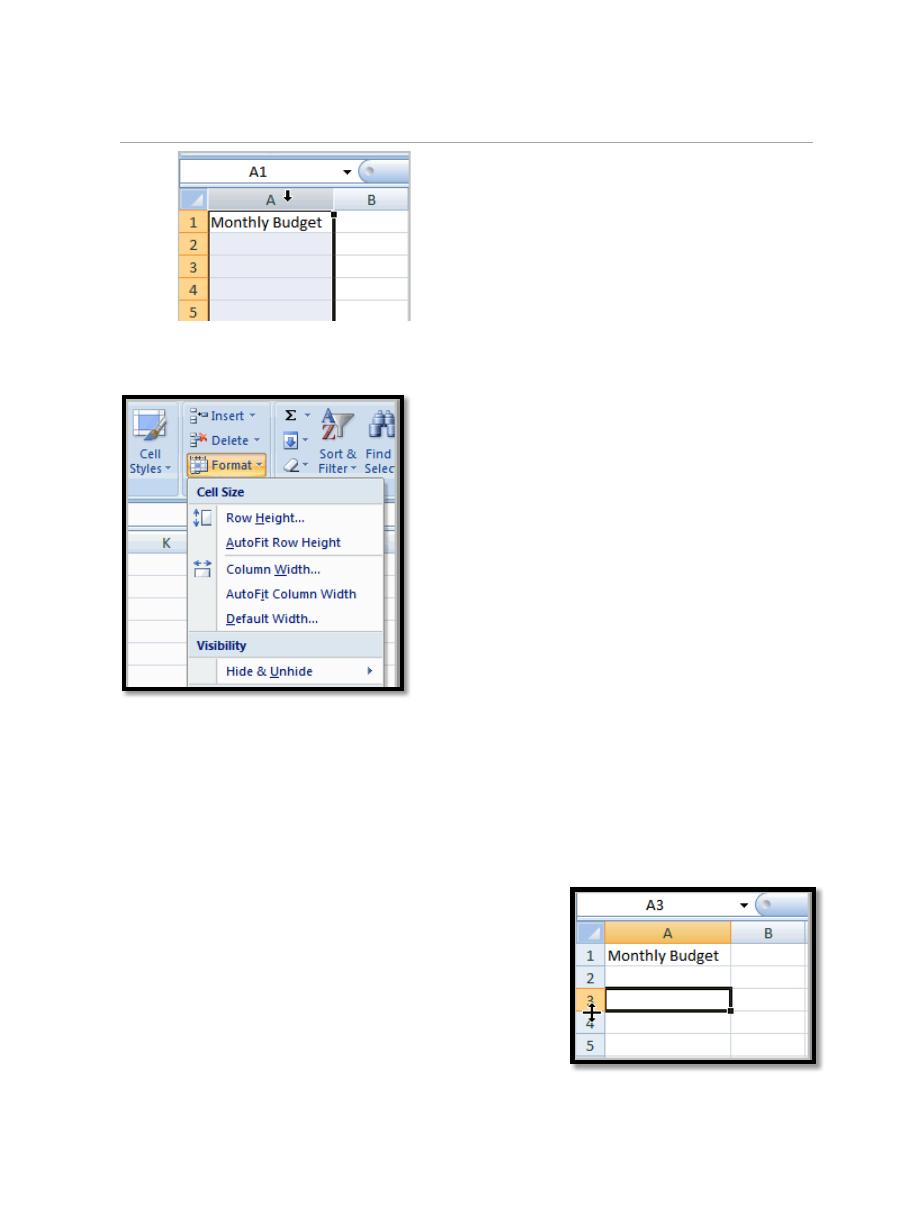
b. Click the Format command in the Cells group on the Home tab. A
menu will appear.
c. Select AutoFit Column Width to adjust the column so all the text will
fit.
4.2. To Modify the Row Height:
a. Position the cursor over the row line you want to modify and a double
arrow will appear.
b. Left-click the mouse and drag the cursor upward
to decrease the row height or downward to
increase the row height.
c. Release the mouse button.
OR
First stage – College of Medicine – University of Mosul
Computer-Lecture 7 / 2015-2016
maha al ani
7
a. Click the Format command in the Cells
group on the Home tab. A menu will appear.
b. Select AutoFit Row Height to adjust the row
so all the text will fit.
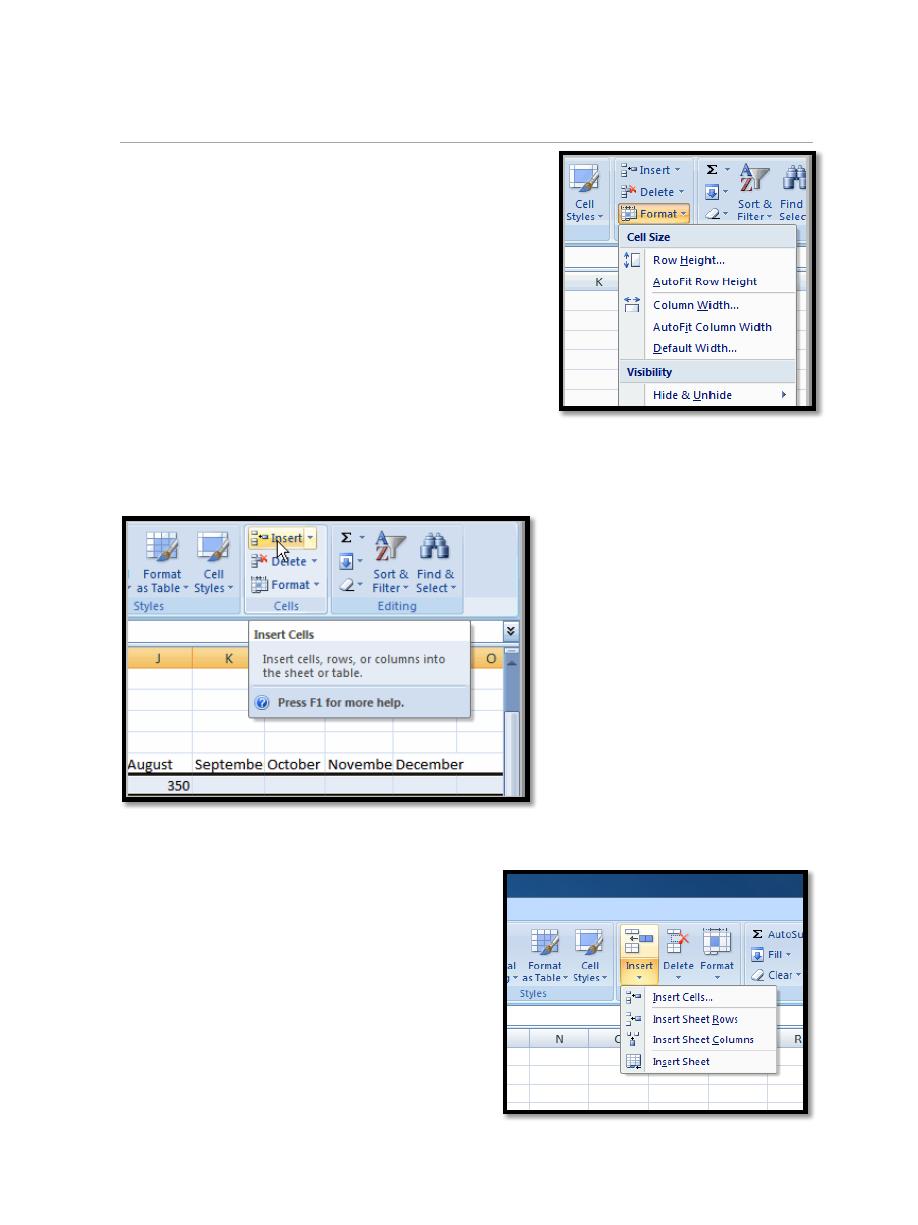
4.3. To Insert Rows:
a. Select the row below where you want the new
row to appear.
b. Click the Insert command in the Cells group on the Home tab. The
row will appear.
The new row always appears above the selected row.
4.4. To Insert Columns:
a. Select the column to the right of where
you want the column to appear.
b. Click the Insert command in the Cells
group on the Home tab. The column will
appear.
First stage – College of Medicine – University of Mosul
Computer-Lecture 7 / 2015-2016
maha al ani
8
4.5. To Delete Rows and Columns:
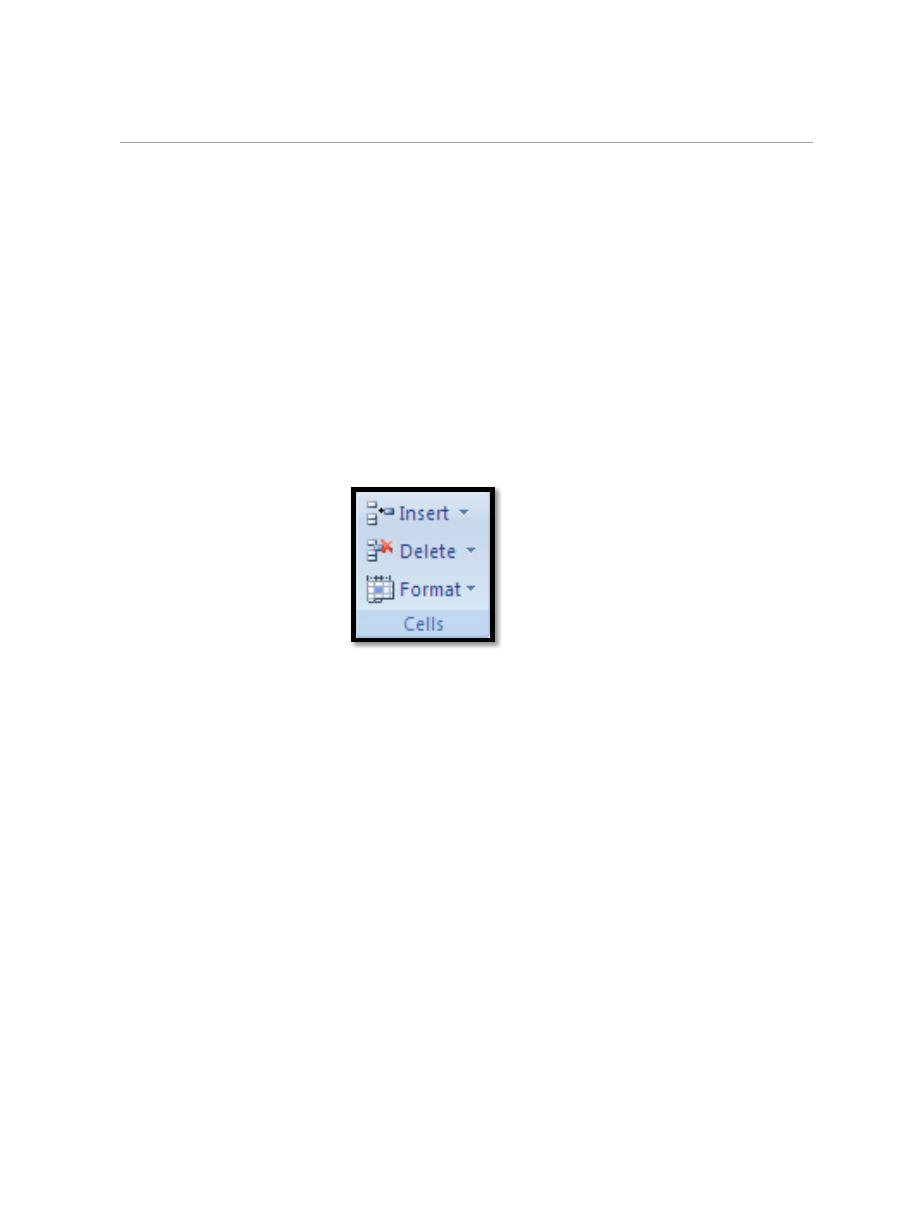
a. Select the row or column you’d like to delete.
b. Click the Delete command in the Cells group on the Home tab.
To delete selected cells, click the arrow next to Delete, and then
click Delete Cells.
To delete selected rows, click the arrow next to Delete, and then
click Delete Sheet Rows.
To delete selected columns, click the arrow next to Delete, and then
click Delete Sheet Columns.
Tip: You can right-click a selection of cells, click Delete, and then click
the option that you want. You can also right-click a selection of rows or
columns and then click Delete.