
Histopathological techniques
Tissues from the body taken for diagnosis of disease
processes must be processed in the histology
laboratory to produce microscopic slides that are
viewed under the microscope by pathologists. The
techniques for processing the tissues, whether
biopsies, larger specimens removed at surgery, or
tissues from autopsy, are described below. The
persons who do the tissue processing and make the
glass microscopic slides are histotechnologists.
Next
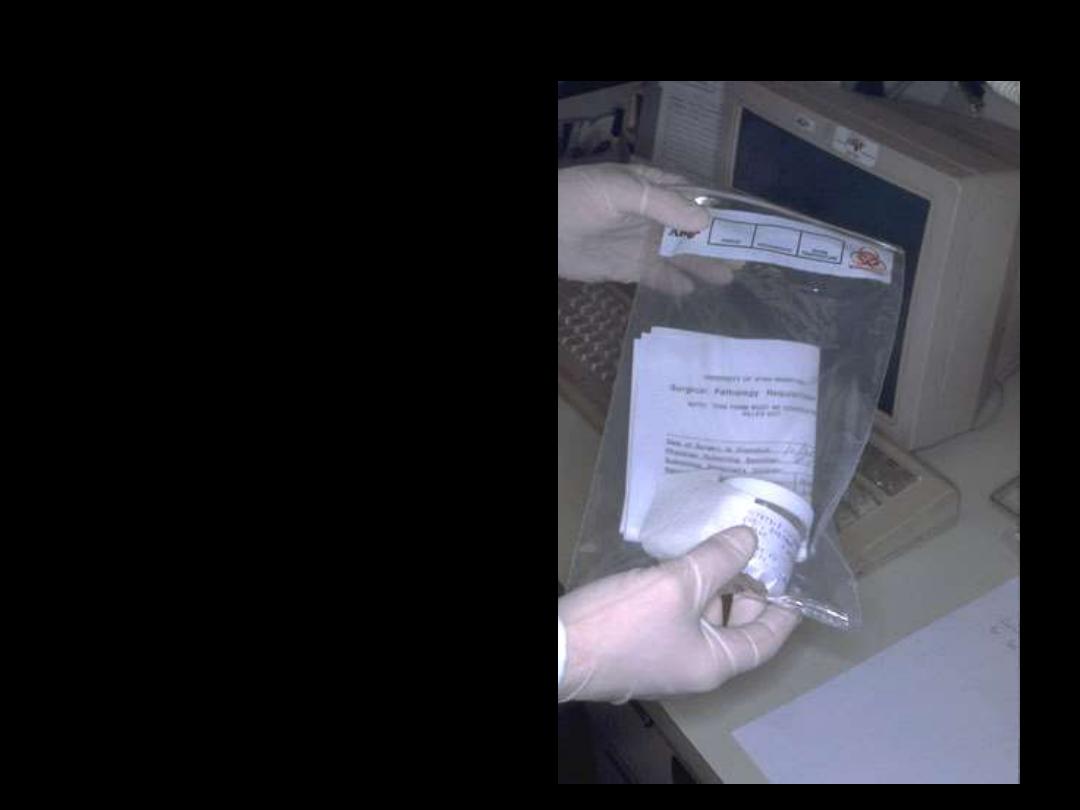
Specimen accessioning
Tissue specimens received
in the surgical pathology
laboratory have a request
form that lists the patient
information and history
along with a description
of the site of origin. The
specimens are
accessioned by giving
them a number that will
identify each specimen for
each patient.
Next
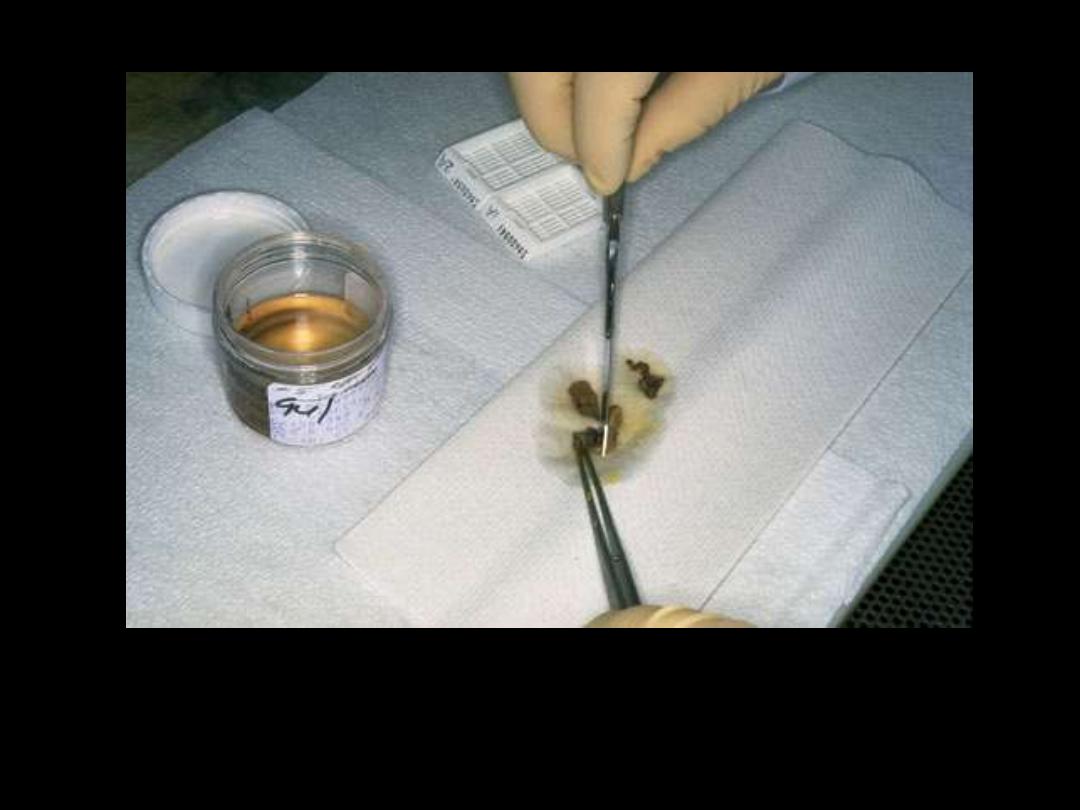
Gross examination
Tissues removed from the body for diagnosis arrive in the Pathology Department and are
examined by a pathologist, pathology assistant, or pathology resident. Gross examination
consists of describing the specimen and placing all or parts of it into a small plastic cassette
which holds the tissue while it is being processed to a paraffin block. Initially, the cassettes
are placed into a fixative.
Next
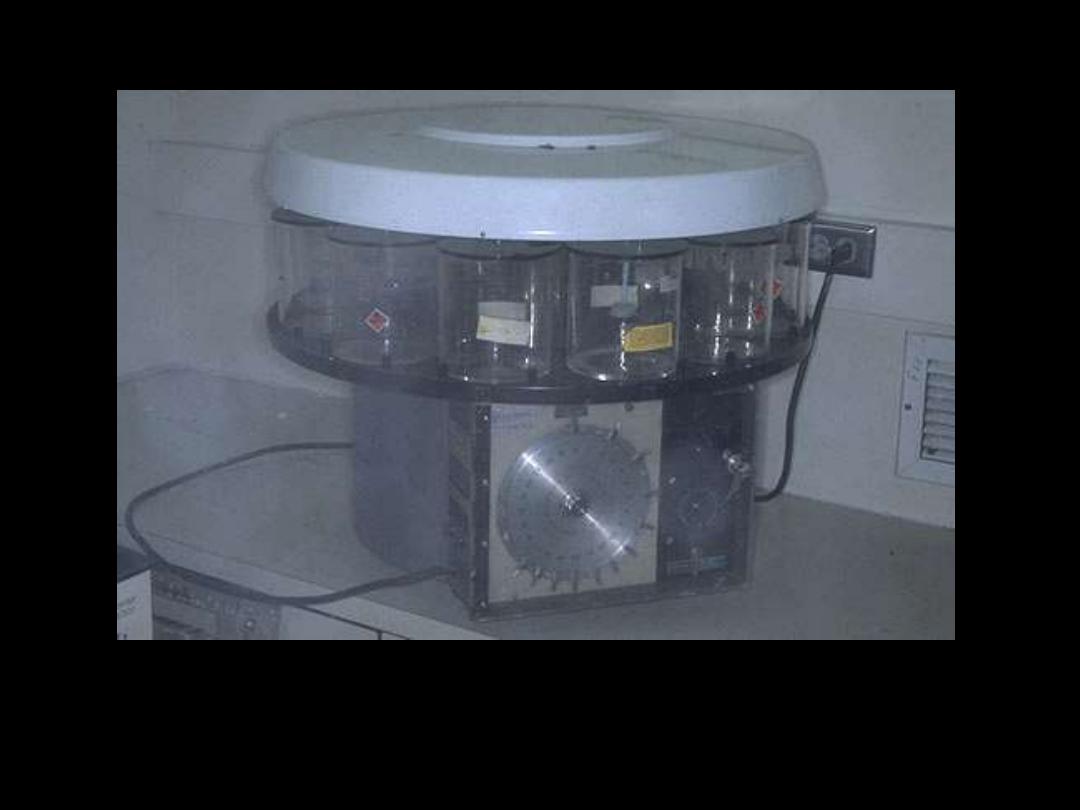
Tissue processing
Once the tissue has been fixed, it must be processed into a form in which it can be made into
thin microscopic sections. The usual way this is done is with paraffin. Tissues embedded in
paraffin, which is similar in density to tissue, can be sectioned at anywhere from 3 to 10
microns, usually 6-8 routinely. The technique of getting fixed tissue into paraffin is called
tissue processing.
Next
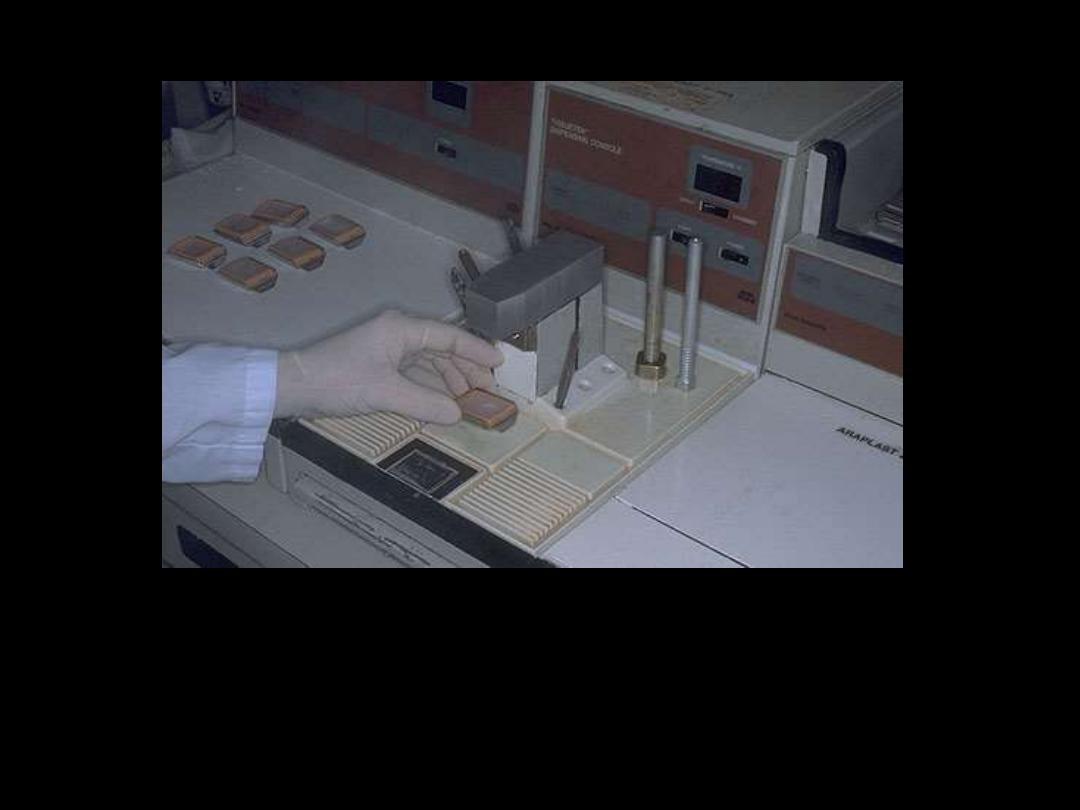
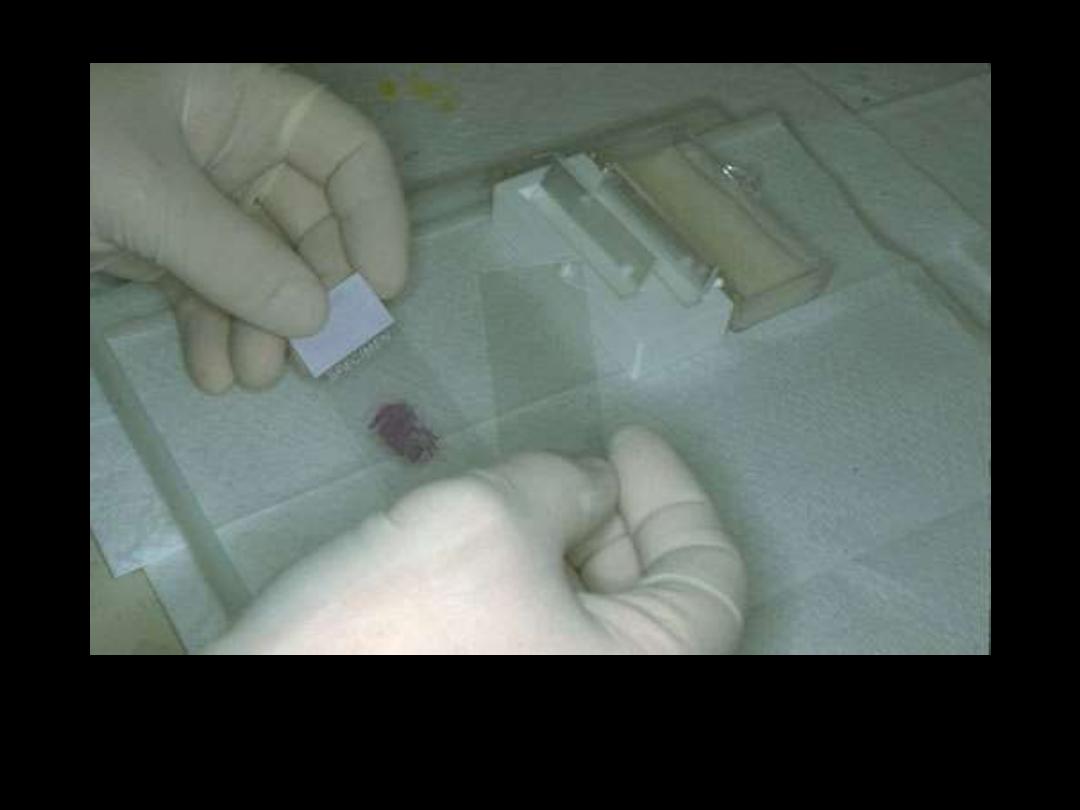
Tissue embedding
Tissues that come off the tissue processor are still in the cassettes and must be manually put
into the blocks by a technician who must pick the tissues out of the cassette and pour molten
paraffin over them. This "embedding" process is very important, because the tissues must
be aligned, or oriented, properly in the block of paraffin.
Next
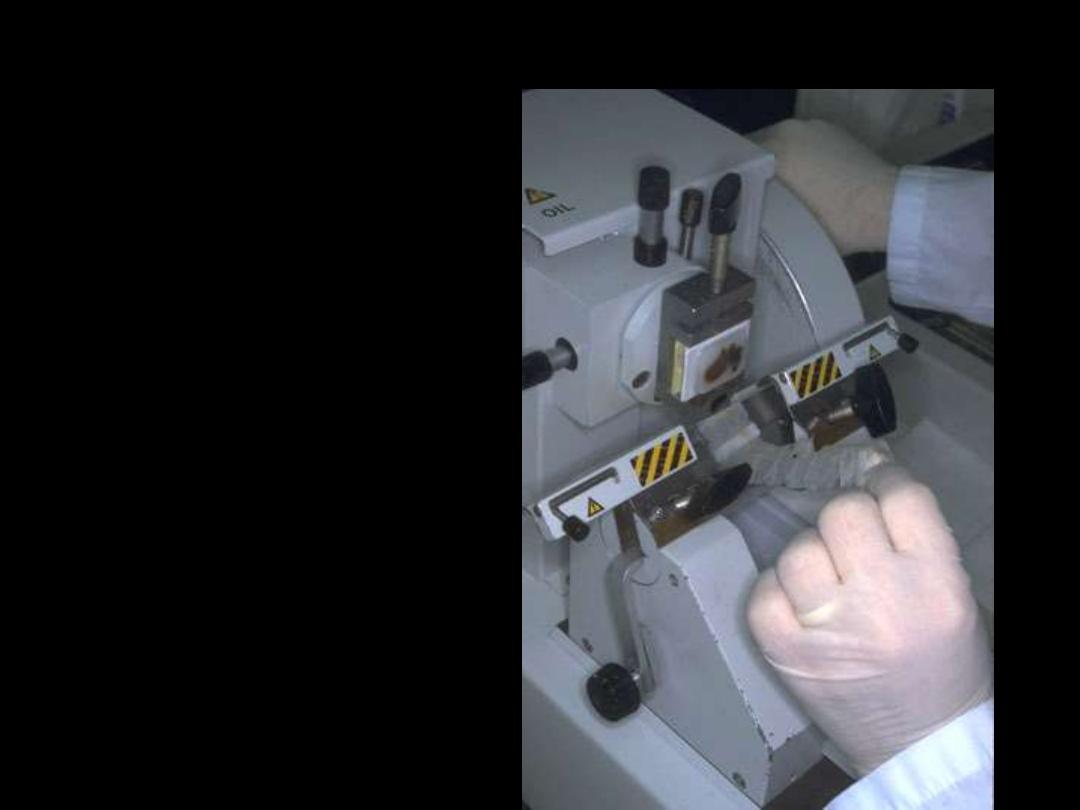
Sectioning
Once the tissues have been
embedded, they must be
cut into sections that can
be placed on a slide. This is
done with a microtome.
The microtome is nothing
more than a knife with a
mechanism for advancing
a paraffin block standard
distances across it.
Next
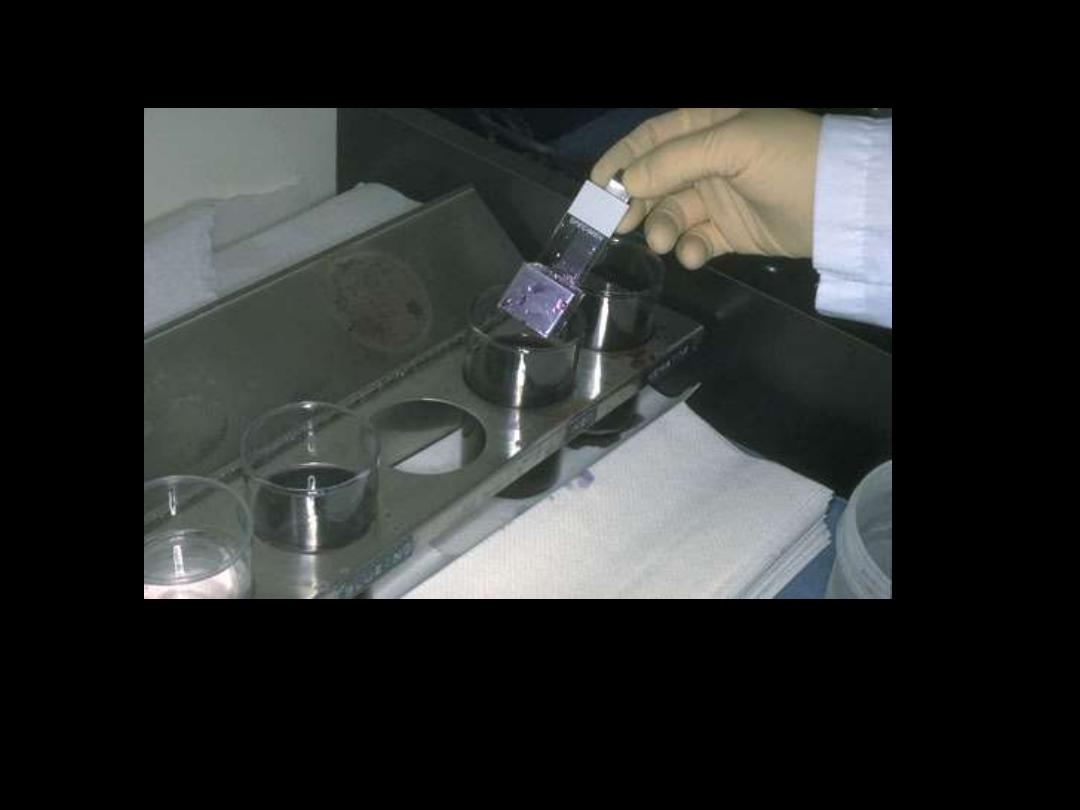
Staining
The staining process makes use of a variety of dyes that have been chosen for their
ability to stain various cellular components of tissue. The routine stain is that of
hematoxylin and eosion (H and E). Other stains are referred to as "special stains"
because they are employed in specific situations according to the diagnostic need.
Next
Coverslipping
The stained section on the slide must be covered with a thin piece plastic or glass to protect
the tissue from being scratched, to provide better optical quality for viewing under the
microscope, and to preserve the tissue section for years to come.
Lab investigations
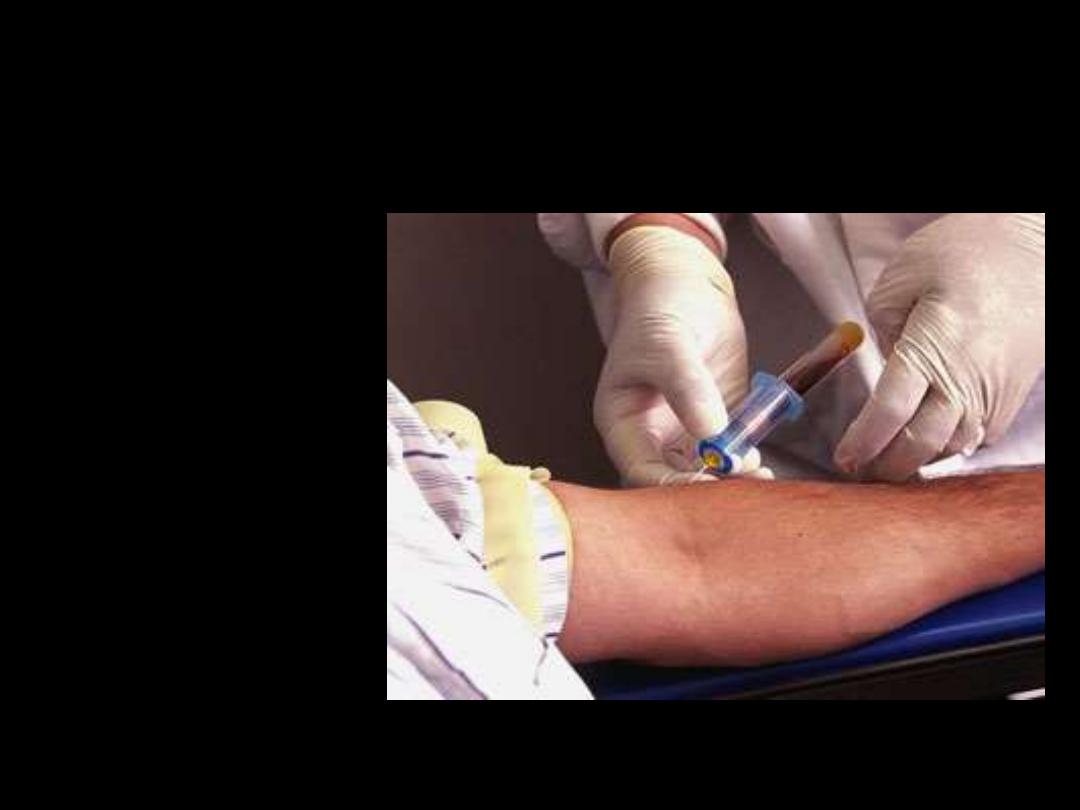
Obtaining blood sample
A qualified personnel
has inserted the
syringe into a vein on
the outer portion of
the arm near the
elbow to draw a blood
sample.
Next
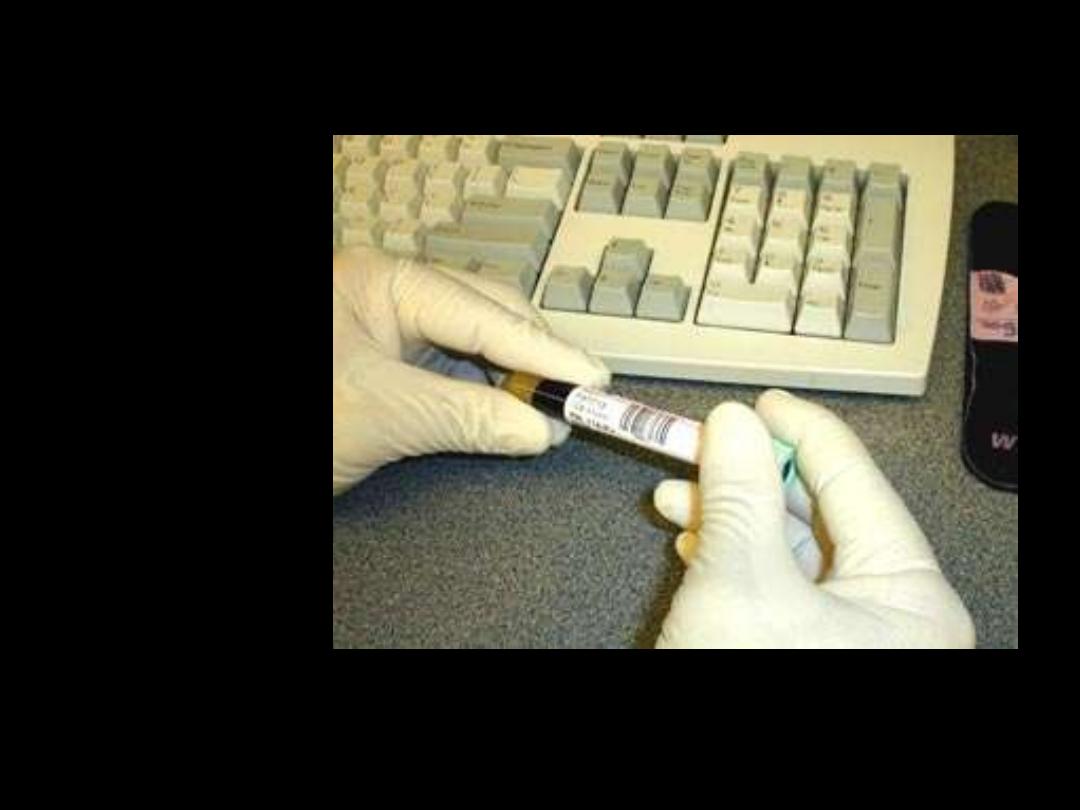
Sample labeling
Once the blood is
drawn, the tube is
labeled. In many
labs, the label will
be pre-printed with
the patient’s name,
identification
number, and
number assigned to
that specimen.
Next
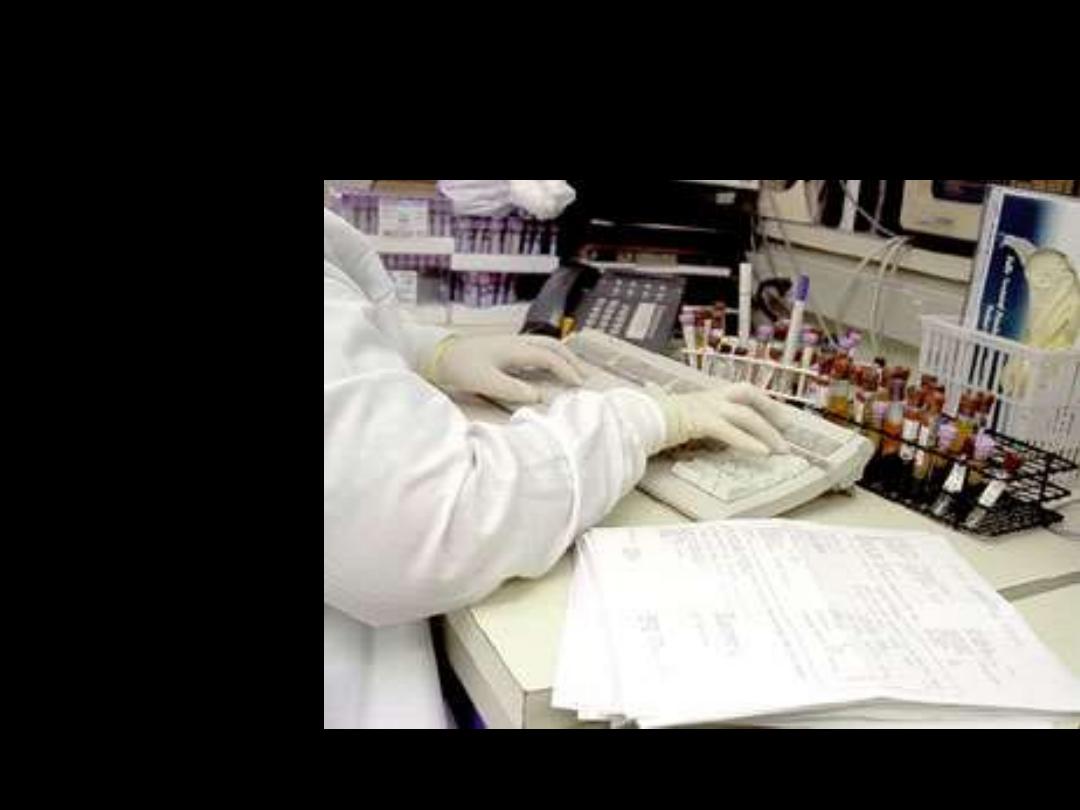
Documenting the specimen
After the sample
has been collected
and labeled, it is
transported to
the lab to be logged
in.
Next
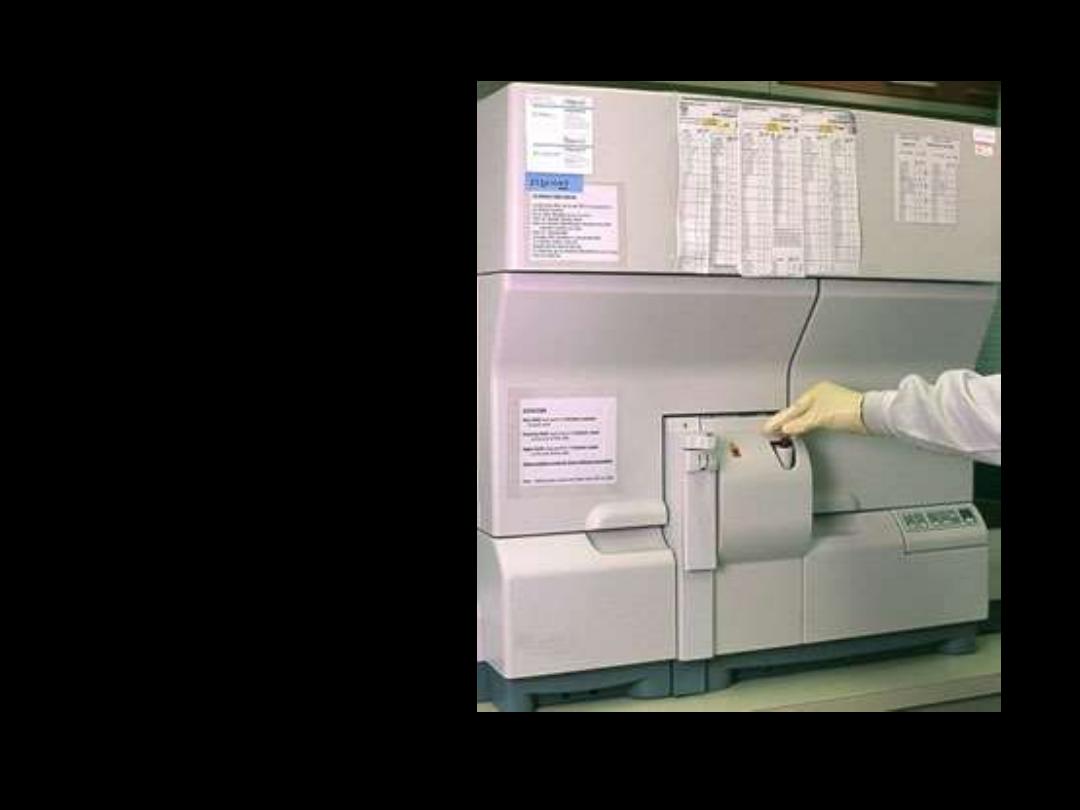
Analyzing
In most cases of
hematological investigations,
an instrument, appropriately
called a blood analyzer,
analyzes the blood sample. In
this picture, the tube of blood
is being placed directly into
the machine. This particular
state-of-the-art analyzer is
capable of running batches of
samples -- up to 120 samples
per hour.
Next
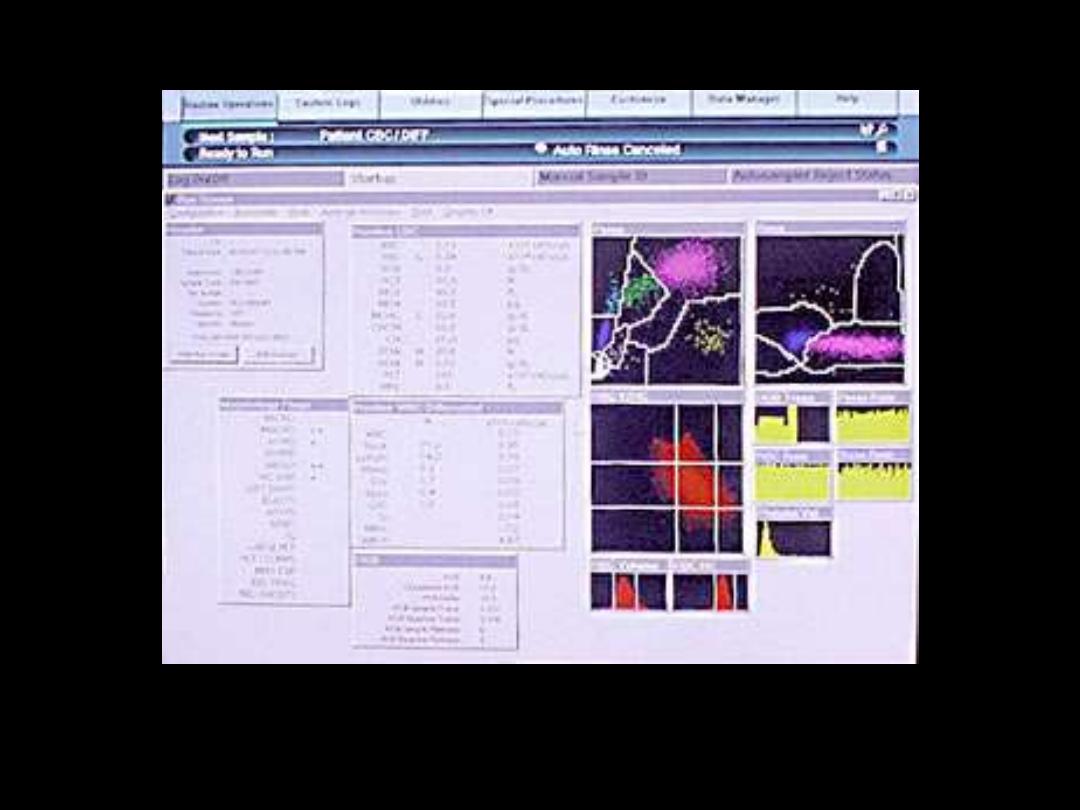
Results
With the latest technology in analyzers comes the ability
to generate the results electronically and graphically.
Bacteriologic investigation
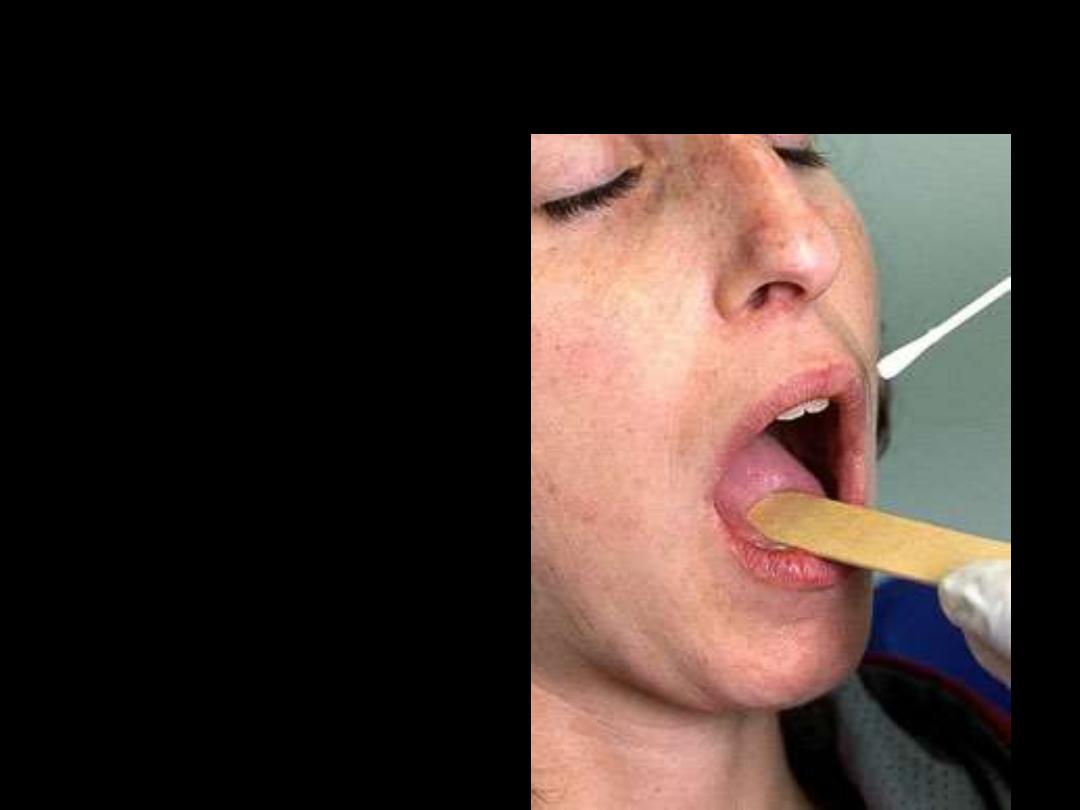
Collecting sample
Throat swab culture.
The nurse or laboratory
technician will ask the
patient to open his
or her mouth and then
wipe the back of the throat
with a cotton swab to
obtain some cell samples.
Next

Sample labeling
After the throat sample has been collected, the swab is put into a container
and labeled. In many places, the label will be pre-printed with the patient’s
name, identification number and number assigned to that specimen.
Next

Documenting the specimen
After the sample
has been collected
and labeled, it is
transported to
the lab to be logged
in.
Next
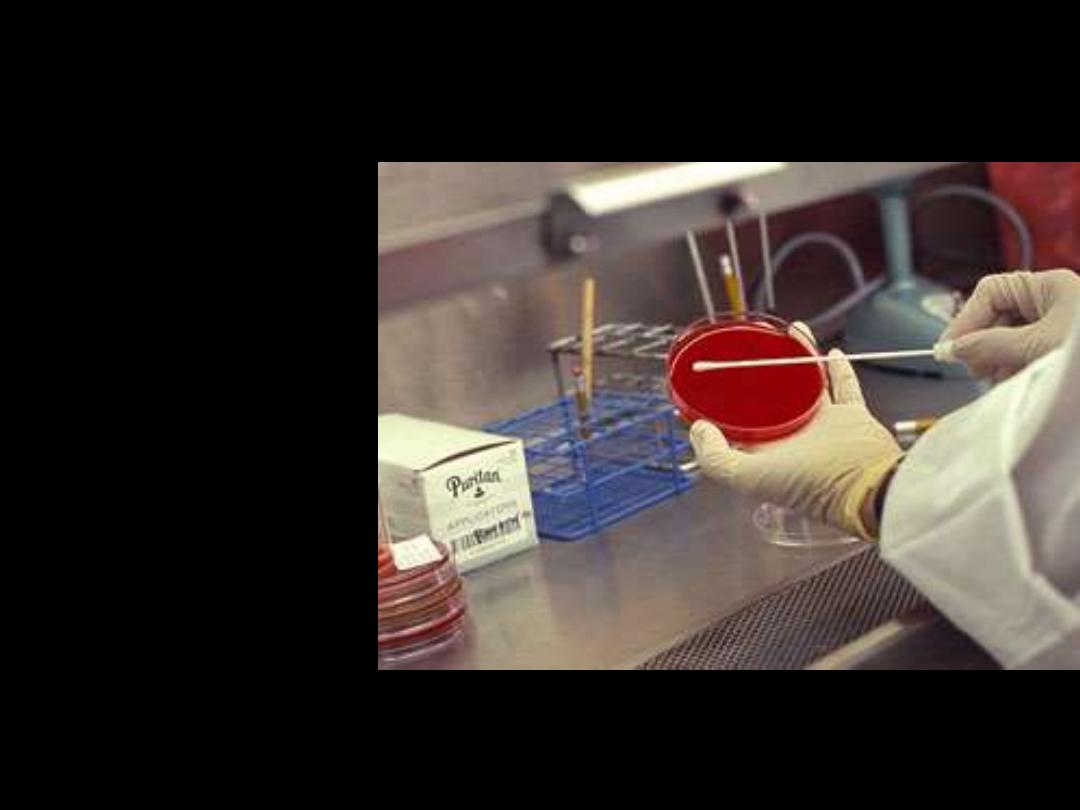
Swabbing on culture media
Once in the lab, a
laboratorian will
transfer the throat
cells that are on the
swab to a material
(agar) in a Petri dish
that will foster the
growth of bacteria.
To do this, the swab
is gently rubbed over
the surface of the
agar.
Next
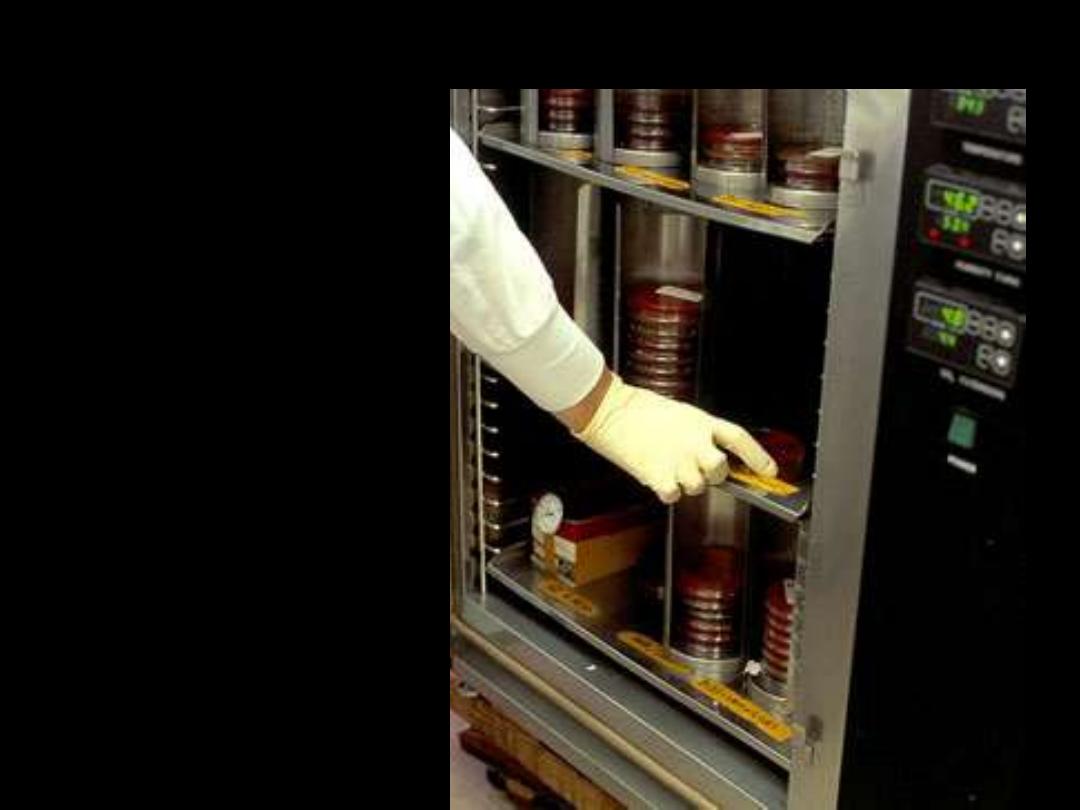
Incubation
The sealed, labeled Petri
dish is placed in an
incubator, which is a
chamber that maintains a
constant temperature
that is optimal for the
growth of the bacteria.
The culture usually
remains in the incubator
for 24 - 36 hours to allow
sufficient time for any
bacteria that may be
present to grow.
Next
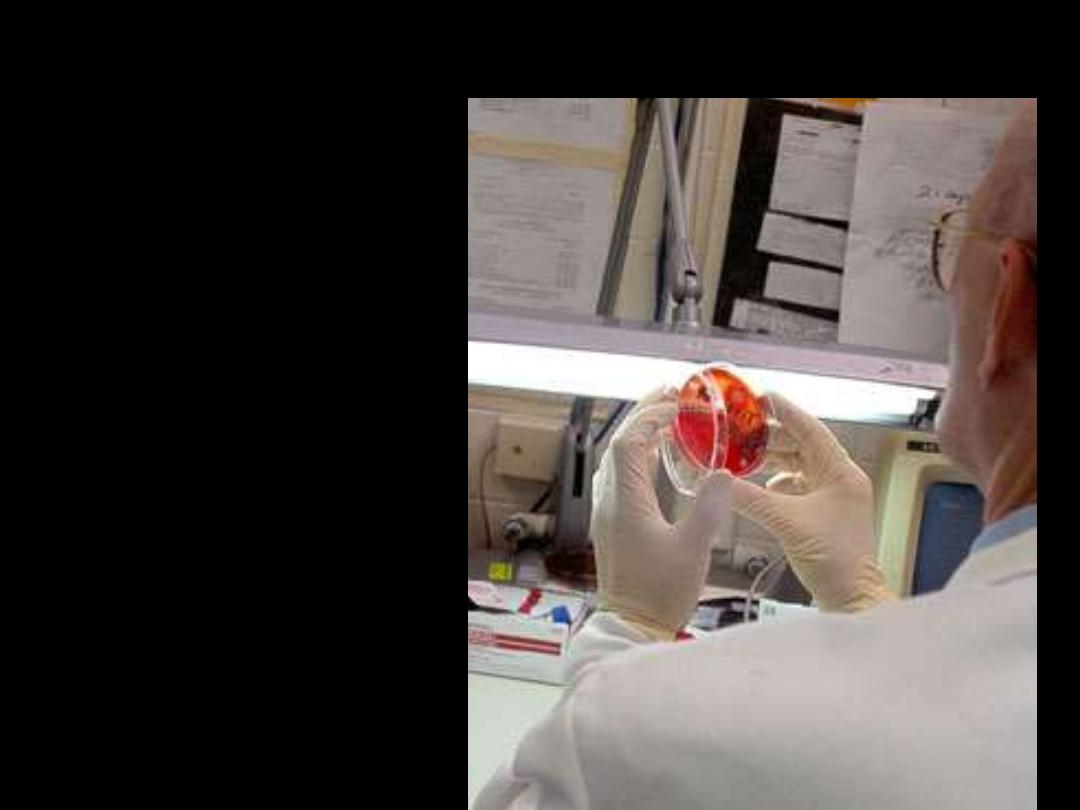
Examination of the growth
After the incubation, a
laboratorian will
visually examine the
culture. Some bacteria
have a characteristic
appearance that
enables the
laboratorian to
identify the specific
bacteria. In some
situations, additional
tests may be needed to
make the
identification. Not all
bacteria are harmful
and require treatment.
Next
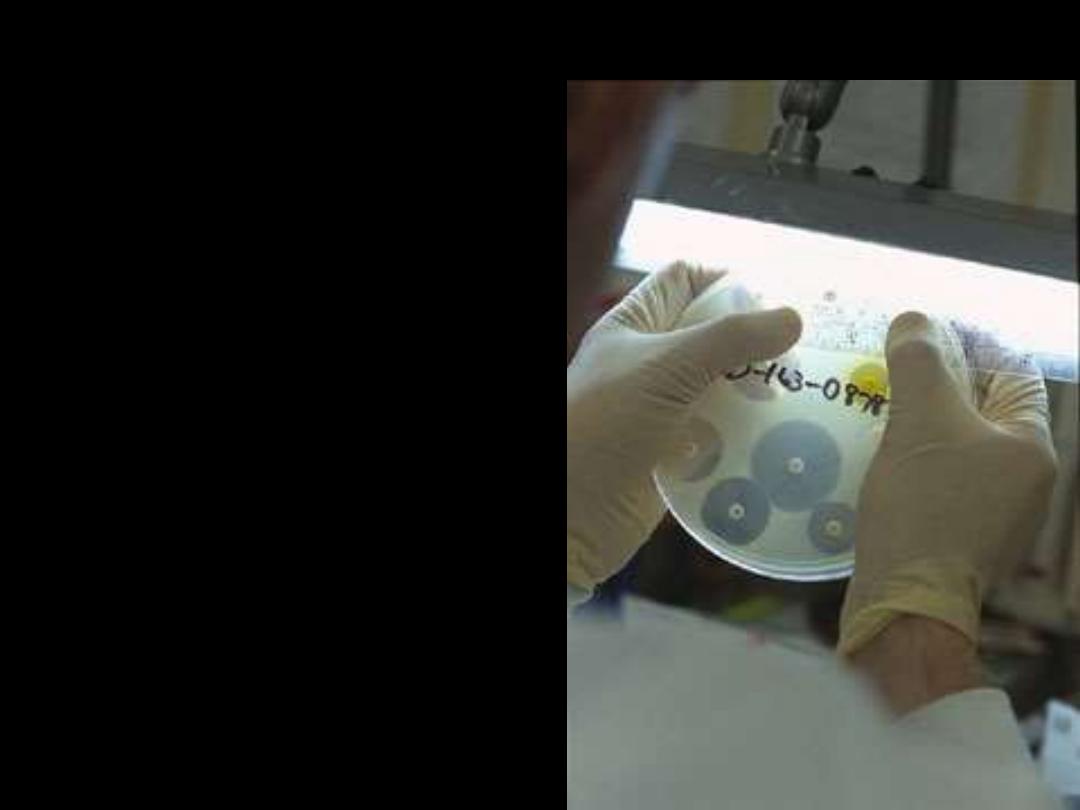
Antibiotics sensitivity
If harmful bacteria have been
identified in the throat culture, the
laboratory will do an additional
test using different types of
antibiotics to see which one is
most likely to stop the infection.
This test starts by coating the
surface of another agar dish with
the bacteria. Antibiotics that have
been absorbed into white paper
discs are placed on the plate. If an
antibiotic stops the bacteria on
the plate from growing, it appears
as a clear halo around the disc.
This tells the doctor which
antibiotic they can prescribe to
cure the throat infection.
Next
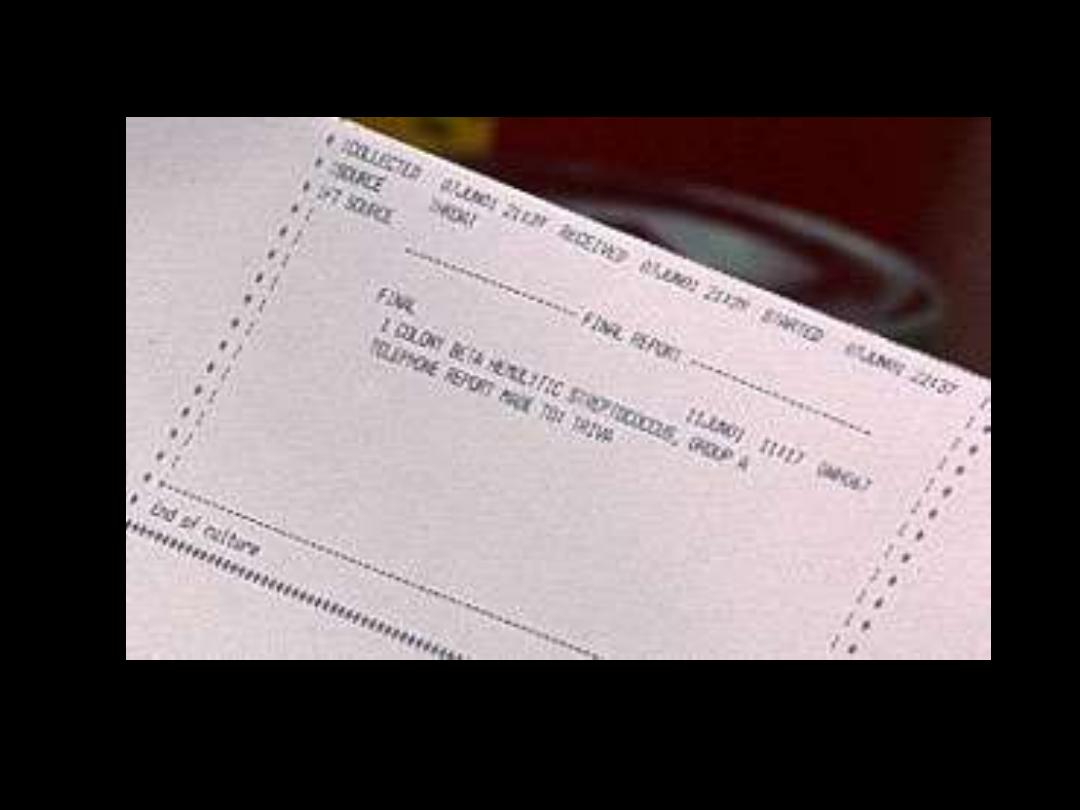
Paper results
The culture results will be recorded in the system. The results may
be sent to the doctor.
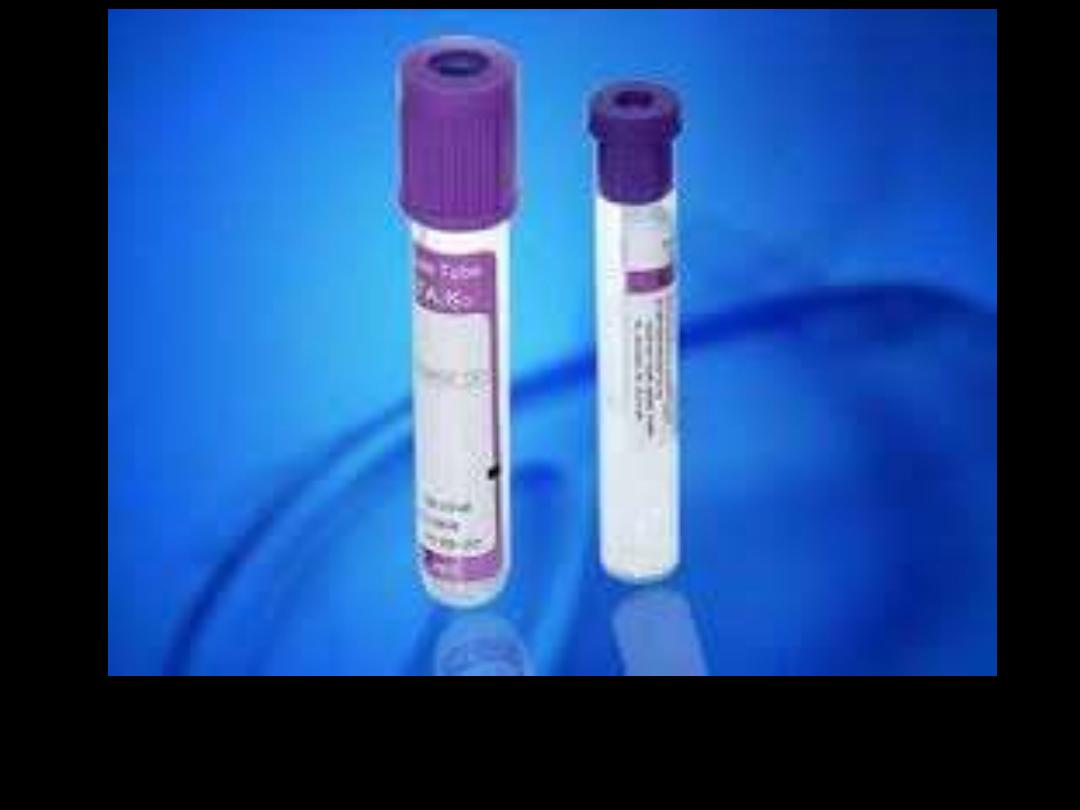
EDTA Tubes
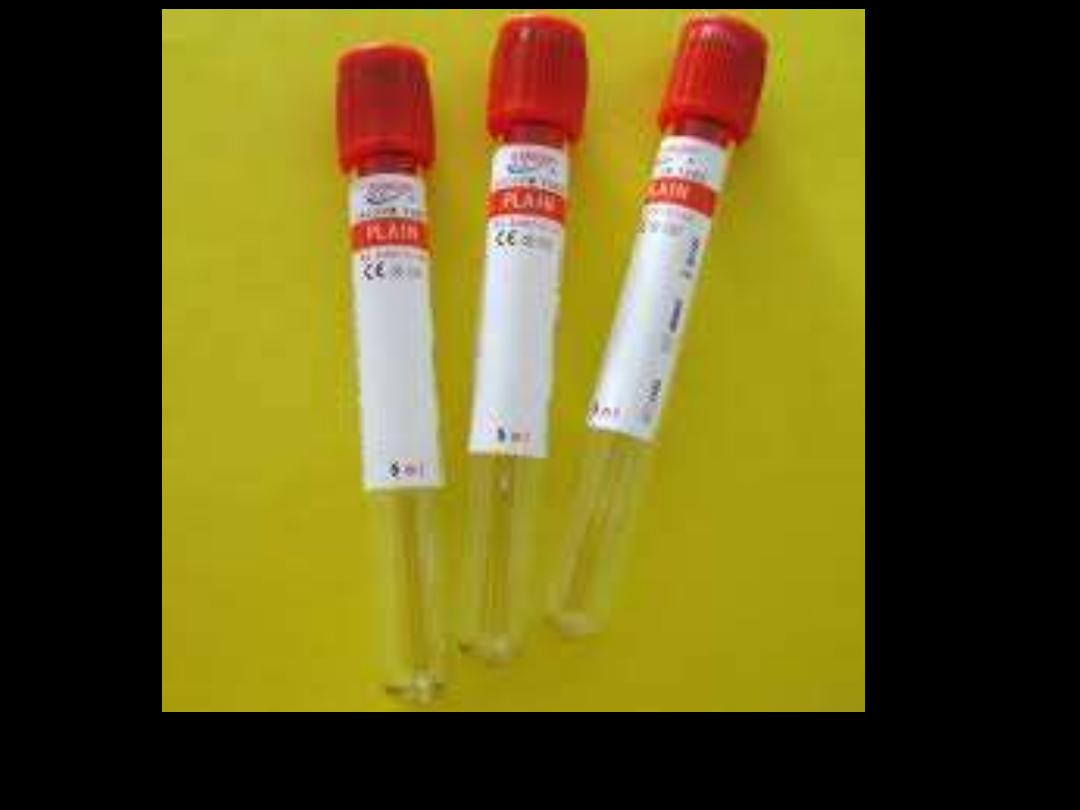
Plain Tubes

ESR