Mixing and packing of acrylic dough
صناعةثاني اسنان موصل
4 / 4 / 2016
1
Separating Media
• Separating Media Is Applied To The Dewaxed Mold Space Prior To Packing The Acrylic Resin• Objectives:
• Prevent Water From Mold Entering Into Resin Which May Affect The Rate Of Polymerisation.
• Prevent Monomer Penetrating Into Mold Material , causing Plaster To Adhere To The Resin And Producing A Rough Surface.
2
Packing the mold with acrylic resin: Acrylic resin is a resinous plastic material of various esters of acrylic acid. It is used as a denture base material.It is formed of a powder and liquid. *Powder: is polymethyl methacrylate (polymer) + Benzoyl peroxide (initiator) +pigments.*Liquid: is methyl methacrylate (monomer) + hydroquinone (inhibitor) Powder and liquid are mixed in A ratio of 3 to 1 by volume for an average sized dentureAcrylic resin (polymethyl methacrylate) is the material of choice for complete denture construction for its desirable qualities:- Good esthetics- Cheap- Easy to process
3
Heat cured acrylic resin
Powder ( can have limitless life)
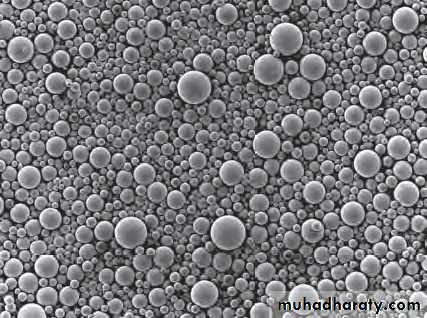
Beads or granules of polymethyl methacrylate
Initiator (benzoyl peroxide)
Pigments/dyes (colour vitality as cadmium, iron, organic dyes)
Optical opacifiers (tio2/zno)
Plasticizers (ethyl acrylate (internal), dibutylphthalate (external) to make dough easier)
Synthetic fibres (nylon)
Coloured fibres (blood vessels)
Liquid ( in dark bottle, avoid contamination by
powder)Methyl methacrylate monomer
Inhibitor (hydroquinone)
Crosslinking agent
(diethylene glycol dimethacrylate, (1,4 butylene glycol dimethacrylate)
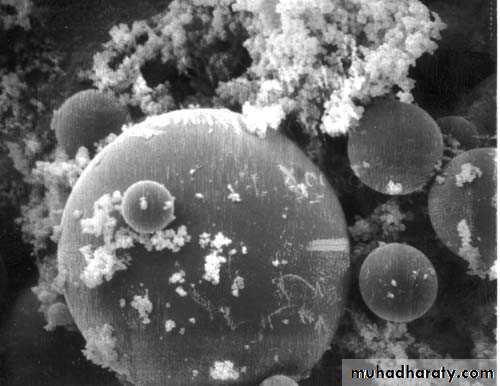
Bead Polymer
4
Packing procedure for acrylic resin:
• 1. Make sure that the hands and all mixing equipments are clean. Acrylic resin can become contaminated easily by foreign body that may change the color of the material and its physical properties.• 2. Mixing the acrylic resin:
• Measure and mix the polymer and monomer according to the manufacturer’s direction usually 10 cc of monomer and 30 cc of polymer are used.
• First pour the monomer into a clean porcelain jar then add the polymer.
• Stir with a clean spatula till the monomer and polymer are thoroughly combined.
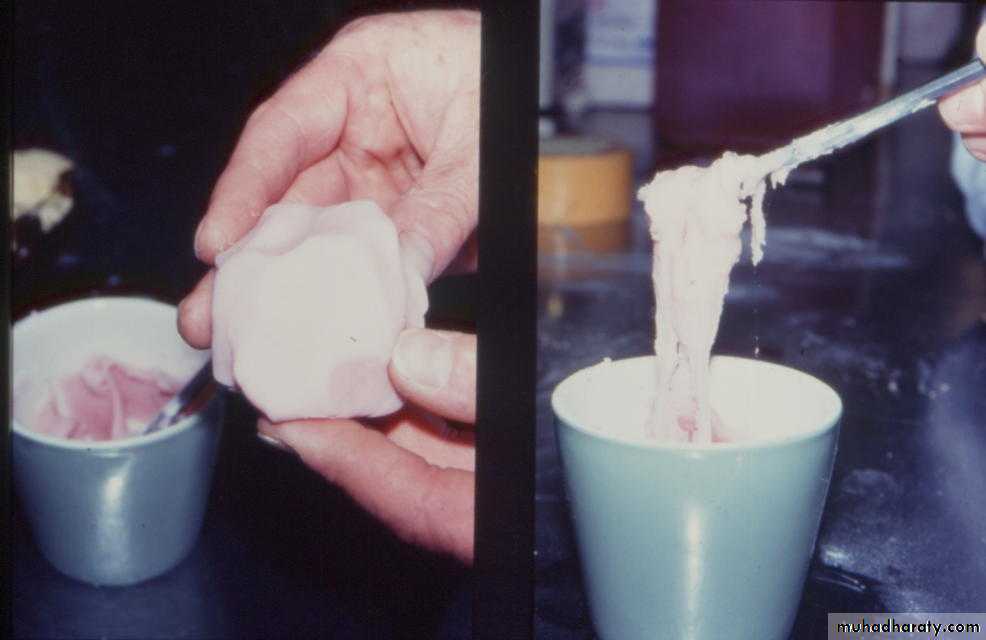
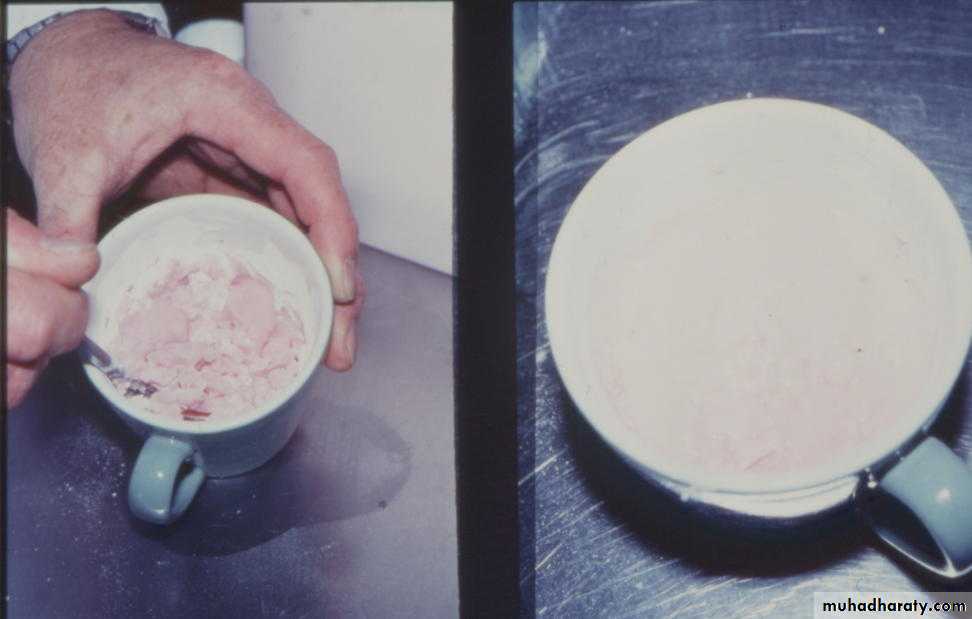
• Place the lid on the jar and allow the mixture to stand till it reaches the dough stage indicated by which the mix can cleanly be separated from the sides of the jar. During this standing period a lid should be placed on the mixing vessel to prevent evaporation of monomer. Loss of monomer during this stage could produce granular porosity in the set material. This is characterised by a blotchy, opaque surface.
•
5
6
On mixing the polymer and monomer the mix passes through 4 stages:
• A sandy stage : where a fluid mass occur due to the settling of the polymer into the monomer.• A stringy stage: where the monomer starts to attack the polymer. In this stage the mix is tacky, sticky and adheres to the sides of the mixing jar.
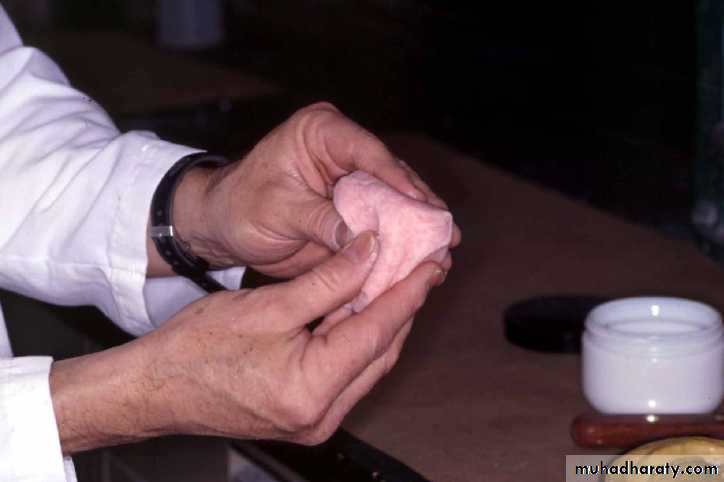
• Smooth dough like stage: where the monomer diffuses into the polymer. Here, the material is more cohesive and has lost much of its ‘tackiness’. It can be moulded like plasticine and does not adhere to the sides of the mixing vessel.
• The time taken to reach the dough stage is called the doughing time whilst the time for which the material remains at the dough stage and is mouldable is termed the working time.
• The time to reach stage 3 (dough forming time) depends on:
• 1. Solubility of the polymer into the monomer
• 2. Size of the polymer particles. The smaller the size the shorter the time.
• Rubber like stage: further penetration of the monomer into the polymer. In this stage the acrylic resin cannot be packed or molded being too stiff.
7
• The transitions from ‘sandy’ to ‘stringy’ to ‘dough’ and eventually rubbery and hard stages are due to physical changes occurring within the mix. Smaller polymer beads dissolve in monomer causing a gradual increase in viscosity of the liquid phase. Larger beads absorb monomer and swell, thus depriving the liquid phase of monomer and causing a further increase in viscosity. During this period the monomer remains unpolymerised.
8
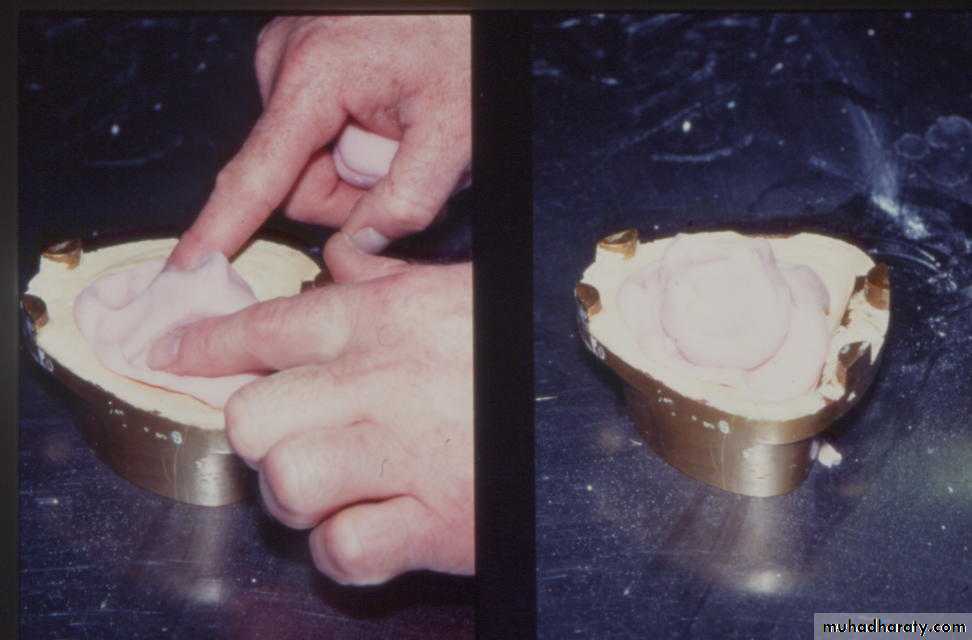
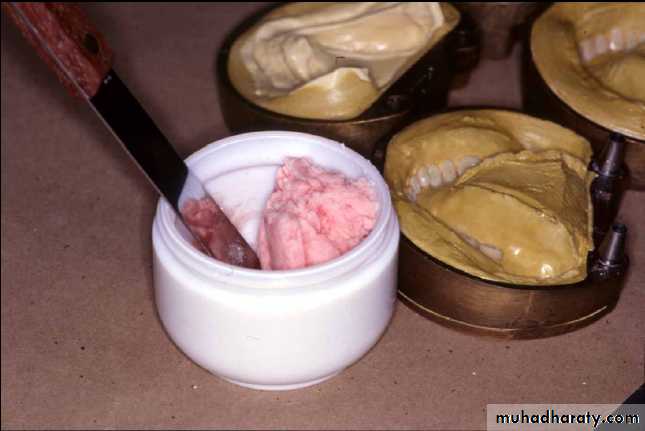
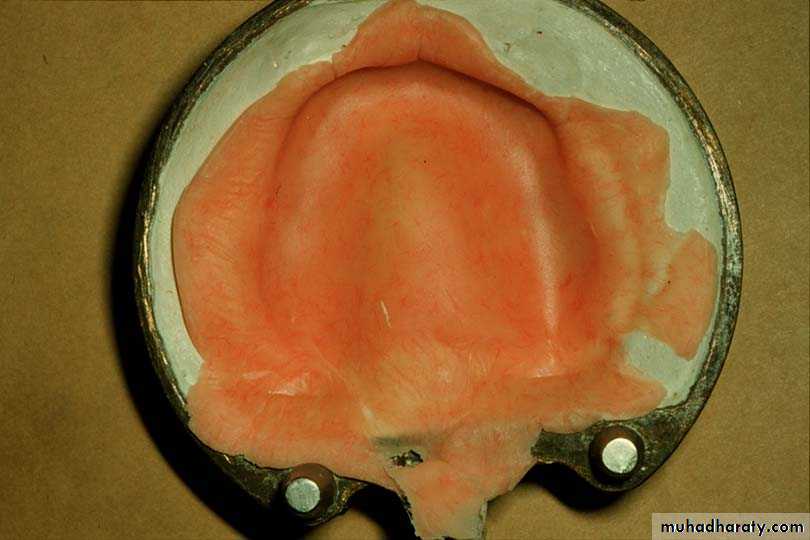
• 3. Pack the material in the upper half of the flask being sure to press it well around the teeth.
• 4. Use enough material to insure overpacking on the first closure.
• 5. Place two pieces of wet cellophane over the acrylic resin.
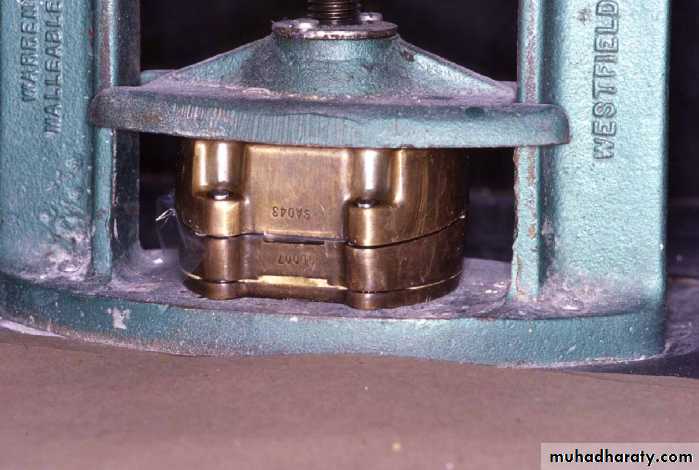
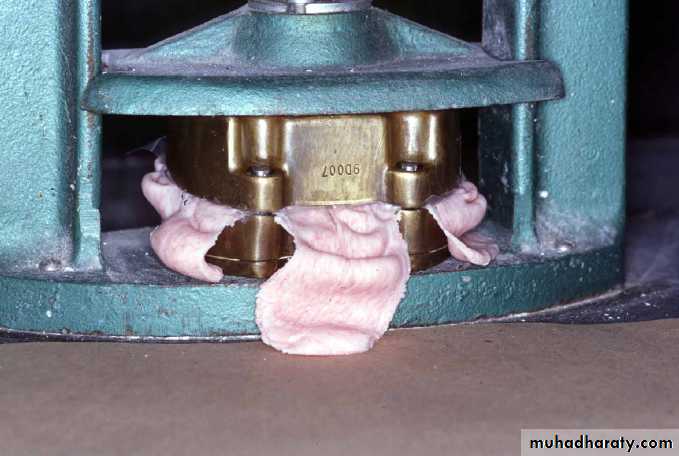
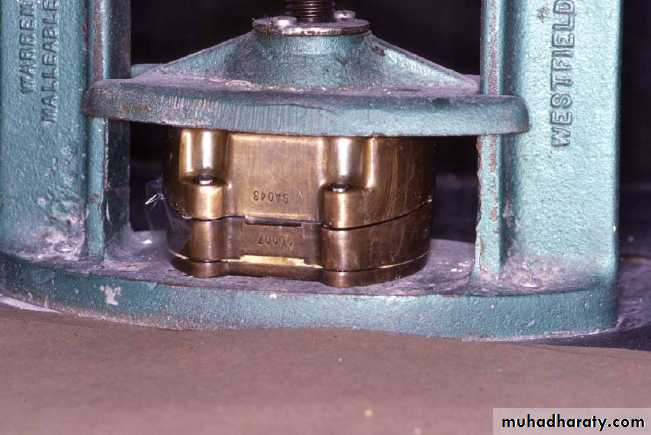
• 6. Put the lower half of the flask in position and press the flask together using hand pressure.
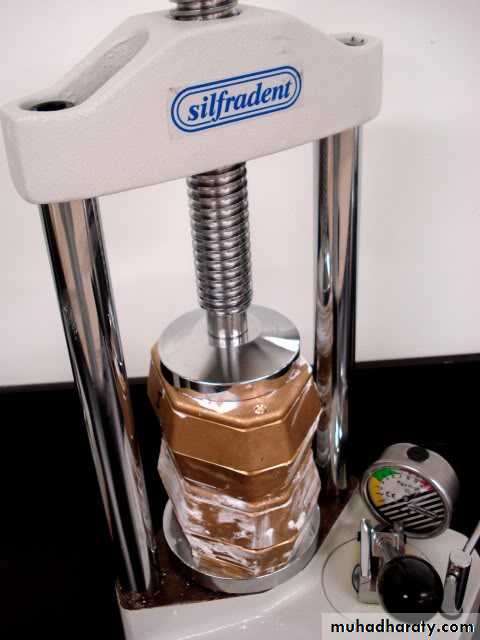
• 7. Place the flask in a bench press and close it very slowly to give the acrylic resin time to flow.
• 8. Remove the flask from the press and open it carefully. Trim off the excess acrylic (flash) with a sharp knife.
• This is called trial closure. If insufficient flash is observed , it indicates insufficient amount of resin was placed in the mold. So remove the cellophane and add more resin.
9

10
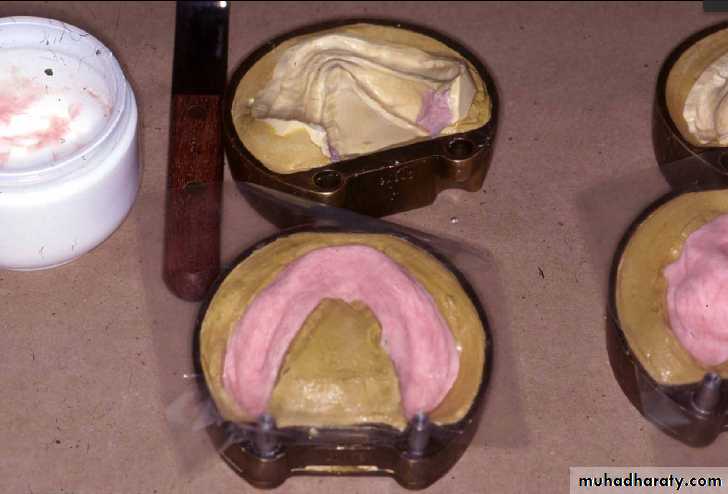
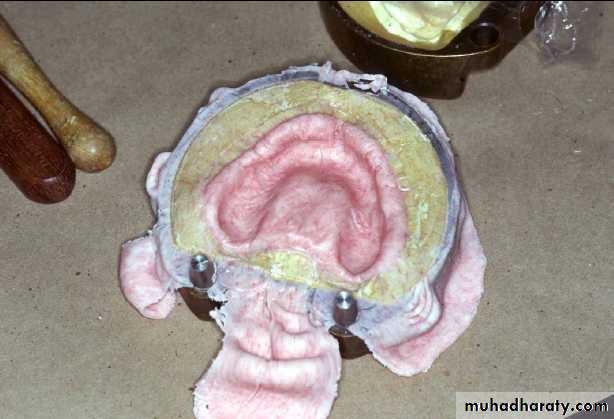
9-Trial closure is repeated until all excess material is removed and the metal edges of the flask are in complete contact.
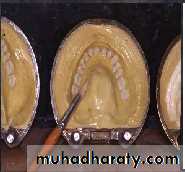
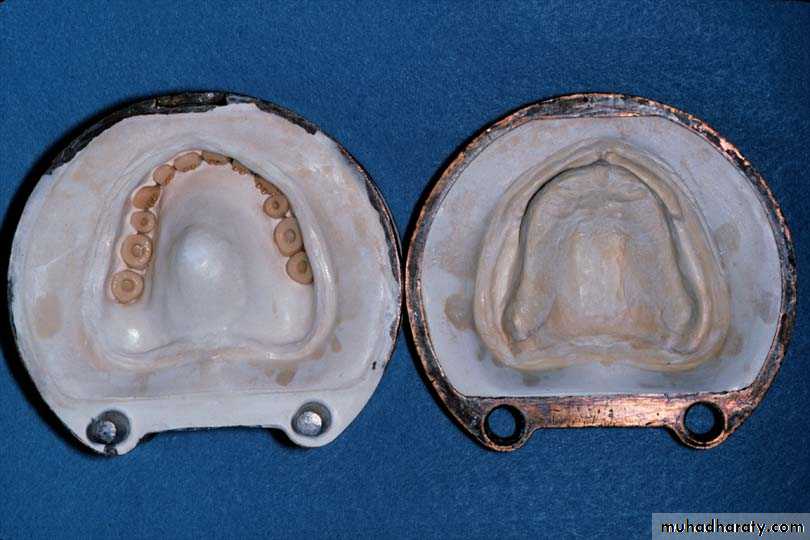
10-Final closure: open the flask, paint the cast with separating medium, remove the cellophane sheets and close the flask under the press until metal to metal contact is reached.
11- Flasks Are Secured In Clamp And Placed Aside For 30mins (bench curing).
11
WHY?
• Permits equilization of pressure.• Allows time for uniform dispersion of monomer.
• Helps in better bonding of tooth with base material.
12
The applied pressure has three important functions:
It ensures that dough flows into every part of the mould.It enables excess dough to be used, thus causing an effective reduction in the polymerisation shrinkage.
It prevents the formation of a ‘raised bite’ on the denture by giving a base which is too thick.
The use of insufficient dough in the mould or the application of insufficient pressure during curing can lead to porosity voids dispersed throughout the whole mass of the denture base. This is known as contraction porosity.
13
Processing of the Denture (polymerization)
the processing or polymerization of acrylic resin: is the process of conversion of the monomer to polymer when a mixture of the two is subjected to heat.Types of curing methods:
Heat curing which microwave
water bath (heat cure acrylic resin)
Chemical cure (cold cure acrylic resin )
Light curing (visible cure acrylic resin )
14
Curing of acrylic resin denture base
15Processing acrylic resin (curing)
• The denture base material used in denture base construction is heat cured type.• The polymerization process is activated by heat.
The processing or polymerization of acrylic resin is the conversion of the monomer to the polymer when a mixture of the two is subjected to heat (in water bath).
The reaction is an addition polymerization reaction to convert MMA (methyl methacrylate) to PMMA (polymethyl methacrylate).
Mono= single
Poly= many
• Polymer: large long chain molecules formed by chemically joining smaller molecules called monomers
16
Curing: Having filled the mould with dough, the next stage is to polymerise the monomer to produce the final ‘processed’ denture. Curing is normally carried out by placing the clamped flask in either a water bath or an air oven. Whichever type of system is used, many ‘curing cycles’ are available.
• Stages of Addition Polymerization:
An addition reaction simply involves the joining together of two molecules to form a third, larger molecule.In simplified terms the reaction may be visualized as follows:
R* + M → R − M*
R − M* + M → R − M − M*R − M − M* + M → R − M − M − M* etc.
17
Stages of Addition Polymerization:
• Activation:• Initiation:
• Propagation:
• 18
Important considerations:
• Benzoyl peroxide initiator begins to decompose rapidly to form free radicals above 65ºC.• The polymerization reaction is highly exothermic.
• The boiling point of the monomer is 100.3ºC and if the temperature of the dough is raised significantly above this, the monomer will boil, producing spherical voids in the hottest part of the curing dough. These will be apparent as gaseous porosity in the cured denture base.
• It is important to get a high degree of conversion from monomer to polymer and to produce a polymer with high molecular weight. Residual monomer and low molecular weight polymer result in poor mechanical properties as well as possible adverse tissue reactions.
19
Heat curing cycles
Fast cycle(short cycle)
• Heat the flask in water at 70°C for 90 min then at 100°C for 60 min.
Slow cycle(long cycle)
• Heat the flask in water at 60- 70°C for 9 hours.
Other cycles are done as recommended by manufacturers.
20Porosity:
• types of porosity in acrylic resin denture base:• Contraction porosity.
• Gaseous porosity.
• Granular porosity.
Before deflasking the processed denture the flask is cooled to room temperature.
To minimize internal stresses and subsequent warpage of the denture. Since the coefficient of thermal expantion of acrylic resin is about 10 times greater than that of the gypsum mould material.
• Contraction porosity:
• occurs due to monomer contraction by 20% during processing.Insufficient amounts of resin packed in the flask may lead to voids or porosity.
Also resin should be packed in the dough stage. Prior to that the resin would flow too rapidly and pressure is lost.
Insufficient pressure during curing.
• Gaseous porosity:
• This is avoided by allowing a slow and controlled rise in temperature.
• Granular porosity:
• due to loss of monomer while resin mix is left to stand until dough stage is reached.
• Also if the resin mix is dry.